

For example, a reading of 55 means the air is 55% humid. When you set a target number—such as 45—the dehumidifier runs until the room reaches that humidity level, then shuts off automatically.
What the Numbers on a Dehumidifier Mean
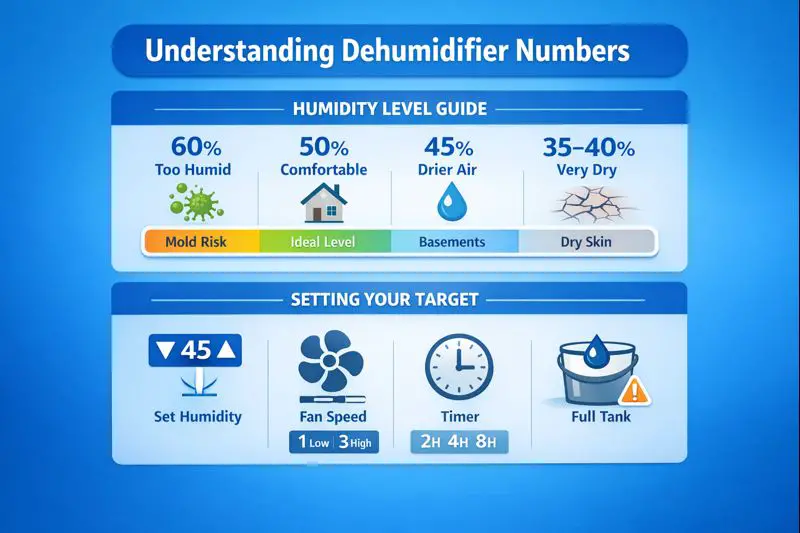
The most important number on a dehumidifier display is the relative humidity percentage inside the room. This is the number you are trying to control.
- 60% – Air is very humid; mold and musty odors are more likely
- 50% – Comfortable for most homes and everyday living
- 45% – Ideal for basements, allergy control, and moisture prevention
- 35–40% – Dry side; may cause dry skin or static in winter
When you lower the set number, the dehumidifier removes more moisture from the air. When the room reaches the target humidity, the unit shuts off automatically.
Common Dehumidifier Buttons and Symbols Explained
Most dehumidifiers use similar buttons and icons, even if the layout looks different.
- ▲ / ▼ Arrows – Adjust the target humidity level (usually in 5% steps)
- Fan Speed (Low / High or 1–3) – Controls airflow speed, not humidity level
- Timer (2 / 4 / 8 / 12 hrs) – Sets how long the unit runs before shutting off
- Bucket / Water Drop Icon – Water tank is full or not seated correctly
- Continuous / CO Mode – Runs nonstop and ignores humidity numbers
- Auto / Comfort Mode – The unit chooses fan speed and humidity automatically
- Snowflake / Defrost Icon – Appears when the room is too cold for normal operation
If your dehumidifier won’t turn on or shuts off unexpectedly, one of these icons is usually the reason.
Dehumidifiers can be a mysterious thing when you first begin to mess with one.
The different settings and symbols and not to mention the numbers can be confusing.
The main number that appears illuminated on a dehumidifier is the relative humidity inside of the room where you have the device.
It’s the number that you are attempting to lower by using a dehumidifier.
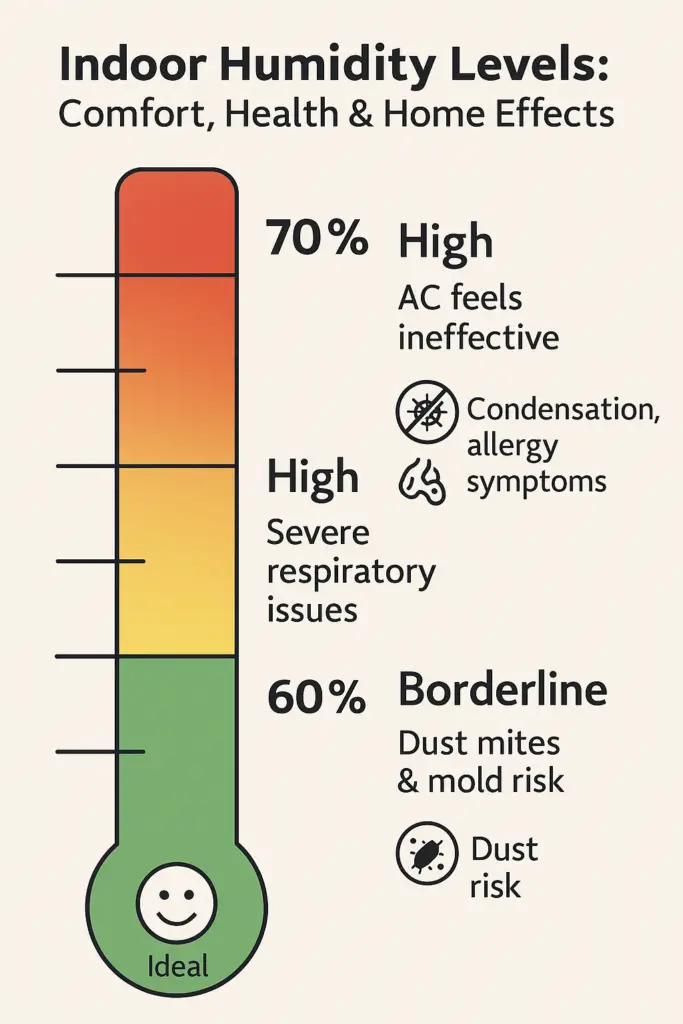
According to the national library of medicine-PubMed, 40 to 60% relative humidity is the Ideal moisture level to avoid problems with either high or low humidity.
Are dehumidifiers safe to leave on?
Dehumidifiers are safe to leave on because they almost exclusively come with an auto shut-off that turns the machine off when the bucket or the basin is full of water.
That means you’re not going to come home to a floor full of water if you happen to leave the house with your humidifier running.
Should I run a fan with a dehumidifier?
Running a fan and a dehumidifier at the same time can be advantageous because both the fan and a dehumidifier have a drying effect on the air.
After all, if you have done a recent painting project that you need to dry faster you would probably put a fan blowing on it to help it do so.
The same goes for drying your hair, if you want to dry it faster, you can sit in front of a fan or better yet use a hair dryer. Which is essentially a hot fan.
A fan will also help move the humid air in a room towards the dehumidifier where it can do its job better.
And the entire purpose of a dehumidifier is to extract moisture from the air to dry it.
Not to mention that the two can be purchased together in one unit.
So there is no conflict in using a fan and a humidifier at the same time.
Should I run a dehumidifier with an air conditioner?
Using a dehumidifier at the same time as an air conditioner can actually help reduce the wear and tear on your air conditioner because even though an air conditioner dehumidifies as it cools,
It has to work harder when the air is extra humid.
Running a dehumidifier can’t take the strain off of an air conditioner and help it cool easier.
But, remember dehumidifiers operate much like a window air conditioner that exhaust heat out of the rear. Which helps with the humidification process but tends to make the room feel a little swampy.
So if you’re using a portable dehumidifier, the room that you place the dehumidifier on is not exactly going to feel cooler even though the air conditioning may be working better.
How to know if you need a humidifier or dehumidifier?
If you live in an area that is typically dry, then higher humidity is easy to identify. Your skin is clammy and your hair is frizzy.
But if you’re used to living in an area where high humidity is part of the climate, you may not even be aware that your humidity is spiking.
A hygrometer is a gauge that is designed to tell you what the relative humidity is inside of a room or your house.
If the humidity inside your home is above 60%, then running a dehumidifier is needed to bring that number down below the 60% mark.
Is it okay to sleep in a room with a dehumidifier?
Sleeping in the same room as a dehumidifier doesn’t have any adverse effects health wise, there is no threat of dehydration or anything that will harm you but..
Dehumidifiers can be compared to running a window air conditioner. If you’ve ever walked behind a window air conditioner, you probably remember feeling the heat coming off of the rear of the machine.
Dehumidifier works much the same only the heat that comes off the rear of it does not expel outside but inside of the room.
Dehumidifiers are also not the quietest of devices.
Technically there’s no problem with sleeping with a dehumidifier in the same room,
But you may be looking at a swampy feeling, loud night.
What’s better: a dehumidifier or an air purifier?
Dehumidifiers and air purifiers both reduce allergens.
Dehumidifiers reduce humidity problems like high dust mite populations and mold growth which results in high populations of mold spores.
These devices, by reducing the humidity, reduce the allergens caused by the humidity.
Air purifiers reduce allergens by filtering them out of the air.
And they do so regardless of whether the humidity is high or low.
Air purifiers are not dependent on the humidity being at a certain level for them to do their job whereas a dehumidifier is useless when the air is dry. Which is about half the year.
Which is better? A dehumidifier or an air purifier? An air purifier is more useful throughout the year than a dehumidifier.
But it is definitely better to own both and use a dehumidifier when needed.
 When should you not use a dehumidifier?

Dehumidifiers or devices meant to extract moisture out of the air when the humidity level is too high inside of a house.
If the humidity in the home is already at the optimal level of between 40 and 60%, then you should not use a dehumidifier.
Another issue that can interfere with a dehumidifier that can keep you from using it is lower temperatures.
As you probably will know if you have read the rest of this article, dehumidifiers run very similarly to window air conditioners that use refrigerant to condense the humidity out of the air.
Just like on an air conditioner, if the temperature is too cold, the condenser coils on a dehumidifier will freeze over.
There are many dehumidifiers that come with a defrost setting for this very problem.
There are also dehumidifiers called desiccant dehumidifiers that do not use a compressor at all. Though not as powerful at removing moisture from the air, it can be a good alternative if your primary issue with humidity is during the cold season.
How long should you leave a dehumidifier on?
40 to 60% humidity is the optimal humidity inside of a home or building according to the national library of medicine.
If you are using a dehumidifier to bring down the moisture level inside of your house, then you should be prepared to leave it on till you have reached the relative humidity of 60% and below.
Do humidifiers make the room colder?
Dehumidifiers can have a cooling effect on a room when the temperature is not too hot and humidity is the main thing that is making the room uncomfortable.
But unlike an air conditioner or a fan, the dehumidifier is better left to run before you are planning on using the room.
Even though in theory, you are lowering the humidity which is the main threat to your comfort, The heat that expels from a dehumidifier will have the opposite effect of making a room cold while the dehumidifier is running.
Should a dehumidifier run constantly?
There are times when the humidity is so high that a dehumidifier may seem like it constantly runs and never turns off.
For instance, running a dehumidifier in a crawl space or a humid basement will require a humidifier to run much longer to reduce which is essentially an everlasting problem.
On the other hand, if the humidity level in a room does not warrant the use of a dehumidifier, then the dehumidifier may run constantly because it can’t extract enough humidity to ever reach the point where it shuts off.
That also answers the question of why your dehumidifier may not be collecting any water. There is simply not enough humidity for it to do so.
But if the relative humidity is high, and your dehumidifier is not collecting any water, you have definitely ruled out the relative humidity being a problem, and can focus on the issue being a mechanical problem with the device.


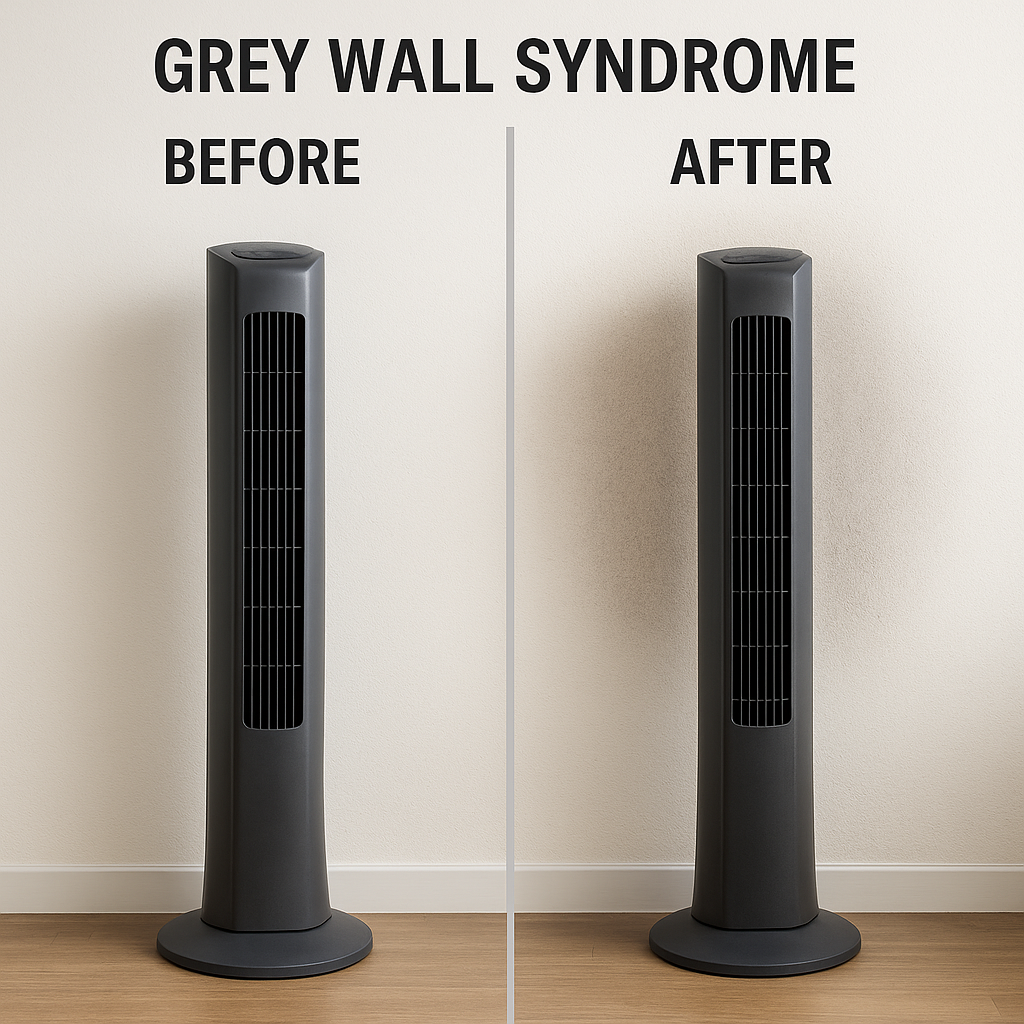 What is Grey Wall Syndrome?

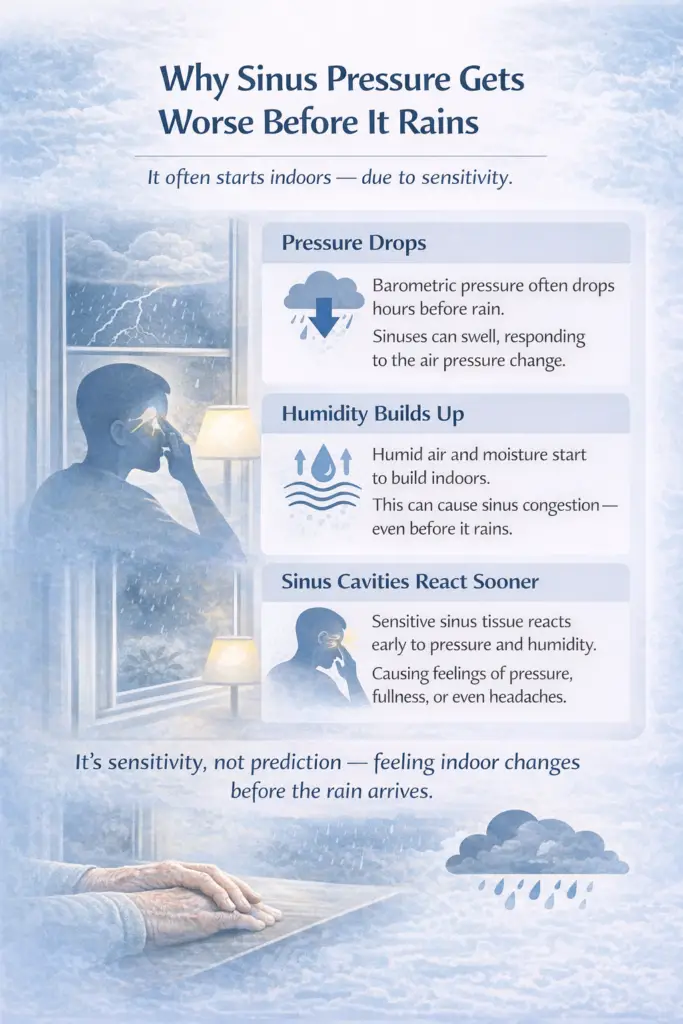 Why Sinus Pressure Gets Worse Before It Rains
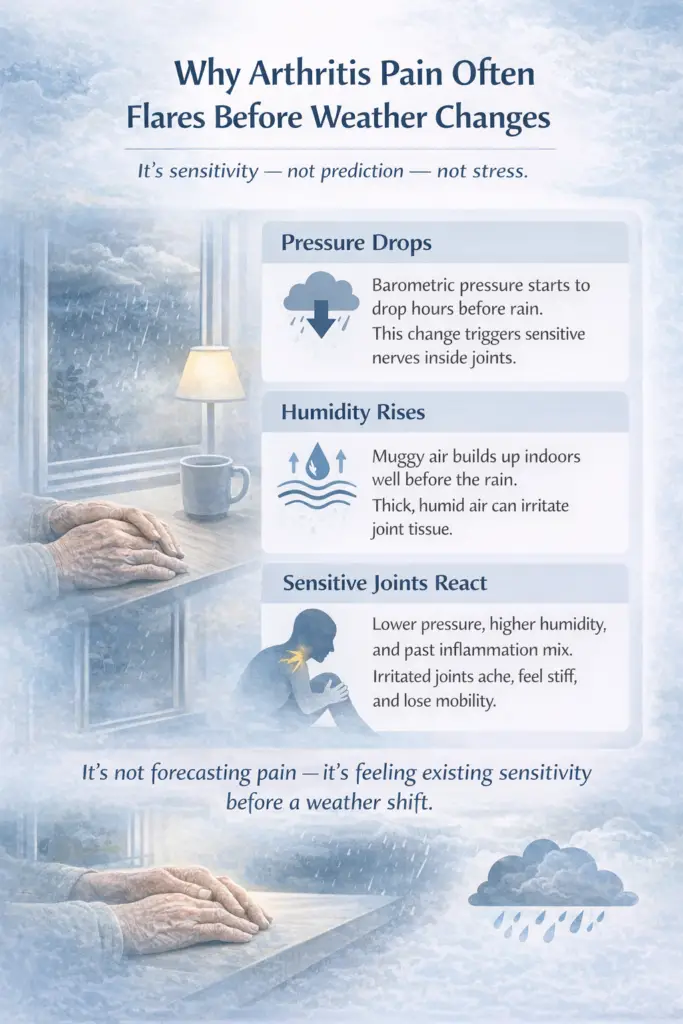 Why Arthritis Pain Flares Before Weather Changes
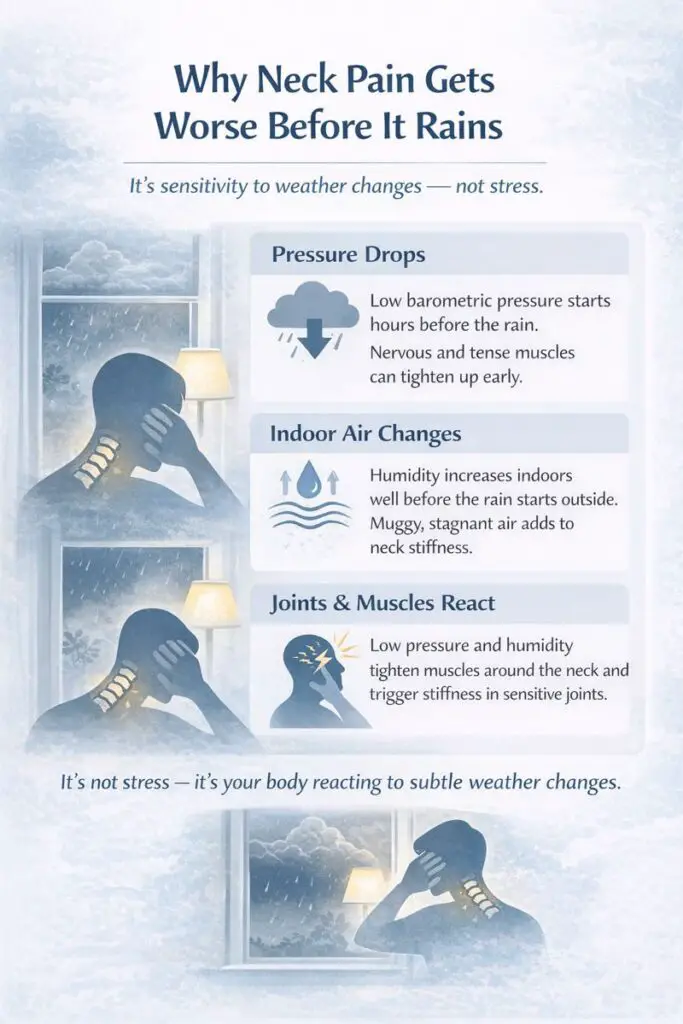 Why Neck Pain Gets Worse Before It Rains
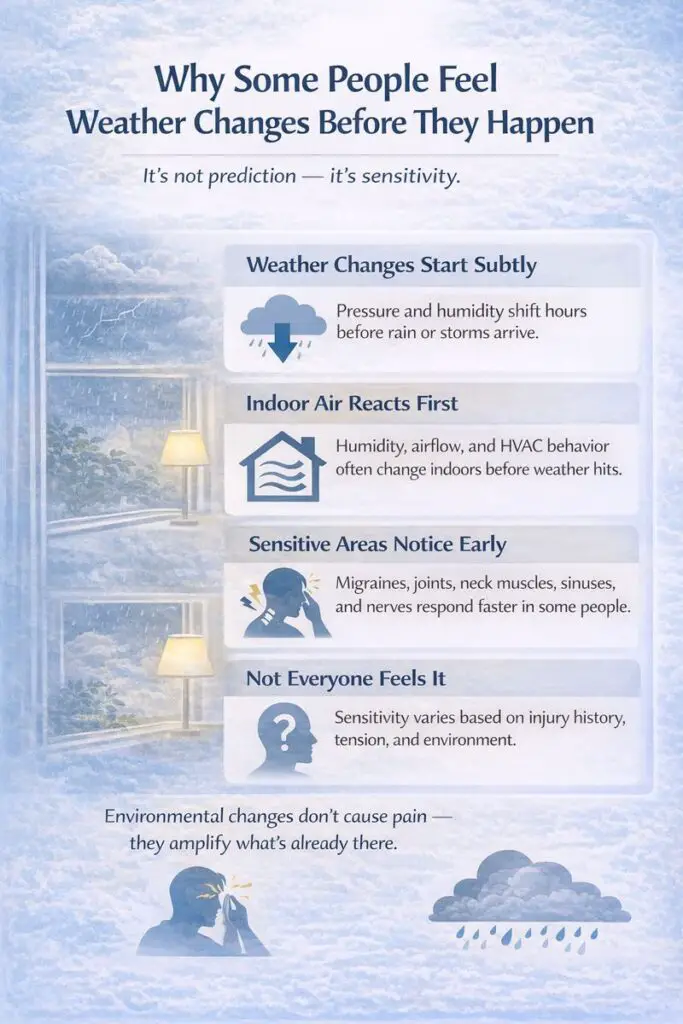 Why Some People Can Feel Weather Changes Before They Happen
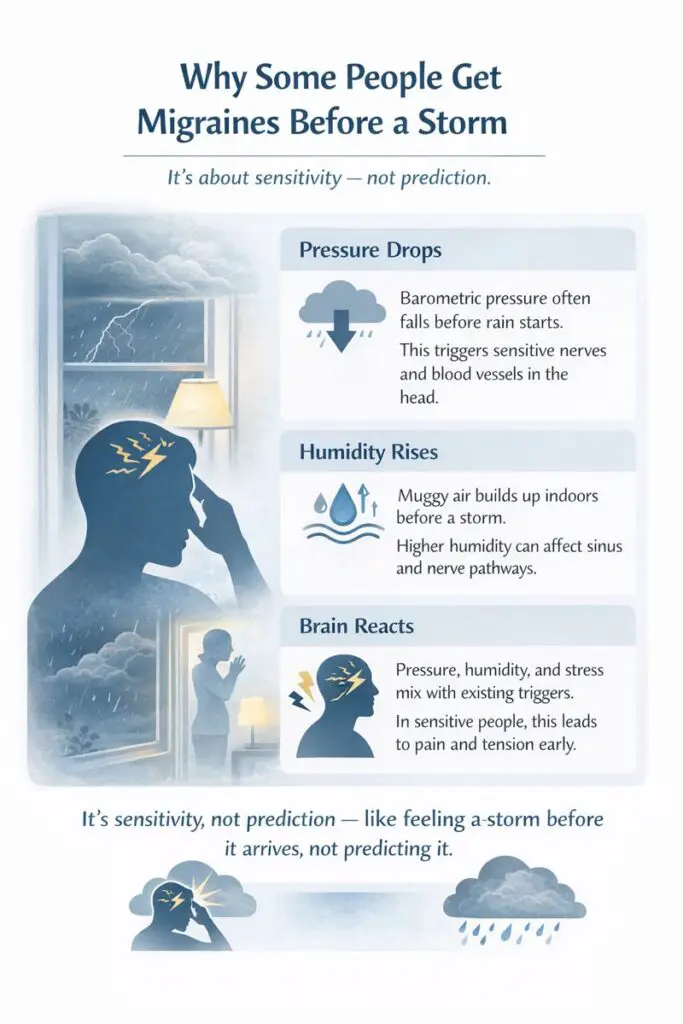 Why Migraines Respond to Weather Shifts
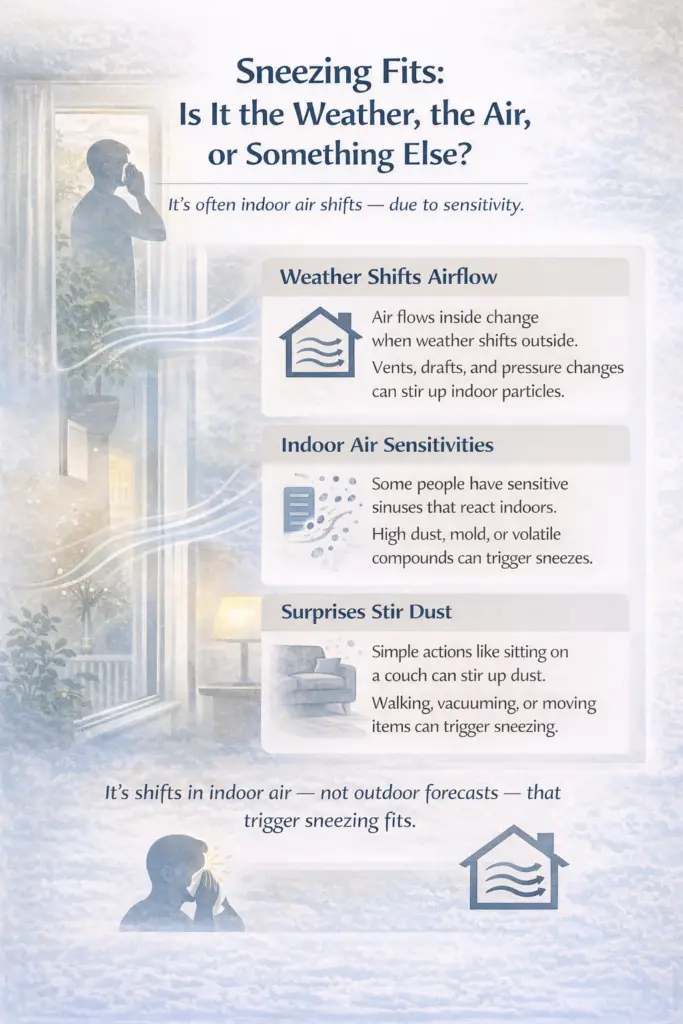 Sneezing Fits: Is It the Weather, the Air, or Something Else?
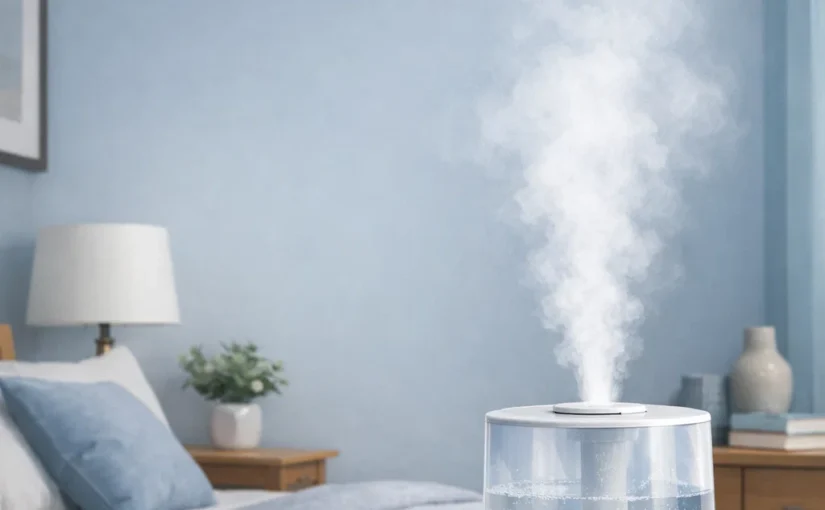
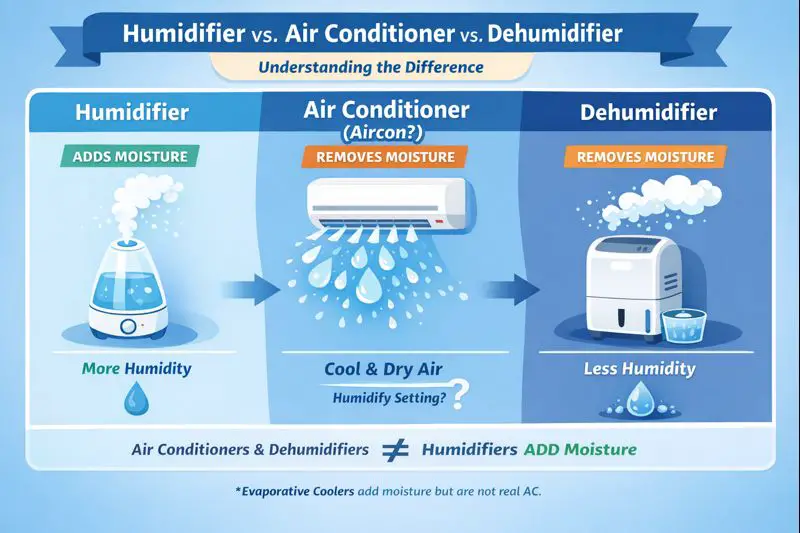 Can I Use a Humidifier Without Aircon?