
How to Choose the Right Size and Energy-Efficient Window Air Conditioner for Your Living Space
When it comes to choosing the right size window air conditioner for your living space, there are several factors to consider, including the size of the room, ceiling height, windows, climate, noise level, and maintenance requirements.
In this article, we will discuss different scenarios and case studies that would require different sizes of window air conditioners, as well as how to figure out what size window AC unit someone would need.
We will also provide tips for choosing an energy-efficient window air conditioner and maintaining it properly.
What Size Window Air Conditioner Do I Need?
Factors to Consider When Choosing a Window Air Conditioner
1.Room Size
Measure the width and length of the room to get the square footage, which will determine the appropriate size air conditioner you need.
The general rule is that an air conditioner needs 20 BTUs for each square foot of living space.
2. Ceiling Height
If your room has a high ceiling, add an extra 10% to the cooling capacity for every foot of ceiling height above 8 feet.
3. Windows and Doorways
If your room has large windows or doorways that let in a lot of sunlight, add an extra 10% to the cooling capacity for every window or doorway in the room that faces west.
4. Climate
If you live in a hot and humid climate, you will need a larger unit to keep your space cool and comfortable.
If you live in a dry and arid climate, you may be able to get by with a smaller unit.
5. Noise Level
Look for air conditioners with a decibel (dB) rating of 60 or lower, as these are generally considered quiet enough for home use.
6. Maintenance
Regularly clean and maintain your window air conditioner to ensure that it’s working efficiently and effectively.
This includes cleaning or replacing the air filter, checking for any leaks or cracks, and ensuring that the unit is level to prevent any water damage.
 Window AC Sizing Chart
 Window AC Sizing Chart
| Room Size (Sq. Ft.) | Cooling Capacity (BTUs) |
|---|---|
| 100-150 | 5,000 |
| 150-250 | 6,000 |
| 250-300 | 7,000 |
| 300-350 | 8,000 |
| 350-400 | 9,000 |
| 400-450 | 10,000 |
| 450-550 | 12,000 |
| 550-700 | 14,000 |
| 700-1,000 | 18,000 |
| 1,000-1,200 | 21,000 |
Choosing the Right Size and Energy-Efficient Window Air Conditioner: Scenarios and Case Studies
Small Bedroom with a High Ceiling and One Large Window
- Room Size: 100 square feet
- Ceiling Height: 10 feet
- Window: One large window facing west
- Cooling Capacity Needed: Based on the square footage alone, an AC unit with a cooling capacity of 5,000 BTUs is needed.
However, accounting for the high ceiling and large window, an extra 10% is added for each, bringing the total cooling capacity to 6,050 BTUs.
Living Room with Multiple Windows and a Sliding Glass Door
- Room Size: 300 square feet
- Ceiling Height: 9 feet
- Windows and Door: Multiple windows and a sliding glass door facing south
- Cooling Capacity Needed: Based on the square footage alone, an AC unit with a cooling capacity of 7,000 BTUs is needed. Accounting for the high ceiling and windows and door, an extra 10% and 30% are added, respectively, bringing the total cooling capacity to 10,010 BTUs.
Small Home Office with No Windows
- Room Size: 80 square feet
- Ceiling Height: 8 feet
- Cooling Capacity Needed: Based on the square footage alone, an AC unit with a cooling capacity of 4,000 BTUs is needed. Accounting for the high ceiling, an extra 10% is added, bringing the total cooling capacity to 4,400 BTUs.
Choosing an Energy-Efficient Window Air Conditioner
To choose an energy-efficient window air conditioner, look for units with an Energy Star rating, as these units meet strict energy efficiency guidelines set by the US Environmental Protection Agency.
Energy-efficient air conditioners use less energy, which can save you money on your electricity bills and reduce your carbon footprint.
Additional Tips for Maintaining a Window Air Conditioner
Clean or Replace the Air Filter
The air filter in your window air conditioner collects dust, dirt, and other debris, which can reduce the unit’s efficiency.
Clean or replace the air filter regularly to ensure that the air conditioner is working at its best.
Check for Leaks or Cracks
Inspect the unit for any leaks or cracks that could let cool air escape and reduce the unit’s efficiency.
If you notice any leaks or cracks, repair them promptly.
Ensure That the Unit is Level
A window air conditioner that is not level can cause water to leak into your home.
Use a level to ensure that the unit is installed properly and level.
Use a Programmable Thermostat or Remote Control
A programmable thermostat or remote control can make it easier to adjust the temperature and settings to your liking.
This can help you save energy and money by avoiding overcooling your space.
 Conclusion: What Size Window Air Conditioner Do I Need
Choosing the right size and energy-efficient window air conditioner is essential for keeping your living space cool and comfortable during the summer months.
By considering factors such as room size, ceiling height, windows, climate, noise level, and maintenance requirements, you can choose a unit that meets your needs and is energy-efficient.
Don’t forget to regularly clean and maintain your window air conditioner to ensure that it’s working at its best and to extend its lifespan.
FAQ
Q. How do I measure the size of the room for a window air conditioner?
Measure the width and length of the room and multiply these two numbers to get the square footage.
Q. What is the general rule for the amount of BTUs needed per square foot of living space for a window air conditioner?
The general rule is that an air conditioner needs 20 BTUs for each square foot of living space.
Q. Should I choose a window air conditioner with a cooling capacity that is slightly higher than what I need?
Yes, it is recommended to choose a window air conditioner with a cooling capacity that is slightly higher than what you need to ensure that the unit can cool your space efficiently and effectively.
Q. What factors should I consider when choosing a window air conditioner?
Factors to consider include the size of the room, ceiling height, windows, climate, and the brand and model of the air conditioner.
Q. How do I calculate the cooling capacity needed for a window air conditioner?
For a room that is 100-150 square feet, you would need an AC unit with a cooling capacity of 5,000 BTUs.
For a room that is 150-250 square feet, you would need an AC unit with a cooling capacity of 6,000 BTUs.
The capacity needed increases by 1,000 BTUs for every additional 50 square feet.
Q. How does ceiling height impact the size of the window air conditioner needed?
If your room has a high ceiling, you should add an extra 10% to the cooling capacity for every foot of ceiling height above 8 feet.
Q. Do I need a larger window air conditioner if my room has large windows or doorways that let in a lot of sunlight?
Yes, you should add an extra 10% to the cooling capacity for every window or doorway in the room that faces west.
Q. Does the climate I live in impact the size of the window air conditioner I need?
Yes, if you live in a hot and humid climate, you will need a larger unit to keep your space cool and comfortable.
If you live in a dry and arid climate, you may be able to get by with a smaller unit.
Q. How do I know if the window air conditioner I choose will be energy efficient?
Look for air conditioners with an Energy Star rating, as these units meet strict energy efficiency guidelines set by the US Environmental Protection Agency.
Q. What are some brands that offer energy-efficient window air conditioners?
Some popular brands that offer energy-efficient window air conditioners include LG, Frigidaire, and Haier.

 How to Fix Window Air Conditioner Noise

 Window Air Conditioner Hacks
 Window AC Helpful Hints Chart


 Setting your AC unit under 60 or 65 degrees may lead to increased energy consumption, potential problems with your AC unit, and discomfort for occupants.
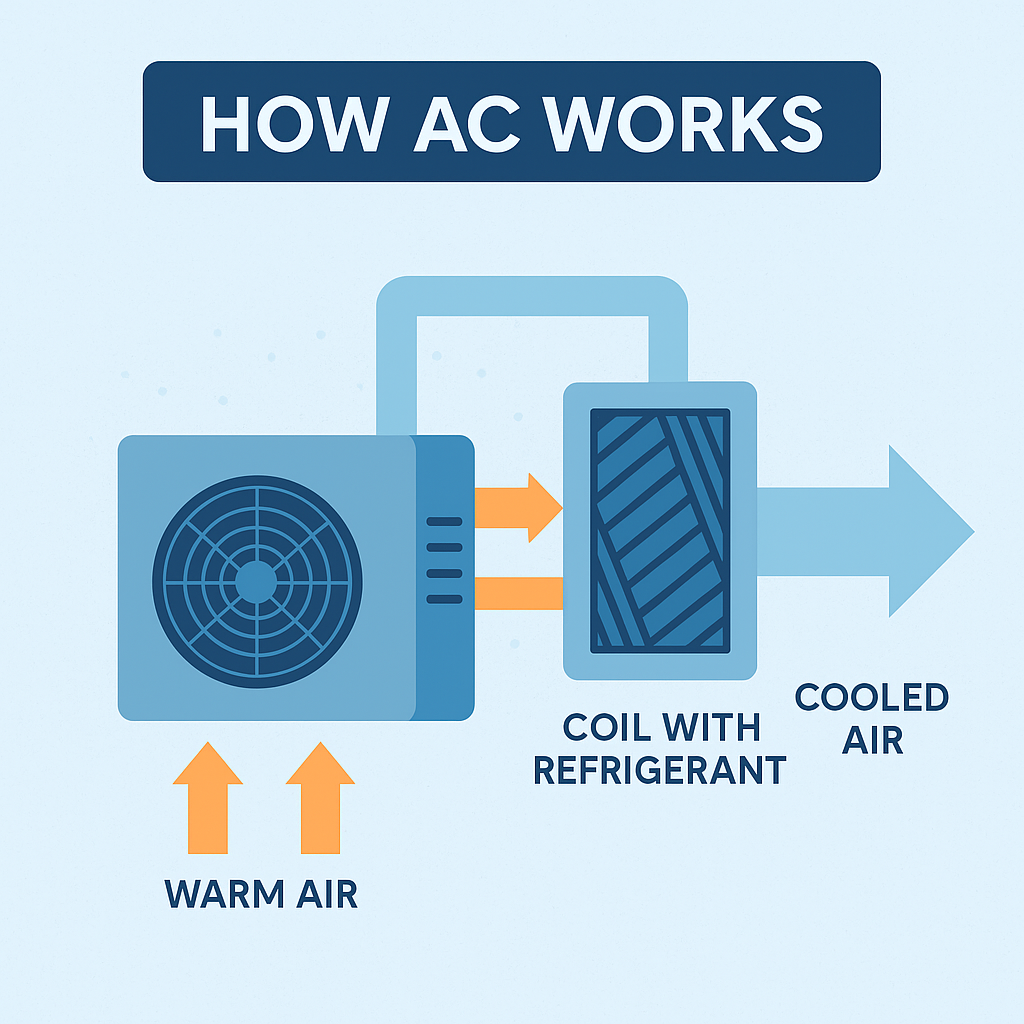 How AC Works