

Beating the Dry Heat: Tips for Keeping Your Baby Comfortable and Healthy in Phoenix
Did you know that approximately 178 babies are born each day in Phoenix? With a birth rate that rivals those of Los Angeles and New York City, Phoenix is a hub of new beginnings, welcoming countless tiny bundles of joy into its vibrant desert embrace.
Unique Challenges of Raising a Baby in Phoenix
Yet, amidst the excitement of parenthood, raising a baby in Phoenix presents unique challenges, particularly the city’s signature dry heat. While every region has its difficulties, like Chicago’s brutal winters, Phoenix stands out not only for its high birth rate but also for the extreme heat that babies must contend with.
 Introduction

In this Guide , We will lay out a strategic list of tips that you can use to help raise your baby or little one in Phoenix Arizona.
First Up
Clothing
When dressing your baby for Phoenix’s dry heat, keep these essential tips in mind:
Prioritize lightweight, breathable fabrics
Choose clothing made from natural fibers like cotton, which allow air to circulate freely and prevent overheating. Look for fabrics with built-in UV protection.
2. Opt for loose-fitting garments
Allow ample room for movement and avoid clothing that clings to their delicate skin.
3. Avoid overdressing
Babies are prone to overheating, so dress them in one additional layer than you would wear yourself.
Keep their heads uncovered indoors

Babies regulate temperature through their heads, so avoid hats unless venturing outdoors under the scorching sun. Use sun hats and bucket hats with wide brims and neck protection when outside.
Navigating Phoenix’s dry heat calls for a thoughtful approach to dressing your little one. When choosing clothing for your baby, prioritize lightweight, breathable fabrics like cotton.
These natural fibers allow air to circulate freely, preventing overheating and promoting comfort. Avoid synthetic materials, which can trap heat and moisture, making your baby feel uncomfortable and irritable.
Loose-fitting garments are essential for keeping your baby cool and comfortable. Opt for clothing that allows ample room for movement and doesn’t cling to their delicate skin. Oversized onesies, loose-fitting rompers, and airy dresses are excellent choices for Phoenix’s warm climate.
Resist the temptation to overdress your baby, even in mild temperatures. Babies are less efficient at regulating their body temperature, making them prone to overheating.
A simple rule of thumb is to dress your baby in one additional layer than you would wear yourself. If you’re comfortable in a T-shirt, a onesie and a lightweight pair of pants are sufficient for your little one.
Remember, babies primarily regulate their temperature through their heads, so avoid hats unless you’re venturing outdoors under the scorching sun. For indoor environments, let their heads remain uncovered to allow for effective heat dissipation.
Bathing
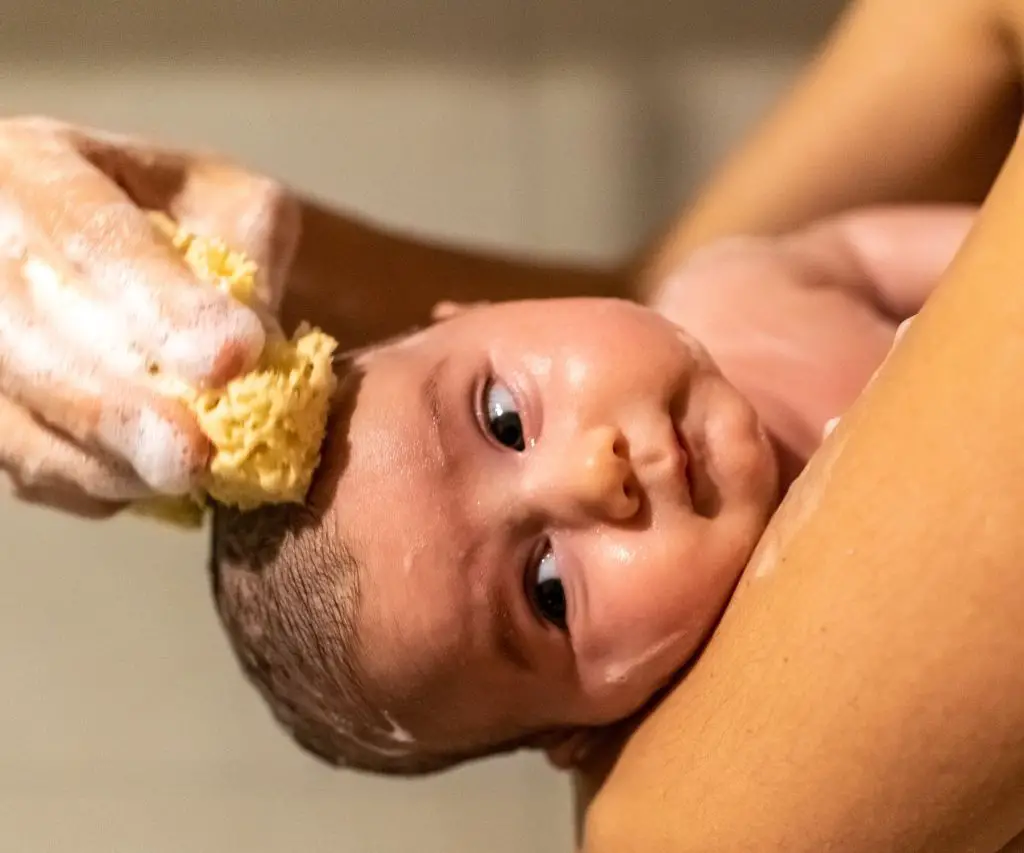
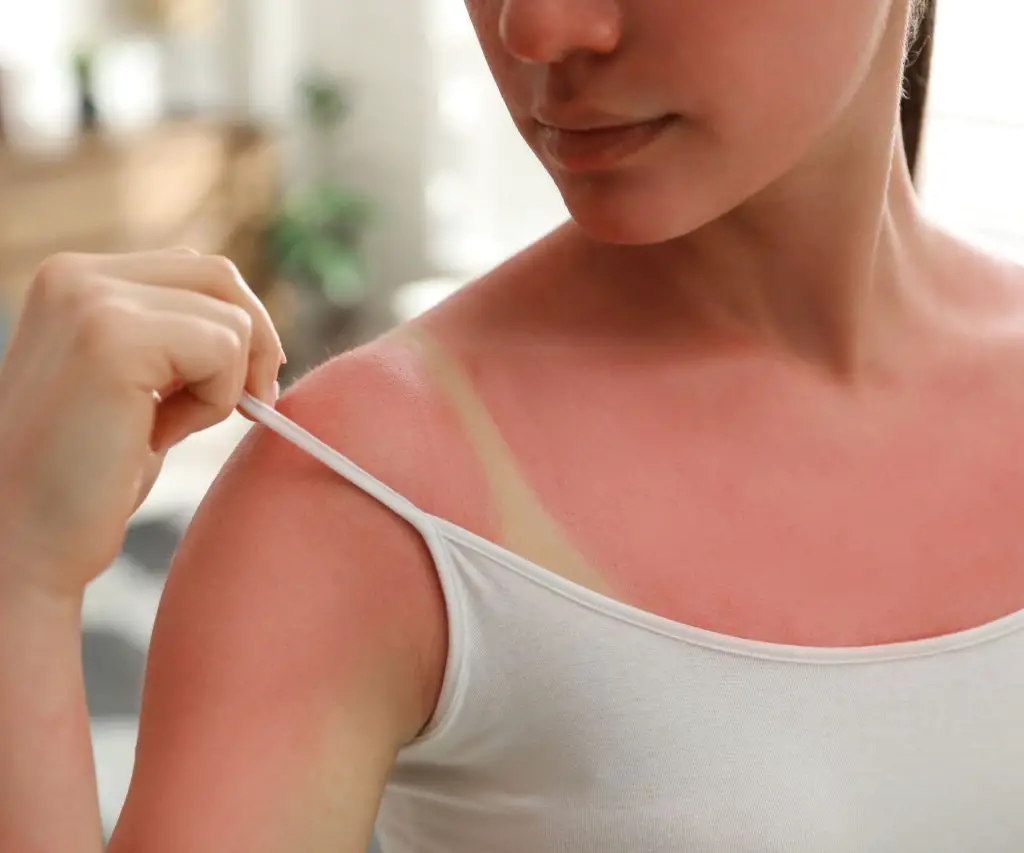
Bathing your baby in Phoenix’s dry climate requires a gentle approach to protect their delicate skin from the harsh effects of the arid environment. Understanding why Phoenix’s climate is particularly challenging for a baby’s skin can help you make informed decisions about bathing practices.
Why Phoenix’s Climate is Harsh on Baby Skin
Phoenix’s dry climate can be particularly harsh on a baby’s delicate skin due to several factors:
- Low Humidity: The low humidity levels in Phoenix, often below 30%, can rapidly draw moisture from the skin, leading to dryness, flakiness, and discomfort.
- Evaporation Rate: The high evaporation rate in Phoenix, caused by the dry air and warm temperatures, accelerates moisture loss from the skin, making it more prone to dryness and irritation.
- Sensitive Skin Barrier: Babies have a thinner and more delicate skin barrier compared to adults, making them more susceptible to the drying effects of the arid climate.
- Immature Sweat Glands: Babies’ sweat glands are not fully developed, reducing their ability to regulate body temperature and moisture levels, making them more vulnerable to dryness and overheating.
- Increased Exposure: Babies often spend more time indoors, where air conditioning can further dry out the air, exacerbating skin dryness and discomfort.
These factors combined make it essential for parents to take extra care in protecting their baby’s skin from the harsh effects of Phoenix’s dry climate, especially during bath time.
Gentle Bathing Techniques for Phoenix Babies
Here are some essential tips to ensure a soothing and comfortable bathing experience for your baby in Phoenix:
- Lukewarm Water: Avoid using hot water, which can strip away natural oils and exacerbate dryness. Instead, opt for lukewarm water that feels comfortable to your touch.
- Mild, Fragrance-Free Cleansers: Choose gentle, fragrance-free soaps or cleansers specifically designed for babies. Avoid harsh soaps or detergents, which can irritate their sensitive skin.
- Limit Bath Time: Keep bath time short, ideally between 5-10 minutes, to prevent excessive moisture loss. Prolonged exposure to water can further dry out their skin.
- Pat Dry, Don’t Rub: After bathing, gently pat your baby dry with a soft towel, avoiding vigorous rubbing. This helps retain moisture and prevent irritation.
- Moisturize Immediately: Apply a fragrance-free, hypoallergenic moisturizer to lock in hydration and protect their delicate skin from dryness.
- Bathing Frequency: While daily baths are common, consider reducing the frequency to 2-3 times a week in Phoenix’s dry climate. Excessive bathing can strip away natural oils, leading to dryness and discomfort.
Moisturization: The Shield Against Dryness
Regular moisturizing is crucial for combating dryness and maintaining the health of your baby’s delicate skin in Phoenix’s arid environment. Moisturizers act as a protective barrier, preventing moisture loss and keeping the skin supple and hydrated.
Choosing the Right Moisturizer
- Fragrance-Free and Hypoallergenic: Opt for fragrance-free, hypoallergenic lotions or creams specifically designed for babies. These products are less likely to irritate their sensitive skin.
- Gentle Formulations: Choose moisturizers with gentle formulations that are free from harsh chemicals, dyes, or alcohol. These ingredients can dry out or irritate the skin.
Moisturizing Routine
- After Bath Time: Apply moisturizer immediately after bathing to lock in hydration while the skin is still damp. This helps prevent dryness and keep the skin soft.
- Throughout the Day: Reapply moisturizer as needed throughout the day, especially on areas prone to dryness, such as the face, hands, and feet.
Additional Tips
- Humidifier: Consider using a humidifier in your baby’s room to add moisture to the air and counteract the drying effects of air conditioning. Use distilled or filtered water to prevent mineral buildup.
- Monitor Skin Condition: Regularly check your baby’s skin for signs of dryness, such as flakiness, redness, or itchiness. If you notice any concerns, consult your pediatrician for guidance.
By following these bathing and moisturizing practices, you can effectively protect your baby’s delicate skin from the harsh effects of Phoenix’s dry climate, ensuring their comfort and well-being.
Creating a Comfortable Sleep Environment
Creating a serene sleep haven for your little one is crucial for their restful slumber, especially in Phoenix’s dry climate. Here’s how to transform their nursery into a cozy oasis:

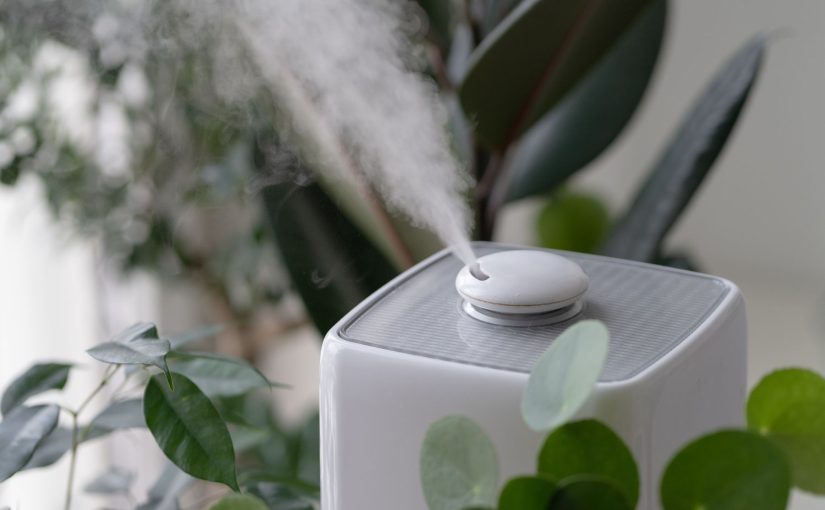
 Cool Mist Humidifier: A Balm for Dry Air

A cool mist humidifier is an essential tool for combating the aridity that can disrupt your baby’s sleep. According to the American Academy of Pediatrics, ideal humidity levels for a baby’s room are between 30-50%. By adding moisture to the air, a humidifier helps prevent dryness, nasal congestion, and skin irritation, promoting a more comfortable sleep environment.
Humidifier Placement and Maintenance
- Position: Place the humidifier on a flat, stable surface away from your baby’s crib to avoid accidental spills or contact.
- Cleaning: Regularly clean the humidifier according to the manufacturer’s instructions to prevent the growth of mold and bacteria.
- Humidity Level: Aim for a humidity level between 40-50% in your baby’s room. Excessive humidity above 50% can encourage mold growth.
Bedding and Layering
- Breathable Bedding: Choose breathable bedding made from natural fibers like cotton, which allow for air circulation and prevent overheating.
- Appropriate Layering: Dress your baby in lightweight, comfortable sleepwear. Avoid overly warm blankets or excessive layers, as they can trap heat and lead to discomfort.
Room Temperature
- Ideal Temperature: Maintain a comfortable room temperature between 68-72 degrees Fahrenheit to prevent overheating or chills, according to the American Academy of Pediatrics.
- Thermometer: Use a room thermometer to monitor the temperature accurately and adjust as needed.
Additional Tips
- Darken the Room: Create a dark, sleep-inducing environment by using blackout curtains or blinds to block out sunlight.
- White Noise: Consider using a white noise machine to mask external sounds and promote a sense of calm for your baby.
By implementing these strategies, you can create a comfortable and soothing sleep environment that allows your baby to rest peacefully, even in Phoenix’s dry climate.
Outdoor Activities
A personal sidenote:
As a parent in Phoenix, I’ve personally found it challenging to find indoor activities that are age-appropriate for small children. The intense summer heat often limits our outdoor options, making it crucial to plan ahead and research indoor venues that cater to little ones.
However, on a positive note, the Phoenix Zoo is actually pretty awesome, especially if you can go during the cooler months when the animals are out and about. We found our visit in January to be an ideal time to explore the animal exhibits, as the weather was mild and pleasant, and the animals were more active compared to the scorching summer months.
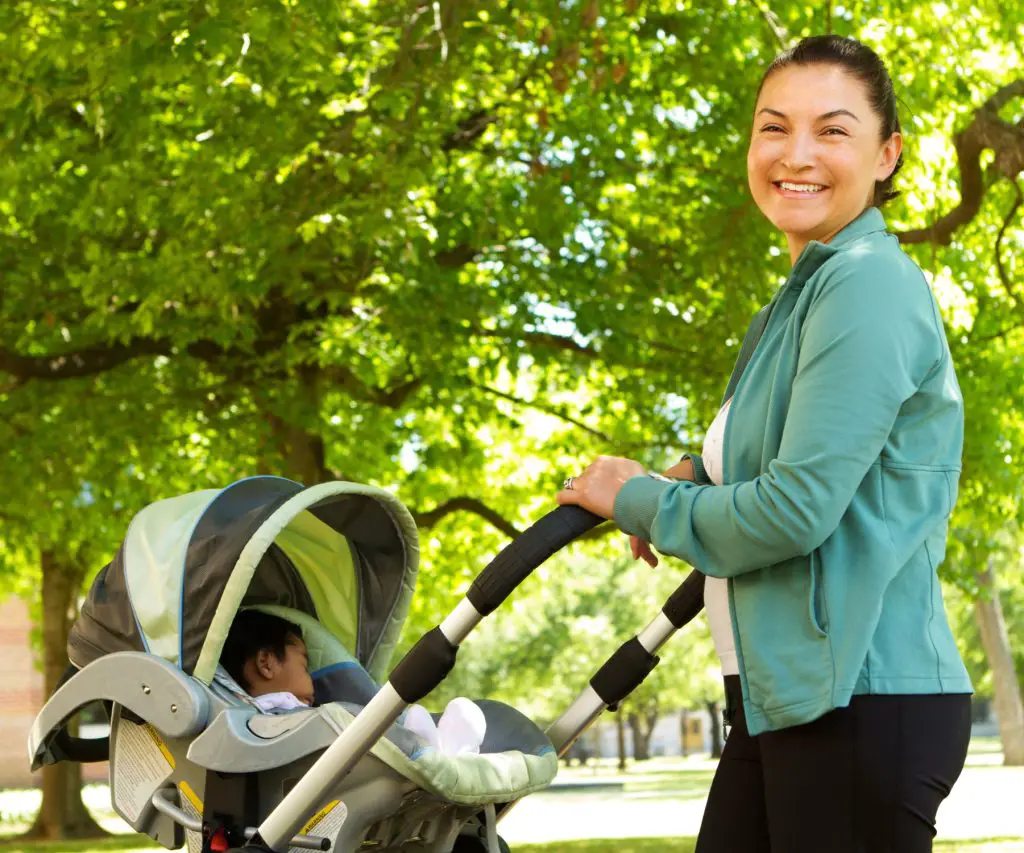
Phoenix’s abundant sunshine invites outdoor exploration, but it’s crucial to protect your little one from the sun’s intensity. Here’s how to enjoy outdoor adventures safely:
Timing is Key
- Avoid Peak Hours: Plan outdoor activities for the early morning or late afternoon when the sun’s rays are less intense. Avoid direct sunlight between 10 am and 4 pm, when UV radiation is strongest.
- Seek Shade: Whenever possible, seek shade under trees, umbrellas, or canopies to minimize sun exposure.
Sunscreen Shield
- SPF 30+: Apply a broad-spectrum sunscreen with an SPF of 30 or higher to your baby’s exposed skin, including the face, ears, hands, and feet.
- Reapplication: Reapply sunscreen every two hours, or more frequently if sweating or swimming.
Protective Clothing
- Lightweight Coverage: Dress your baby in lightweight, long-sleeved clothing made from tightly woven fabrics to provide physical protection from the sun’s rays.
- Wide-Brimmed Hat: A wide-brimmed hat will shade your baby’s face, neck, and ears, offering additional protection from the sun.
Hydration Essentials
- Frequent Nursing: For breastfed infants, nurse every 1-2 hours to ensure proper hydration.
- Additional Fluids: For babies over six months, offer additional fluids like water or diluted fruit juice to supplement hydration.
- Monitor Dehydration: Watch for signs like decreased urination, dry mouth, or sunken fontanelles in infants. Seek medical attention if dehydration is suspected.
By following these sun-smart strategies, you can safely enjoy outdoor adventures with your little one, protecting their skin from Phoenix’s intense sunshine.
Indoor Activities
With Phoenix’s extremely hot summers, finding indoor activities for babies and toddlers is a must. Some recommended indoor options include:
- Indoor playgrounds and activity centers
- Children’s museums
- Public libraries for baby story times and play areas
- Mall play areas and walking
- Indoor swimming pools, especially during cooler mornings
- Air-conditioned botanical gardens and zoos
Researching family-friendly venues that offer air conditioning, play spaces, and engaging activities can help you endure the long Phoenix summers with little ones. The Phoenix Zoo and Children’s Museum are especially good bets.
Heatstroke Safety

Heatstroke can be a serious concern for babies in Phoenix’s hot and dry climate. It’s crucial for parents to recognize the warning signs and act promptly to prevent complications.
Personal note:
Despite Phoenix’s reputation for dry desert air, The humidity levels can be surprising especially around August. The first time I experienced it, I thought I was going to have a stroke!
The combination of heat and humidity can be particularly challenging for babies, making it even more important to follow the guidelines for sun protection, hydration, and monitoring for signs of heatstroke.
Recognizing Heatstroke Symptoms
- Rapid Breathing: Increased respiratory rate is a key indicator of heatstroke. Your baby may appear to be breathing quickly or with difficulty.
- Flushed Skin: Reddened, flushed skin, particularly on the face, is a common sign of overheating and potential heatstroke.
- Lethargy: Excessive drowsiness, lack of energy, or unresponsiveness can signal that your baby’s body is struggling to cope with the heat.
- Decreased Urination: Reduced urine output, indicated by fewer wet diapers, can be a sign of dehydration and potential heatstroke.
- Other Symptoms: Additional symptoms may include a high fever, vomiting, diarrhea, or seizures.
If you notice any signs of heatstroke in your baby, seek immediate medical attention. Prompt intervention can prevent serious complications.
Prevention Strategies
- Avoid Overheating: Dress your baby in lightweight clothing and avoid overdressing.
- Hydration: Offer frequent nursing or bottle feeding for infants and additional fluids for older babies.
- Limit Sun Exposure: Avoid direct sunlight during peak hours and seek shade whenever possible.
- Monitor Closely: Keep a watchful eye on your baby during outdoor activities and monitor for overheating signs.
Conclusion
As you embark on the journey of parenthood in Phoenix’s unique climate, remember that with a little extra care and attention, your baby can thrive in this vibrant desert city.
By following these simple yet effective strategies, you can ensure your little one stays comfortable, healthy, and happy, embracing all the joys that Phoenix has to offer.
Key Takeaways
- Choose lightweight, breathable clothing to prevent overheating
- Use gentle bathing practices and moisturize regularly to combat dry skin
- Maintain comfortable sleep conditions with a humidifier, proper temperature, and bedding
- Protect from sun exposure and keep hydrated for outdoor activities
- Watch closely for heatstroke symptoms like rapid breathing, lethargy, and decreased urination
With these tips in hand, you can confidently navigate the challenges of raising a baby in Phoenix’s dry climate, creating a nurturing environment where your little one can flourish. Embrace the adventure of parenthood in this sun-soaked city, cherishing every moment with your precious bundle of joy.
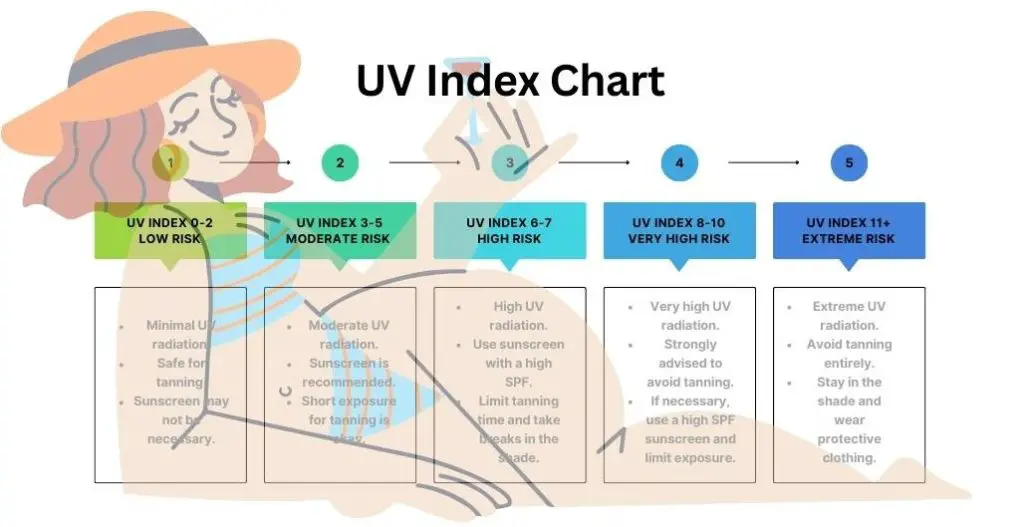
 Avoid UV Indexes 8-10
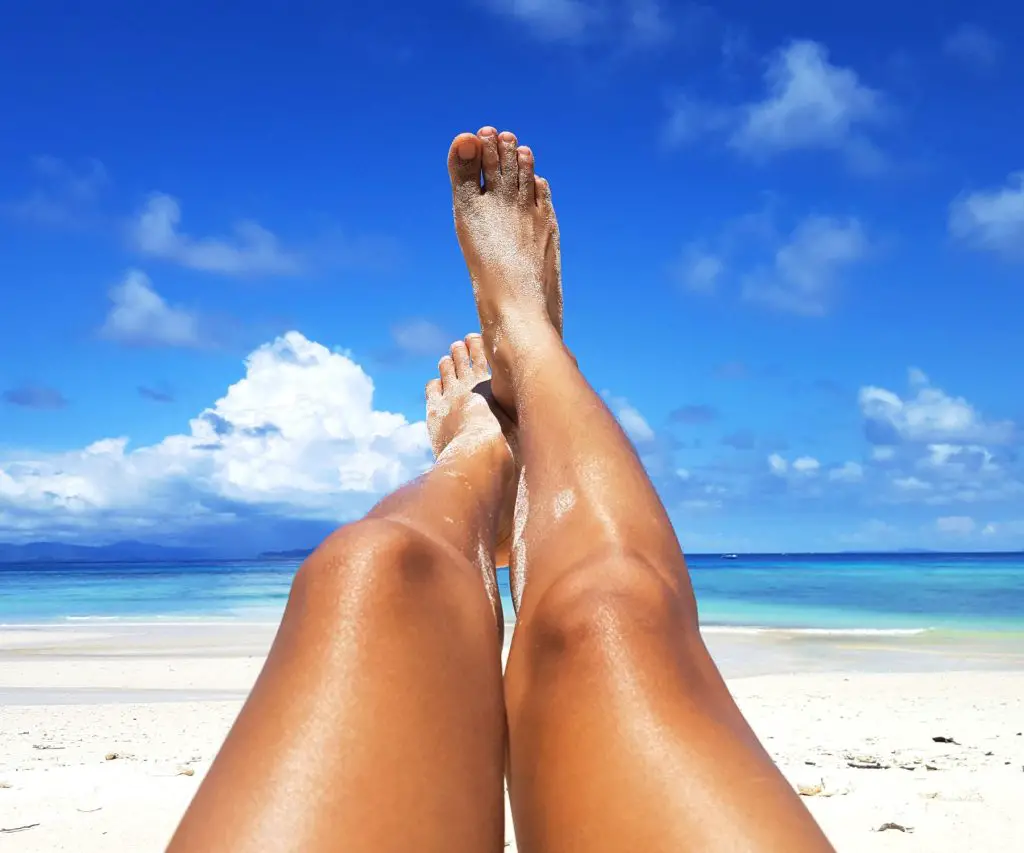 The Takeaway
 Tips for Choosing an Air Purifier for Cat Allergy Relief


 How to troubleshoot humidifier issues


 Fleas are one of the most irritating and problematic pests that I can think of that any pet owner has to do with from time to time.
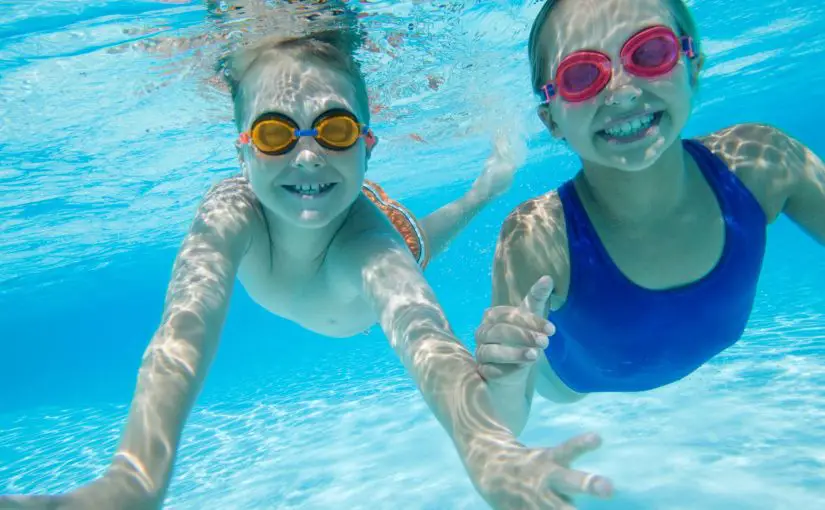


 Choosing the Right Large Room Humidifier
 Key Features for Open Floor Plan Humidifiers

 Cleaning Water Tanks by Humidifier Type