Can I Use a Humidifier With Hard Water?
Yes, you can use a humidifier with hard water. Is it the Best? No. Hard water contains dissolved minerals like calcium and magnesium which can leave deposits inside the humidifier, but with proper maintenance you can prevent buildup and operate efficiently.
What is Hard Water and Why Does it Cause Problems in Humidifiers?
Hard water is caused by groundwater flowing through areas with high concentrations of minerals such as limestone, chalk, and certain types of sandstone. As the water erodes these deposits, ions of calcium, magnesium, and other minerals dissolve into the water.
These mineral ions give hard water two problematic properties:
- Hardness – The minerals bind to soap molecules, preventing lathering. This makes cleaning more difficult.
- Scale Formation – The dissolved minerals recrystallize as hard deposits or scale when the water evaporates or changes temperature.
Don’t miss our in-depth Humidifier Guide.
In a humidifier, the heating element boils the water, producing water vapor that is dispersed into the air. As the hard water evaporates, the minerals are left behind, coating surfaces with scale deposits.
Even small amounts of scale buildup can cause major problems:
- Reduced efficiency as scale blocks pores and narrows air passages. More energy is required to boil the water.
- Mineral dust blown into the air and deposited around the room as the scale fragments.
- Bacteria and mold growth within the porous scale deposits.
- Corrosion and deterioration of metal components as minerals accelerate oxidation.
To prevent scale buildup when using hard water, additional maintenance and care is required.
Testing and Measuring Water Hardness
Water hardness is measured in grains per gallon (gpg) which represents the concentration of dissolved minerals. The total hardness encompasses multiple ions with calcium and magnesium being the primary contributors.
Classification of Water Hardness
| Hardness Range (gpg) |
Classification |
| 0-3 |
Soft |
| 4-8 |
Moderately Hard |
| 8-12 |
Hard |
| Over 12 |
Very Hard |
The EPA considers water with more than 4 gpg to be hard. Extremely hard water can have a hardness above 30 gpg.
Water testing kits are available to measure your tap water’s hardness. These typically use a titration approach, adding a bonding agent until the mineral ions are fully bound. The amount of binding agent required determines the water hardness.
Many municipal water utilities also have hardness data available online or will test your water if you provide a sample. Identifying your water’s hardness level will determine the risk of scale buildup and guide appropriate maintenance steps.
 Problems Caused by Using Hard Water in Humidifiers
Hard water creates both functional and aesthetic issues when used in humidifiers. The primary problems are:
Mineral Scale Buildup
As hard water evaporates, the dissolved calcium, magnesium, and other minerals are deposited as a solid white or grayish scale layer coating internal surfaces.
This mineral buildup has several negative effects:
- Reduced Performance – Scale deposits block pores and air passages, acting as an insulator. More energy and time is required to boil the water. Humidification efficiency decreases.
- White Dust – Scale deposits eventually flake off and get blown into the air as a fine white dust which settles on surfaces. This dusty residue requires frequent cleaning.
- Bacterial Growth – The porous scale deposits provide an ideal environment for bacteria, mold, and other microorganisms to proliferate. These get ejected into living spaces.
- Corrosion – Mineral deposits increase water conductivity and electrical current flows through the concentrated ions. This accelerates corrosion of metal components.
- Shortened Lifespan – The combination of reduced efficiency, microbe growth, and corrosion damage shortens the functional lifespan of humidifiers with uncontrolled scale buildup.
Aesthetic Issues
In addition to performance problems, hard water causes unsightly white scale that accumulates in humidifiers and forms layers of fine white dust around your home.
The white scale forms coatings on:
- Internal reservoir and chamber surfaces
- Heating elements
- Pumps, solenoids, and valves
- Nozzles, evaporators, and mist outlets
Meanwhile, airborne mineral dust settles as a powdery white film on:
- Furniture, shelves, and countertops
- Electronics, TVs, and appliances
- Floors and carpets
This dust requires frequent wiping and cleaning to remove. Without cleaning, thick layers of white scale and dust build up and become difficult to remove from surfaces.
Solutions for Using a Humidifier with Hard Water
To allow humidifiers to operate efficiently in hard water conditions, solutions are required to remove or prevent mineral scale buildup.
Here are effective options for using humidifiers with hard water:
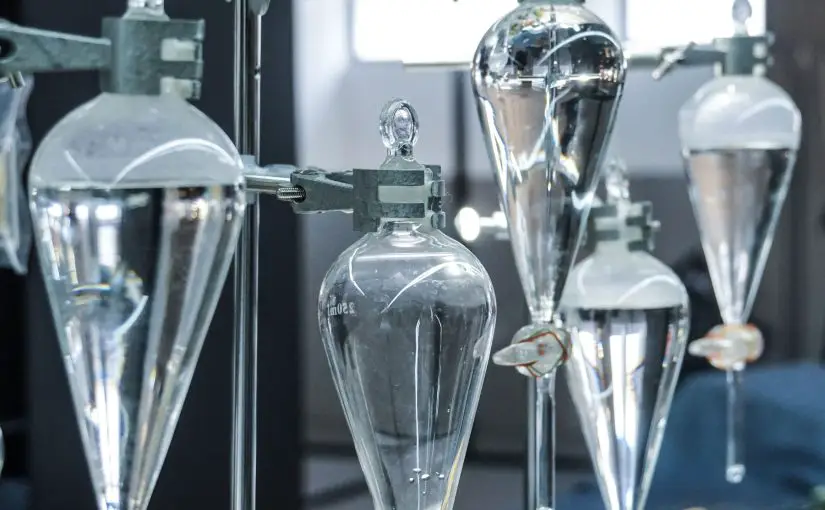
Use Distilled or De-mineralized Water
Using distilled or deionized water eliminates dissolved minerals, preventing humidifier scale buildup. This fully prevents hard water problems but does incur increased cost and inconvenience.
Advantages:
- No scale buildup
- No white dust residue
- Maximum humidifier efficiency
Disadvantages:
- Must purchase distilled water
- Inconvenient vs tap water
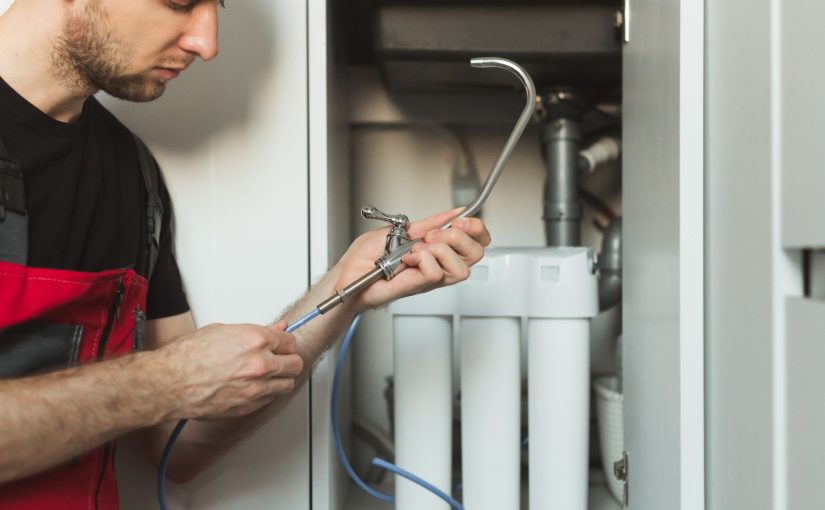
Install a Water Softener
Water softeners remove calcium and magnesium ions, exchanging them for sodium ions. This eliminates water hardness and converts hard water to soft water prior to entering your home’s plumbing.
Advantages:
- Whole house solution
- Convenient treated water from all faucets
- Soft water improves cleaning efficacy
Disadvantages:
- High equipment cost
- Ongoing maintenance required
- Adds sodium to water
Use Demineralization Cartridges
Attaching a demineralization cartridge to the humidifier’s water inlet removes dissolved minerals as water flows into the reservoir. These provide convenience similar to a water softener but just for a single humidifier rather than whole house.
Advantages:
- Convenient treated water
- Low equipment cost
- Easy installation
Disadvantages:
- Cartridges require periodic replacement
- Only treats a single humidifier unit
Use Steam Vaporizers
Steam vaporizers boil water into steam and do not rely on wicking filters or evaporative surfaces. This minimizes mineral buildup inside the humidifier. However, the steam still contains minerals which deposit as white dust.
Advantages:
- Less internal scale buildup
- Lower maintenance frequency
Disadvantages:
- Still produces white dust
- Potential for some internal buildup
Frequently Clean and Change Water
Diligent cleaning and water changes can minimize mineral buildup. Daily water changes limit stagnant water and scale formation. Regular scale removal maintenance preserves efficiency and lifespan.
Advantages:
- No added equipment costs
- Simple process using vinegar or citric acid cleaners
Disadvantages:
- Very labor intensive
- Not as effective as water treatment
Combination Approach
A combination of filtered water, frequent cleaning and water changes provides the best results. This balances convenience, cost and effectiveness. For severe hard water, a whole house water softener is the most thorough solution.
Cleaning and Removing Mineral Buildup
To reduce scale buildup when using hard water, regular cleaning is imperative. Here are effective methods to dissolve and remove mineral deposits:
- Vinegar – Fill humidifier tank and let soak for 30+ minutes, then scrub with a brush or cloth to remove deposits. Rinse thoroughly. Avoid metal components.
- Citric Acid – Dissolve powdered citric acid in warm water and soak. Citric acid dissolves scale more effectively than vinegar. Rinse thoroughly.
- Humidifier Cleaning Solution – Use a commercial cleaning product formulated to dissolve mineral deposits and sanitize components.
- Brush and Wipe – Gently scrub stubborn deposits with a soft brush or cloth. Avoid damaging fragile components.
- Descaling Solution – For extreme buildup, fill humidifier with a chemical descaling solution. This dissolves thick layers of scale. Rinse thoroughly afterwards.
- Replace Filters – Mineral deposits on filters and wicks will gradually reduce performance. Replace disposable filters regularly.
Thorough cleaning should be performed at a minimum at the start and end of each humidification season. More frequent cleaning, such as monthly, may be required depending on the water hardness and humidifier run time.
Tips for Using a Humidifier with Hard Water
Here are some tips for smoothly operating a humidifier with hard water:
- Know your water hardness – Test your water and understand your gpg hardness level. This determines your scale risk.
- Inspect for scale buildup – Periodically check inside the tank and inspect components. Look for white scale. Catch buildup early.
- Change water daily – Stagnant water accelerates scale formation. Drain and refill the tank each day.
- Clean per manufacturer instructions – Follow the cleaning schedule and methods in your owner’s manual. Use recommended cleaners.
- Remove scale carefully – Never scratch or damage interior surfaces when removing scale. Use soft brushes and cloths.
- Rinse after cleaning – Fully rinse away all cleaning solutions. Vinegar and descalers can damage components.
- Use warm, not hot water – Heated water contains less dissolved oxygen which allows more scale to form.
- Check filters – Replace wicks and filters per manufacturer’s schedule. Scale quickly blocks filters.
- Consider an inline filter – For very hard water, install a demineralization cartridge to pretreat water entering the humidifier.
Diligent care and maintenance allows humidifiers to operate efficiently even with very hard tap water. Be vigilant and promptly remove any mineral scale buildup before it accumulates.
Health Concerns Using Humidifiers with Hard Water
In addition to operational issues, scale and bacteria buildup in humidifiers using hard water can present potential health hazards:
Mineral deposits that form inside humidifiers and accumulate as white dust around your home contain calcium, magnesium and other waterborne compounds. At high concentrations, these can be respiratory irritants.
Trace heavy metals found in many water sources also concentrate in the scale coating humidifier components. These metals, such as lead or chromium, become airborne with the mineral dust.
Dispersed Bacteria and Mold
The moist, porous scale deposits inside humidifiers allow rapid growth of potentially harmful microorganisms. These spores, bacteria and mold get blown out with the humidified air.
At risk individuals including infants, elderly and those with compromised immune systems may develop infections from contaminated humidifier mist.
Remedies and Precautions
Some steps to reduce health risks from contaminants in humidifiers using hard water include:
- Use filtered, distilled or softened water to minimize scale deposits.
- Clean humidifiers frequently with disinfectants to reduce microbe levels.
- Limit humidifier run time to control airborne dust concentrations.
- Keep humid areas well ventilated to dilute contaminants.
- Install humidifier upwind from living spaces so dust settles out.
- Use steam vaporizers to minimize internal reservoirs where scale accumulates.
With proper maintenance and care, humidifiers can be used safely even with hard water. Promptly removing scale buildup, disinfecting components, and using pure water minimizes health hazards.
Finding the Right Humidifier for Hard Water Conditions
When purchasing a humidifier for use in hard water areas, seek models designed to tolerate mineral deposits:
Large Access Openings
Look for humidifiers with large tanks and openings which allow easier inspection and cleaning of interior surfaces.
Removable / Replaceable Components
Many humidifiers have removable tanks, chambers, heating elements and other parts which can be descaled separately or easily replaced if damaged.
Wide Water Paths
Humidifiers with large nozzles and wide internal water channels allow more dissolved minerals to pass through without accumulating into scale deposits.
Anti-Scale Technologies
Some models have self-cleaning features, anti-scaling coatings, or electronic descaling systems to minimize mineral buildup. These reduce maintenance requirements.
Bypass Ion Exchange Port
Specialized humidifiers feature a bypass port to install demineralization cartridges. This allows convenient scale-free operation.
Selecting a humidifier made to handle hard water will make maintenance easier and prolong the equipment’s lifespan compared to standard models. Be sure to check the owner’s manual for hard water guidance.
Conclusion
Hard water can cause operational problems and added maintenance when used in humidifiers, but is not a barrier to effective humidification. Several solutions exist to remove minerals or mitigate scale buildup.
The keys for successfully operating a humidifier with hard water include:
- Measuring water hardness to quantify the risk
- Frequently changing water and cleaning to remove deposits
- Using pure distilled or de-mineralized water
- Installing a water softener or demineralization cartridge
- Selecting equipment designed for hard water environments
A combination of filtered water, vigilant cleaning, and scale-resistant humidifiers allows convenient and efficient humidification even with very hard tap water.
With proper care, prevention of scale buildup, and occasional descaling, humidifiers can operate problem-free for many years and provide the desired level of humidity. Hard water does present challenges, but these can be readily managed with the right maintenance approach.


 Benefits of Using Softened Water in Humidifiers
 Mineral Deposits
 Tips for Using a Humidifier for Child Asthma
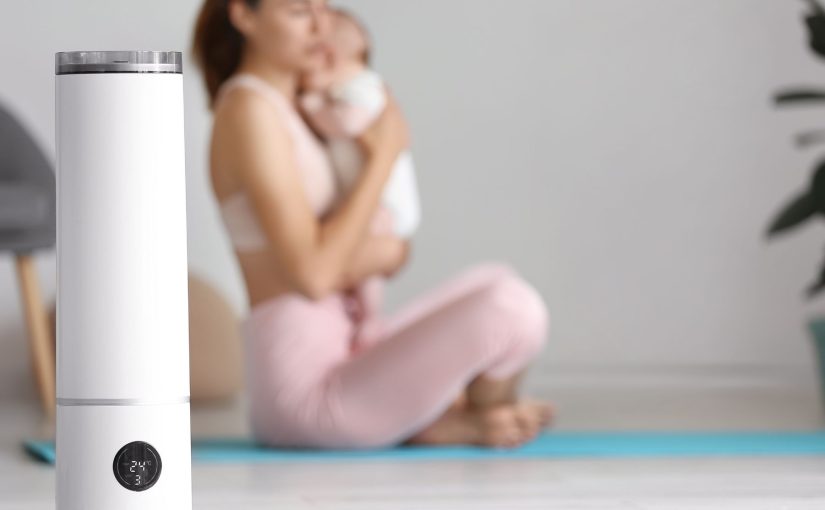
 Tips for Using a Humidifier for Infant Snoring
 How Can a Humidifier Help Chapped Lips?
 How Can a Humidifier Help with Dry Mouth?
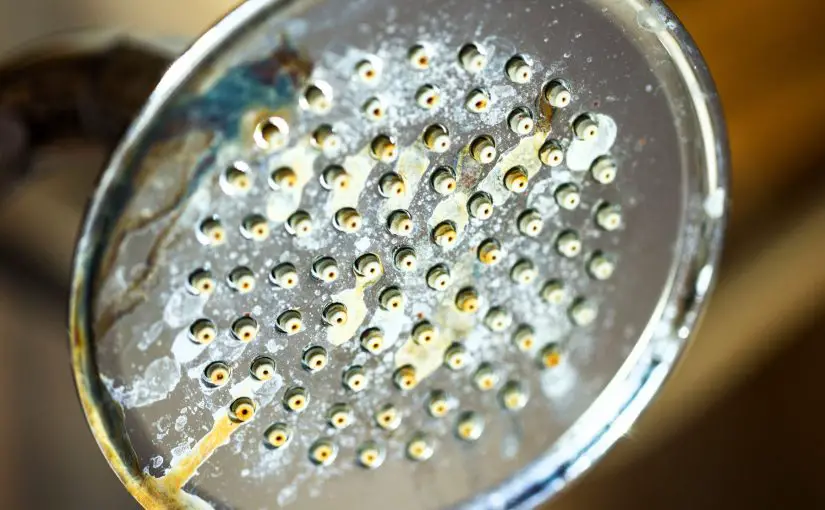
 Problems Caused by Using Hard Water in Humidifiers