
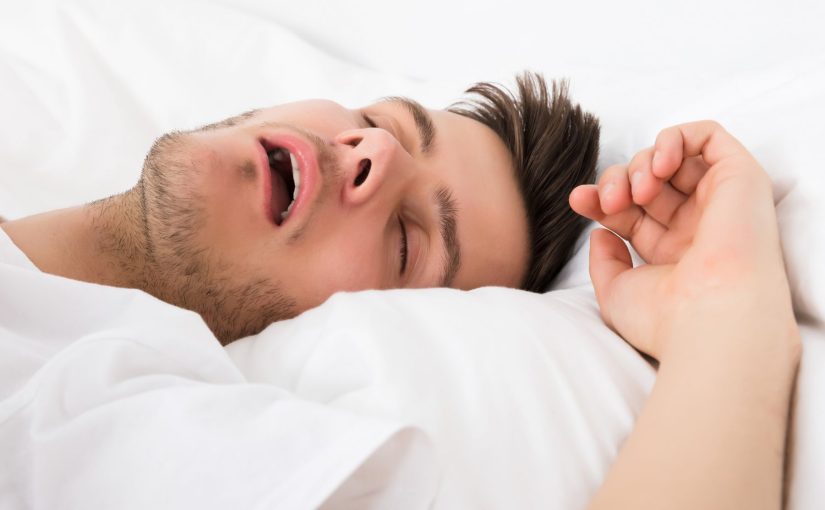
Can a Humidifier Help with Dry Throat from Snoring?
 Yes, using a humidifier can help relieve a dry, irritated throat that results from snoring. This is because snoring often occurs due to dried out, inflamed tissues in the throat that vibrate as air passes over them. The moisture from a humidifier can lubricate and soothe these tissues, reducing inflammation and vibration.
Studies show that humidifiers can improve snoring in those with mild sleep apnea and throat dryness.
What Causes Snoring and Throat Dryness?
Snoring occurs when the tissues in the back of the throat, known as the soft palate and uvula, vibrate as air passes through the throat during breathing. This vibration leads to the loud snoring noises.
Some key causes of snoring include:
- Narrowed airways from congestion or swelling
- Being overweight or obese
- Sleeping on the back
- Alcohol consumption before bed
- Anatomical factors like enlarged tonsils/adenoids
Snoring also often results in a very dry throat upon waking up. This is because:
- Breathing through the mouth dries tissues
- The vibration traumatizes and dries out the throat tissues
- Dry air exacerbates natural throat dryness during sleep
Breathing in Dry Air
Breathing dry air is a major factor in snoring and throat dryness. Cold, dry air lacks moisture and lubrication for the airways. This means it irritates tissues as it passes through.
Indoor air can become excessively dry in the winter from heating systems. Dry air filled with pollutants and allergens further aggravates and inflames the respiratory tract.
Nasal Congestion
Stuffy, congested nasal passages from colds or allergies can also obstruct airflow through the nose. This forces you to breathe through your mouth, bypassing the natural humidification of air that would occur in the nasal passages.
Mouth breathing leads to dryness and irritation of the throat. Nasal congestion also causes turbulence and obstruction in airflow, increasing tissue vibration.
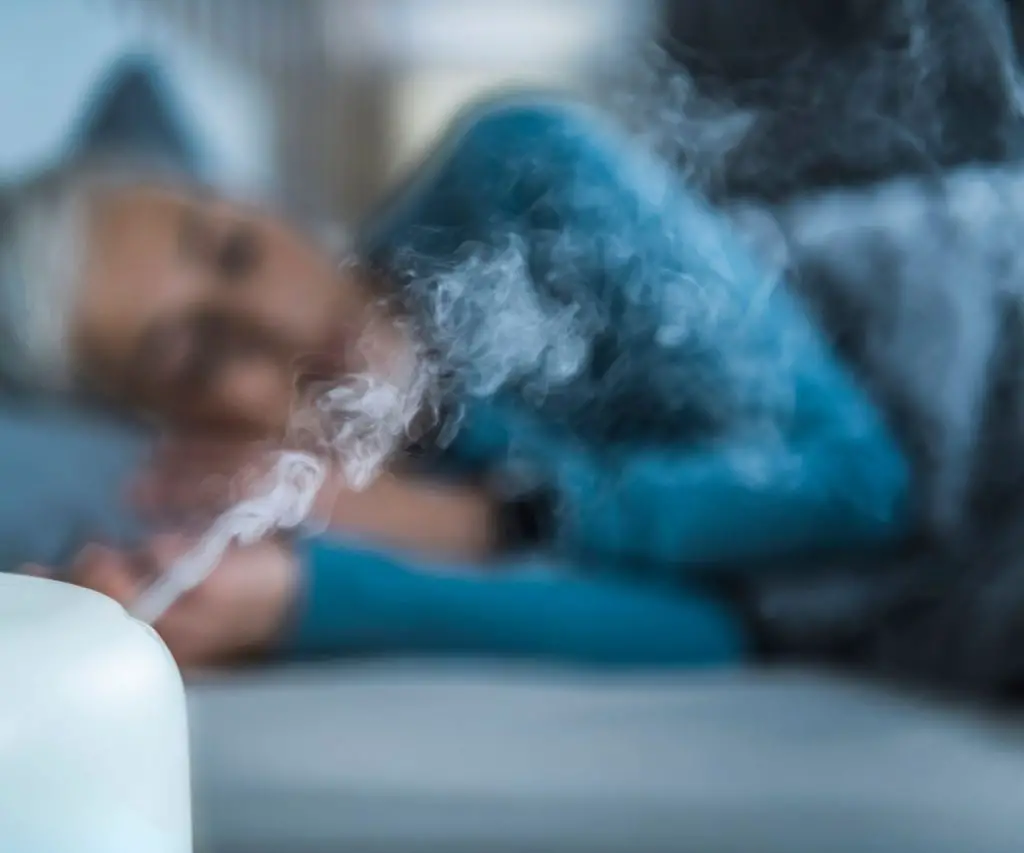
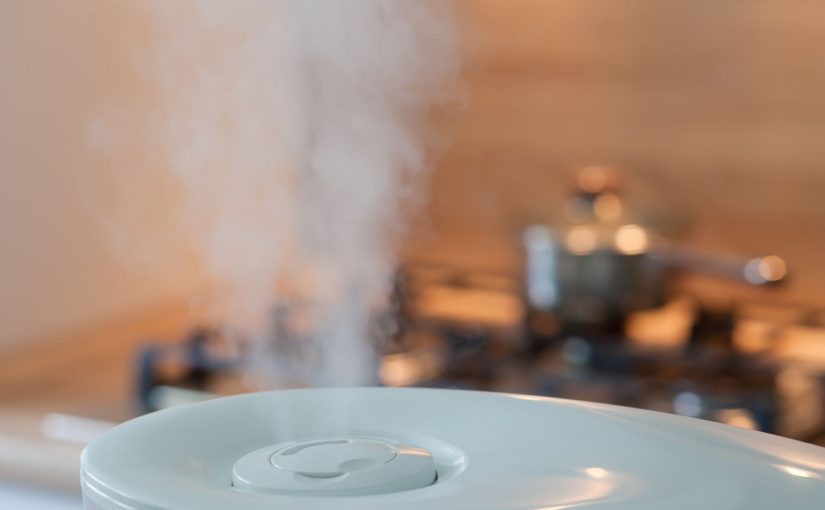
How Can Humidifiers Help Snoring and Throat Dryness?
There are several ways humidifiers can help relieve snoring and dry throat:
Moisturizing Dry Air
Humidifiers work by releasing water vapor to moisten the air. This adds much needed moisture into dry indoor environments.
Breathing air with higher moisture content helps hydrate, lubricate, and soothe irritated nasal passages and throat tissues.
Relieving Congestion
The hydrating effects of a humidifier can also help thin out mucus secretions in the nose and throat. This helps decongest the nasal passages so you can breathe through your nose.
This avoids mouth breathing and discomfort from dryness when breathing through the mouth.
Reducing Inflammation and Swelling
The added moisture can reduce inflammation and swelling in the soft tissues of the nasal cavity and throat. This swelling narrows the airways and leads to snoring.
By reducing irritation and inflammation, the airway opens up allowing smoother, quieter breathing.
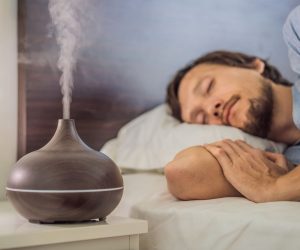
Types of Humidifiers for Snoring Relief
There are many types of humidifiers that can be used to help snoring:
- Warm mist humidifiers release warm water vapor to rapidly humidify the air. The heat also feels soothing.
- Cool mist humidifiers don’t heat the water, so are safer if children are present.
- Ultrasonic humidifiers use vibration to produce micro-fine mist.
- Evaporative humidifiers use a fan to blow air through a water-soaked filter.
- Travel humidifiers are smaller, portable options perfect for travel.
Advanced features like humidistats, timers, and auto shut-off provide added convenience and safety.
Using Essential Oils
Many humidifiers allow using essential oils in the water tank. The vapors infuse the mist with natural aromatherapy.
Menthol and eucalyptus oils can help relieve congestion and open airways. Lavender may help relaxation.
Pairing with Air Purifiers
Combination humidifier-air purifier devices provide extra relief by filtering allergens and pollutants from the air.
This removes irritants that could worsen breathing issues and inflammation.
 Is a Humidifier an Effective Snoring Solution?
 Is a Humidifier an Effective Snoring Solution?
While humidifiers can certainly help snoring in some people, they aren’t a cure-all solution. They are most useful for mild snoring related to throat dryness.
For chronic, severe, or sleep apnea-related snoring, medical treatment is necessary. This may involve CPAP therapy, oral devices, surgery, or other interventions prescribed by a doctor.
It’s always a good idea to discuss persistent snoring with your physician to rule out serious conditions like obstructive sleep apnea.
Using Humidifiers Correctly
To use humidifiers safely and effectively:
- Follow all directions for filling, cleaning and maintenance.
- Keep humidity between 40-50%. Higher levels promote mold growth.
- Place on a stable surface away from bedding.
- Clean frequently to prevent microbial growth in stagnant water.
- Monitor usage to see if snoring improves.
While moderately increasing humidity can help thin mucus and prevent throat dryness, too much humidity can make snoring worse by promoting excess throat mucus production and swelling.
Using Humidifiers with CPAP Machines
Many people use both a humidifier and a CPAP machine for sleep apnea. The heated humidification in CPAP therapy helps prevent dry airway irritation.
Tips for using humidifiers with CPAP include:
- Set the CPAP’s integrated humidifier to the highest comfortable setting.
- Add an external humidifier to the bedroom if more humidity is needed.
- Try a full face CPAP mask to limit air leaks and dryness.
- Use CPAP wipes to clean facial oil buildup on the CPAP mask cushion.
It’s also important to maintain a good CPAP mask seal to prevent mouth leaks that bypass the humidified air.
Dangers of Excessively Dry or Humid Air
While some humidity can prevent snoring, both excessively dry air and extremely humid air can irritate the airways and worsen breathing issues.
Problems with Dry Air
- Irritates and dries nasal passages and throat
- Contributes to inflammation and swelling in airways
- Thickens mucus secretions making them harder to clear
Problems with Very Humid Air
- Promotes excessive mucus production
- Can encourage microbial growth like mold
- Leads to swelling and obstruction of nasal/throat tissues
Finding the ideal room humidity level between 40-50% provides maximum snoring relief and airway comfort.
Ideal Humidity Levels for Snoring Relief
To prevent excessive dryness without going overboard on humidity:
- Use a hygrometer to monitor humidity levels
- Maintain bedroom humidity between 40-50%
- Run a humidifier mostly at night during sleep
- Use a dehumidifier if room humidity exceeds 50%
- Ensure adequate home ventilation and air circulation
Avoid extremely high humidity above 50%, as the risks of mold growth and airway obstruction increase.
Work to eliminate leaks, condensation issues, or dampness that could lead to high humidity and subsequent mold concerns.
Risks of Excessive Humidity Exposure
Prolonged exposure to humid conditions above 50% can become dangerous in several ways:
Exacerbating Asthma and Allergies
The moisture and mold spores in humid air can irritate lungs and trigger asthma attacks or allergy symptoms in sensitive individuals.
Contributing to Respiratory Infections
Bacteria, viruses, and other biological contaminants thrive in warm, humid conditions. This raises infection risk from nasty pathogens like pneumococcus, influenza, and SARS-CoV-2.
Promoting Mold Growth
Damp, humid environments cause mold to multiply rapidly. Mold spores get into the air and can be inhaled, leading to allergic responses.
Causing Structural Damage
Condensation and dampness from high humidity damages building materials and encourages rot, mold growth, and decay.
Humidifier Alternatives for Snoring Relief
While humidifiers are one option, consider trying these other remedies for snoring relief:
- Nasal strips to open nasal passages
- Nasal dilators like nasal cones
- Throat/nose lubricating sprays
- Anti-snoring mouthpieces or mouthguards
- Sleeping on your side instead of back
- Raising the head of your bed
- Losing weight if overweight
Discuss all snoring aids including humidifier use with your doctor to find the best solution for your situation.
Conclusion
Using a humidifier, especially in dry climates or winter months, can provide relief for snoring and dry throat discomfort. The added moisture soothes irritated tissues, reduces inflammation, and prevents excessive drying of the airway.
Ideal humidity levels between 40-50% maximize benefits while avoiding risks of excessive humidification. This strikes the right balance between lubricating the airway and avoiding swelling from too much moisture.
However, humidifiers should never take the place of medical treatment for chronic snoring or sleep apnea. See your doctor if loud and frequent snoring persist.
A humidifier is one component of a comprehensive plan including exercise, sleep hygiene, allergies management, and more for resolving snoring and improving sleep quality.


 Seeing an Eye Doctor for Ongoing Dryness Issues
 Parenthood is a journey filled with countless joys and memorable milestones, but it also brings its fair share of challenges, including unexpected ones like dealing with your baby’s dry and cracked lips. As a parent, you want nothing but the best for your little one, and those tiny lips, so delicate and soft, deserve special attention.
 The Benefits of Using a Humidifier for Your Baby:
 Additional Tips for Baby Lip Care
 Yes, using a humidifier can help prevent and treat nosebleeds by adding moisture back into dry air. Dry nasal passages are a major cause of nosebleeds, as the lack of moisture causes the delicate nasal tissues to become irritated, inflamed, and more prone to cracking and bleeding. Humidifiers work by releasing water vapor into the air, increasing the humidity level and providing the needed moisture to hydrate and soothe dry nasal airways. This helps reduce irritation, inflammation, and fragility of nasal tissues, making them less likely to erode, crack, and bleed.
 Tips for Using a Humidifier for Nosebleeds


 Started With Smart Humidification


 Why Humidifiers Feel Cooling

 Tips for Using a Humidifier to Relieve Phlegm


 What Type of Humidifier is Best?
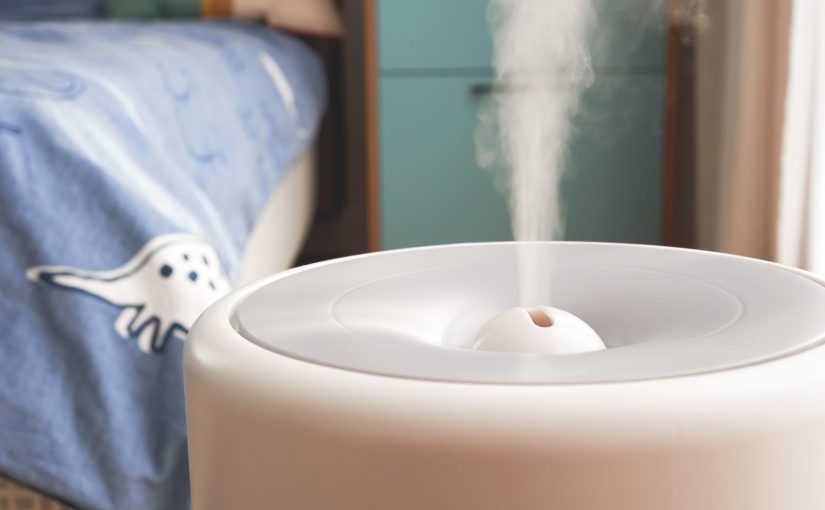
 The ideal daily relative humidity between 30-50%. humidifier runtime for a bedroom is however long needed to keep Most humidifiers take 30 minutes to an hour to raise humidity 5-10%. Consider factors like room size, humidifier capacity and occupancy to determine runtime.