

Air Purifier Advantages and Disadvantages
There’s no doubt that air purifiers are one of the most marketed items that you can find anywhere. The claims about the effectiveness of air purifiers seem to reach new heights every year. Some of the claims made by some advertisers make air purifier sound more gimmicky or scammy than an actual appliance that has a real function.
Whichever side of the fence you fall on, there is more than enough ammunition to argue your side. Here we’ve laid out what we think are the biggest negatives and side effects as well as advantages to owning an air purifier.
<
| Advantages | Disadvantages |
|---|---|
| Save you money on allergy medications | Initial and ongoing costs (filters) |
| Beneficial for babies’ health | Hard to ascertain effectiveness |
| Can improve indoor air quality | Potential ozone production |
| Reduce allergy and asthma triggers | Can make the room dusty |
| Control pet dander | Require regular maintenance |
| Reduce germs, bacteria, and mold spores | Often noisy |
| Help mitigate odors | May concentrate germs and bacteria |
| Assist in managing headaches and COPD | Can worsen allergies in some cases |
| Reduce exposure to chemicals and VOCs | Ineffective for immediate odors |
Negative Side Effects of Air Purifiers
1. Air Purifiers are Expensive
Air purifiers are one of the more expensive appliances available for purchase. The price tag on many air purifiers makes you wonder how they could come up with such an exorbitant price for a filtering machine. The price tag doesn’t stop when you purchase the device either. Get ready to join the filter of the month club. Or at least the filter every 3-6 month club.
2. Replacement Hepa Filters
Air purifiers require replacement filters. You cant really argue the amazing capacity of hepa filters to be able to remove allergens from the air. But the ongoing cost of replacing the hepa filter would be considered a major negative side effect of owning an air purifier.
 3. It’s hard to tell if they’re working
 3. It’s hard to tell if they’re working
Unless you’re having a specific problem with indoor allergies and can pinpoint the exact spot or room where the allergies tend to affect you the most, it’s hard to tell if an air purifier is actually working.
Most of us just go along our daily lives breathing the air we’re given with no real issues. Sometimes owning an air purifier so that we can say we are breathing healthier air is like taking a multivitamin. You know you need it, but you may not even ever be able to tell a difference in the way you are feeling by taking it.
4. Ozone
Air purifiers that clean the air with negative ions and UV tend to make ozone as a by-product. Whether you believe that ozone is straight from the devil or you don’t mind a little ozone if it means you can effectively reduce airborne viruses, the fact remains that breathing too much ozone can aggravate your lungs.
Which kind of defeats the point of getting a machine to help you breathe better.
Most ionic air purifiers create will below the amount of ozone that would be harmful. But there is the problem of putting to large of an ionic air purifier into too small of an area and getting a Overkill of 03.
Ozone also has a sharp odor that is reminiscent of bleach. Another “defeats the point” type of scenario. If you’re using an air purifier to help reduce odors then you don’t exactly want a machine that adds an odor in return.
5. Make the Room Dusty
Air purifiers tend to make the area around the air purifier extra Dusty. And air purifiers that use negative ions can cause dust to settle throughout the whole area. So much so that there is a term for it, “Grey wall syndrome”.
6. Require Regular Maintenance
 6. Require Regular Maintenance
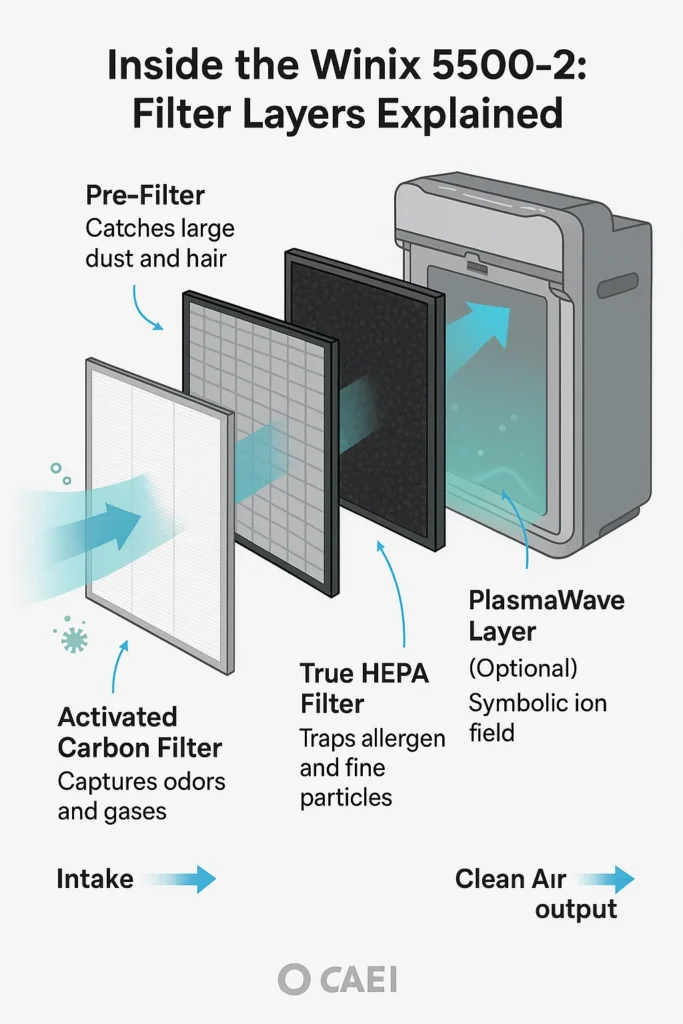
Maintenance on an air purifier could be considered the same as replacing filters. But there are some types of filters that do not need replacing and can be washed. Most air purifiers have a pre-filter to capture larger airborne debris.
7. Noisy
Most air purifiers are filtering machines that run similar to a fan that pulls dirty air and exhaust clean air. And just like a fan, they come with different speed settings that allow you to turn the fan up higher or lower. Many larger Hepa air purifiers advertise “white noise” as part of their benefits.
8. Concentrate germs and bacteria
Air purifiers generally work like a fan in reverse that to pull allergens from the air into a filter. That makes the area around the air purifier that much more full of local debris in the air since the flow of the air is towards the air purifier. This is one of the reasons that sleeping next to an air purifier is not the best ideal.
9. Air purifiers can make allergies worse
Air purifiers can make allergies worse because they tend to pull the airborne allergens in the room toward the air purifier. This can create a local area around the filter that is highly concentrated with airborne allergens. That’s why putting an air purifier next to your easy chair can actually make the air around your most comfortable seat seem worse.
10. Useless for immediate odors
Though there are many air purifier brands that do work well for removing residual odors with carbon filters, the fact is that air purifiers are pretty much useless to get rid of immediate odors. By immediate, I mean, fresh kitchen odors, chemical odors, or bathroom odors.
11. Useless for smoking
Along the same lines as strong cooking smells, you’re not going to have much luck clearing out the smell of smoke quickly. And if you were talking about a house that has a history of cigarette smoking, the lingering smell is not something that an air purifier will be able to get rid of very easily.
Cigarette and tobacco smoke tends to have a sticky residue texture to it that binds it to the furniture, curtains, walls, and floor.
Ozone generators are you usually used for these types of situations.
Advantages Of Air Purifiers
 Advantages Of Air Purifiers
1. Save you money
Allergies are big business. And getting relief from indoor allergies is not cheap.
Antihistamines can run you up to 40 bucks a pop at the local pharmacy. And to get the good stuff you have to have a prescription from a doctor.
Factor in the time missed from work and you get the point. Money and more money.
A quality air purifier can filter out as much as 97% of household allergens.
By capturing airborne allergens before they become a reason to see a doctor or a purchase medication, an air purifier can work to save you money.
2. Great for Babies
Babies are very susceptible to all types of allergens and bacteria.
Using a HEPA air cleaner with a activated carbon filter included will help your baby breathe better without introducing anything into the air that might have an adverse effect.
An Air purifier can also reduce the need for using germ sanitizing wipes in which chemicals can stick around much longer than you might imagine.
Activated carbon in an air purifier can also help reduce the abundance of odors that can gather in the baby’s nursery or room.
Ozone producing air purifiers should be avoided to ensure that the babies developing lungs are not harmed.
There can be no doubt that clean air is important for a baby to grow strong.
3. Government Statistics
 3. Government Statistics
 Statistics. You gotta love em.
But did you know that according to the CPSC Consumer Product Safety Commission,
Indoor air can be more seriously polluted than the outdoor air even largest industrialized cities?
The same research found it people spend as much as 90% of their time indoors and that indoor air pollution is more of a health risk then outdoor air pollution.
Modern building techniques not only provide tightly sealed buildings to better ensure that the temperature remains a constant,
They also keep indoor air pollution sealed inside as well.
Do air purifiers work? Yes, The right air purifier can help you is your family avoid being a statistic.
4. Help Reduce Allergy Symptoms
Allergies affect us all at some point and for some of us, it can be downright miserable.
And the first line of defense is usually to get an allergy medication.
Medications like antihistamines are expensive and most people experience side effects like fogginess and feeling drowsy when using them.
A high quality air purifier can work to filter as much as 97% airborne dust, pollen and pet dander, mold spores and bacteria before they have a chance to turn into an allergy problem.
5. Reduce Asthma Tiggers
Many of the same household allergens like dust mites and pollen, mold spores and pet dander can result in much worse symptoms for an asthma sufferer.
Airborne pollutants that otherwise may be the norm can result in narrowed airways and not being able to your catch your breath for an asthmatic.
Reducing triggers that can cause an attack is essential for an asthma sufferer.
A good air purifier can go a long way to help reduce airborne asthma triggers.
6. Help Control Pet Dander
 6. Help Control Pet Dander
How many people have to alter their lives because they can’t exist in the same house as a cat?
Pet dander can produce awful symptoms in people that are allergic to it.
Uncontrollable sneezing and swollen eyes are typical for people allergic to dander.
What a lot of people do not know though, is that airborne pet dander can be controlled.
Dander is actually the bacteria left on a Pet’s fur after they lick and groom themselves.
Once it dries, it becomes airborne.
An air purifier with a true HEPA filter can work wonders when it comes to capturing pet dander out of the air.
7. Germs and Bacteria Reduction
Controlling germs and viruses in the home is usually delegated to using antiseptic sprays and bleach wipes.
But according to the National Library of Medicine, there are air cleaning technologies that can leave viruses and bacteria inactive.
Bi polar ionization is a technology that when used in concert with a HEPA filter can effectively reduce germs and viruses in a room.
Adding an air purifier equipped with these technologies to your sanitizing arsenal can make a real difference when it comes to germs and viruses in your home.
8. Mold Spores
A great deal of the population is allergic to mold spores.
Many of the problems that people have with mold or due to leaky pipes. Finding the area where the moisture is getting in and fixing it is the first step to control mold allergies.
But there are also many other areas that mold grow that are practically impossible to eliminate.
Though the use of an air purifier will not clean mold off of your walls, it can be very effective at reducing the populations of mold spores in your air.
One type of air purifier that is highly rated for reducing mold in the air is Photocatalytic Oxidation. Photocatalytic oxidation or PCO for short oxidizes mold spores and removes their ability to cause an allergic reaction.
9. Odors
 9. Odors
Foul odors or not only annoying and off-putting, they can be symptomatic gases and fumes lingering in the area.
Activated carbon is a type of air cleaning technology that is able to adsorb the the VOCs and gases that are at the root of the odor and leave your house feeling fresh again.
Do Air Purifiers Work? Yes, The Right Air Purifiers Really Work For Odors.
10. Help With Headaches
Dust in air can give you a headache. But it’s not just the dirt being kicked up in the air that’s the problem.
It’s what the dust is made up of.
Some of the ingredients that you can find in your average dust ball are dead skin cells, cockroach feces, dust mites, pollen and spores, and carcinogens from smoke.
No wonder you have a headache.
Intense smells can also give you a headache. Many people can develop an oversensitive sense of smell they can make even the smells like cologne and candles too strong.
An air purifier that uses a true HEPA filter and an activated carbon filter can be a game-changer when it comes to reducing airborne contaminants that cause headaches.
11. Help Manage COPD
Chronic Obstructed Pulmonary Disease or COPD is a lung disease that causes obstructed airflow to the lungs.
An air purifier is not a replacement for inhalers and other equipment for people with COPD but keeping the air as clean as possible is a must when everyday household allergens can interfere with catching your breathe.
Keeping quality air purifiers equipped with true HEPA and activated oxygen filters running throughout the home will help remove airborne irritants before they have a chance to be breathed in.
12. Chemicals and VOCs
VOCs are usually considered air pollution created by chemicals.
Many household products including hair spray, aerosol cleaners, nail polish remover, and crafting items like paint and glue can be toxic to breathe.
Other VOCs occur through off gassing, exhaust fumes, and cigarette smoke.
Symptoms of VOC exposure range from allergy type issues like sneezing and runny noses all the through sharp headaches and memory loss.
Air purifiers that contain a large weight of activated Carbon are what’s needed to combat Chemicals in the air.
Other technologies like PCO reduce VOCs as well. Be aware though that air purifiers that rely on creating a ionic reaction should be viewed more as a air cleaning treatment rather than a 24/7 filtering machine.

| Concern | Effectiveness of Air Purifiers |
|---|---|
| Allergies and Asthma | High |
| Baby’s Health | High |
| Indoor Air Pollution | High |
| Pet Dander | High |
| Germs and Bacteria | Moderate to High |
| Mold Spores | Moderate to High |
| Odors | Moderate to High |
| Headaches and COPD | Moderate |
| Chemicals and VOCs | Moderate |
| Immediate Odors & Smoke Smells | Low |
Summary
Do air purifiers work? No doubt. Yes they work.
We have listed 12 ways and air purifier can work for you here but there are many more ways an purifier can enhance your life.
Sufferers of sleep apnea and snoring can you get a better night’s rest when there or less pollutants to breathe in you were are sleeping.
Also air purifiers are useful all year long.
Other appliances like air conditioners and heaters are only useful for about 3 to 5 months out of the year.
Humidifiers and dehumidifiers, same thing. About a 3-5 month period where they are useful.
Good air quality is something you need every day of the year.
Do Air Purifiers Work? Really Work?
Yes.

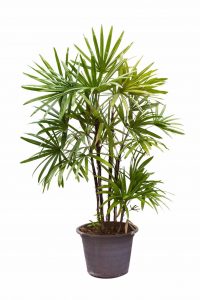
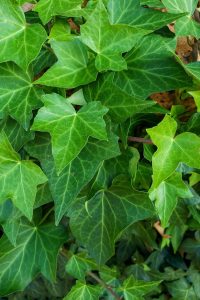
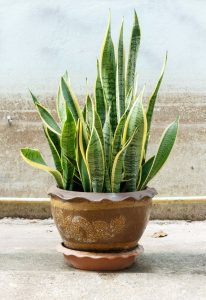
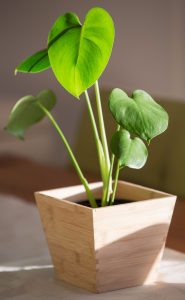
 Want to improve your indoor air quality and add some green to your home?
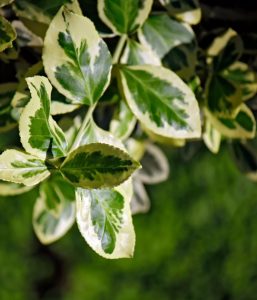


 3. Fix the tilt
 Window Air Conditioner Not Working After Rain
 Advanced Electrical Checks and When to Call an Electrician

 Modern Smart Thermostats

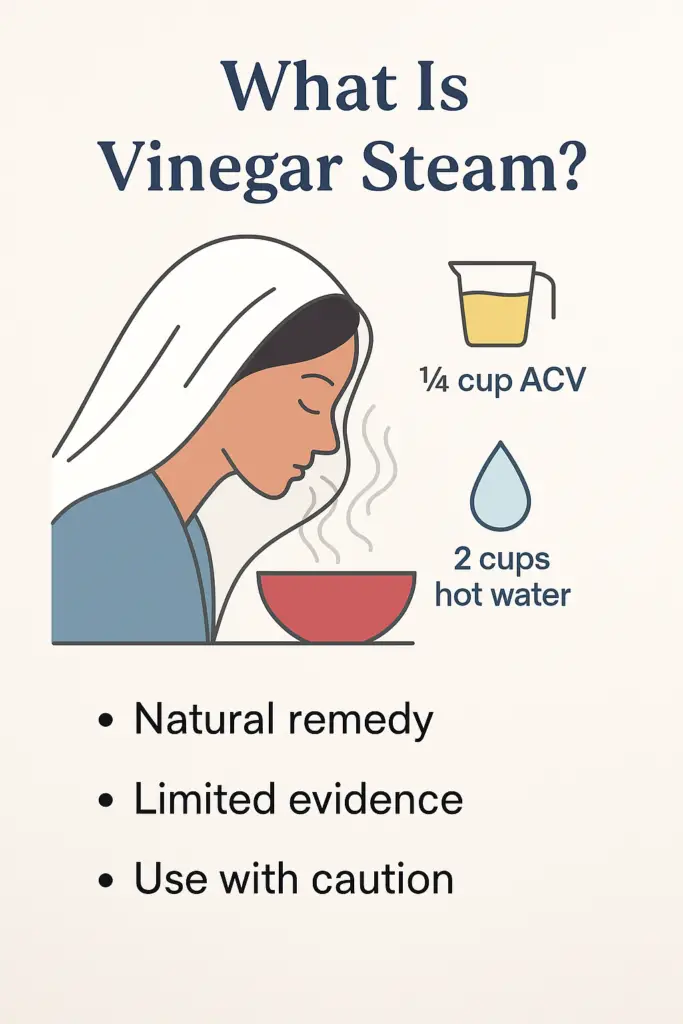 Why People Inhale Vinegar Steam for Sinus Relief
 The truth lies somewhere in between. Steam itself can help moisten nasal passages and loosen mucus, but adding vinegar introduces a different set of benefits—and risks. It’s important to understand what vinegar does (and doesn’t do) before trying this remedy.
 What’s in Apple Cider Vinegar That Might Help?
 Is It Safe to Inhale Vinegar Steam?
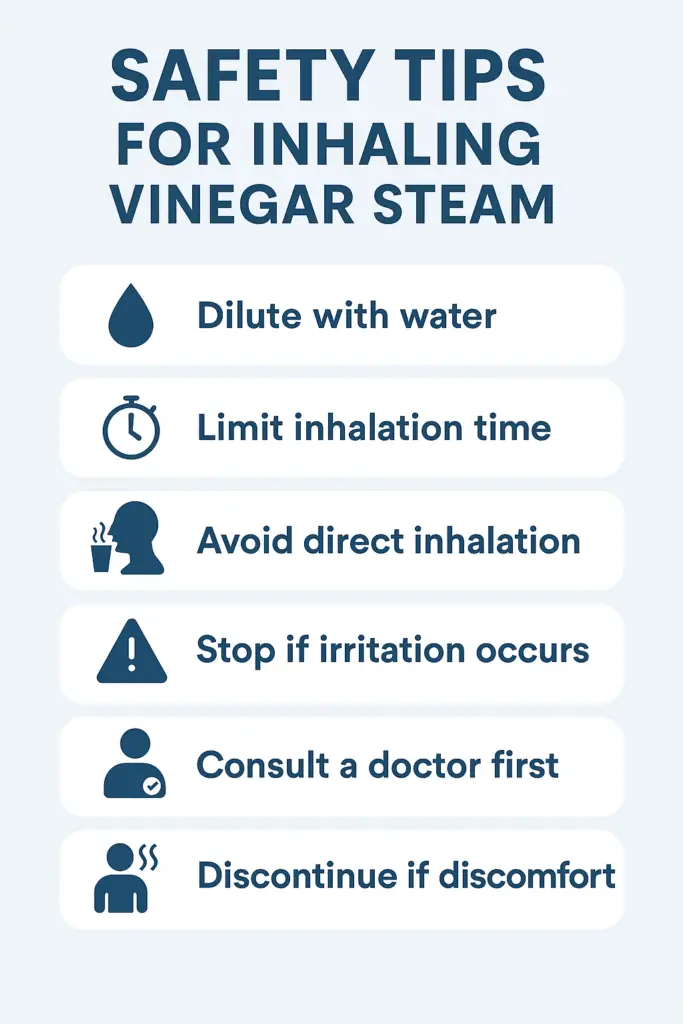 How to Safely Inhale Apple Cider Vinegar Steam
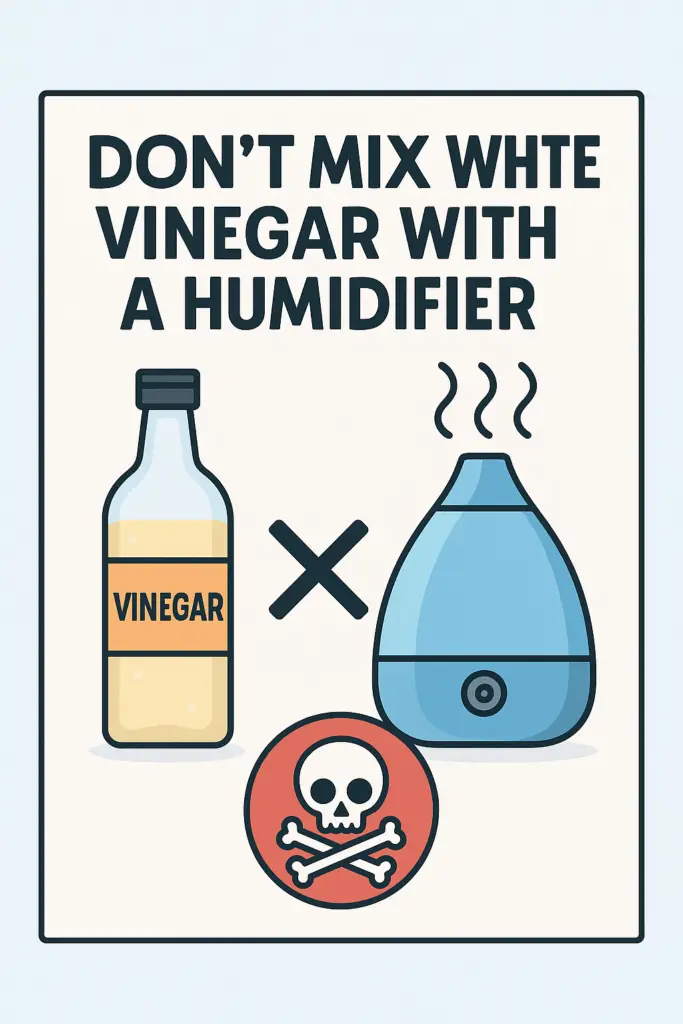 Should You Add Vinegar to a Humidifier?
 Cleaning glass and Mirrors
 Laminate floors
 Will Methylated Spirits Help a Beard Grow?
 Health and Safety Guidelines for Methylated Spirits


 Summary
 Introduction
 Ionic air purifiers do have several advantages:

 For instance, they both help with the reduction of airborne allergens.
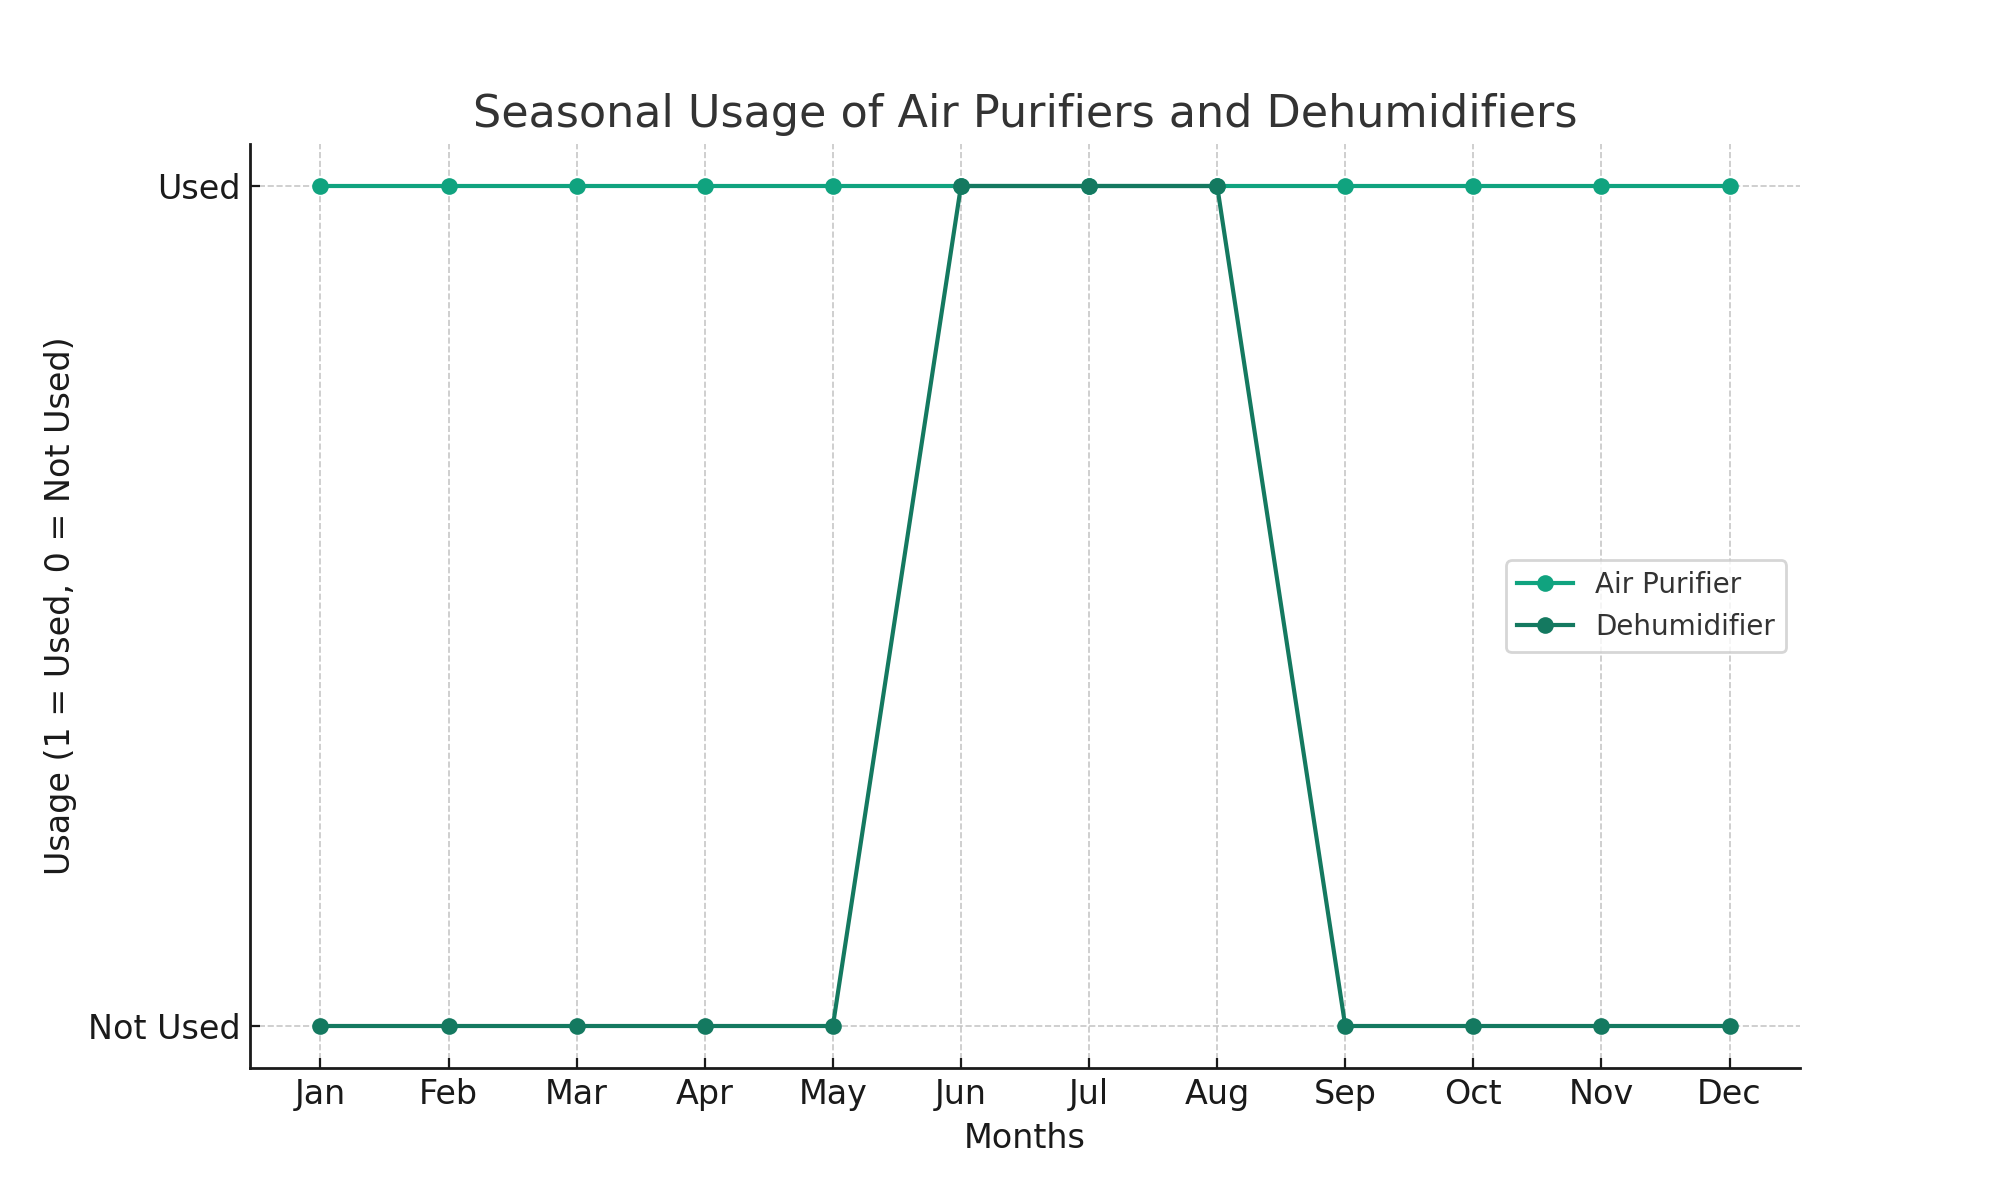 Though humidity can be a big factor in household allergens, humidity is a problem that most people have only in a certain time of the year.
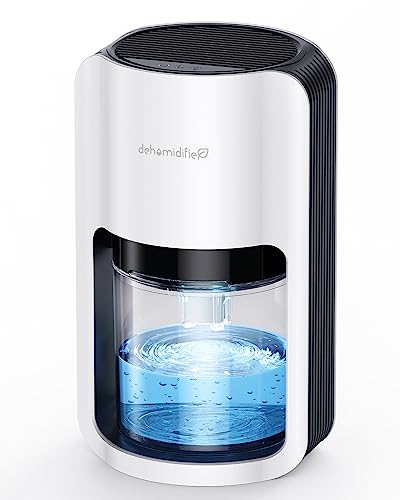
 Can you use a dehumidifier and an air purifier in the same room?
 Do I need a dehumidifier if I have an air purifier?
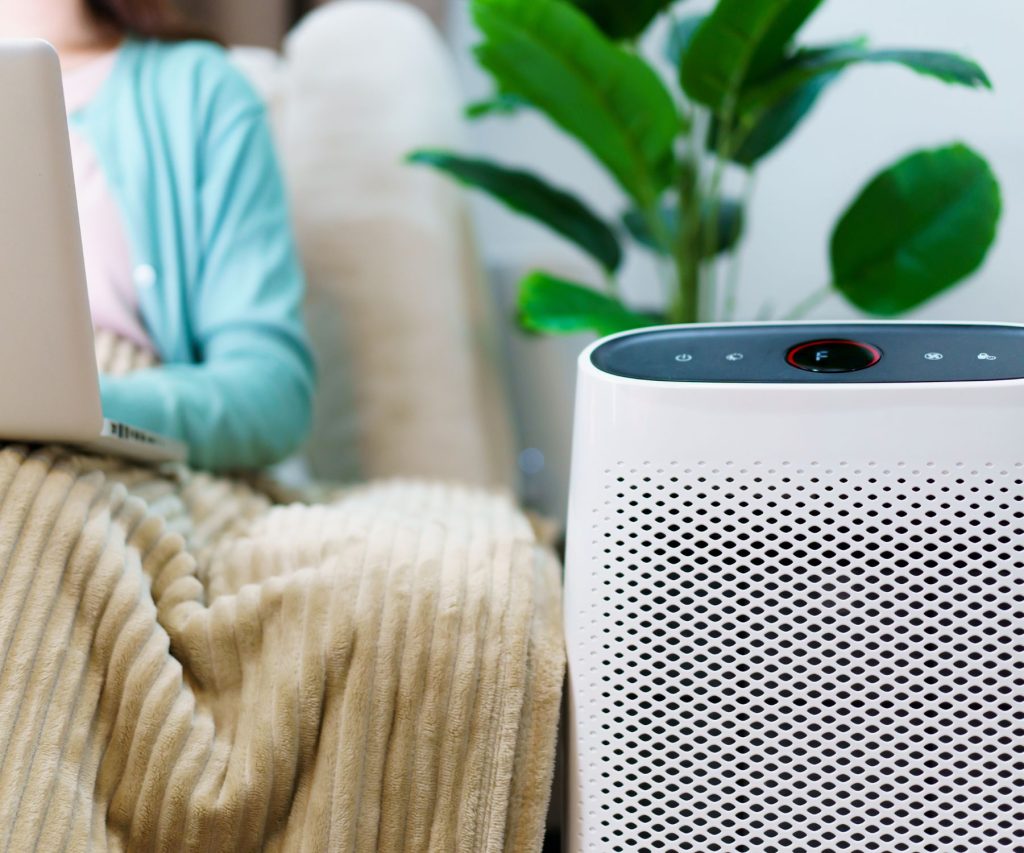 Summary.