
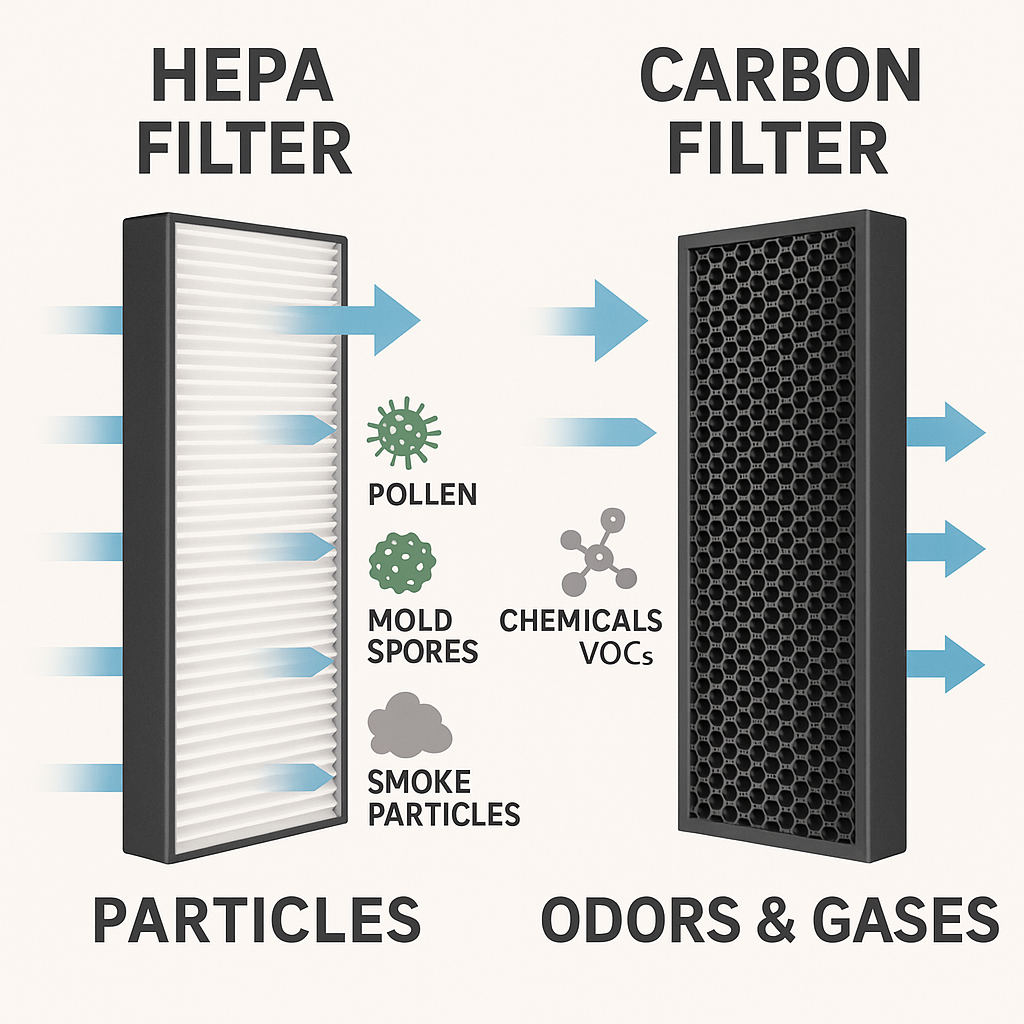
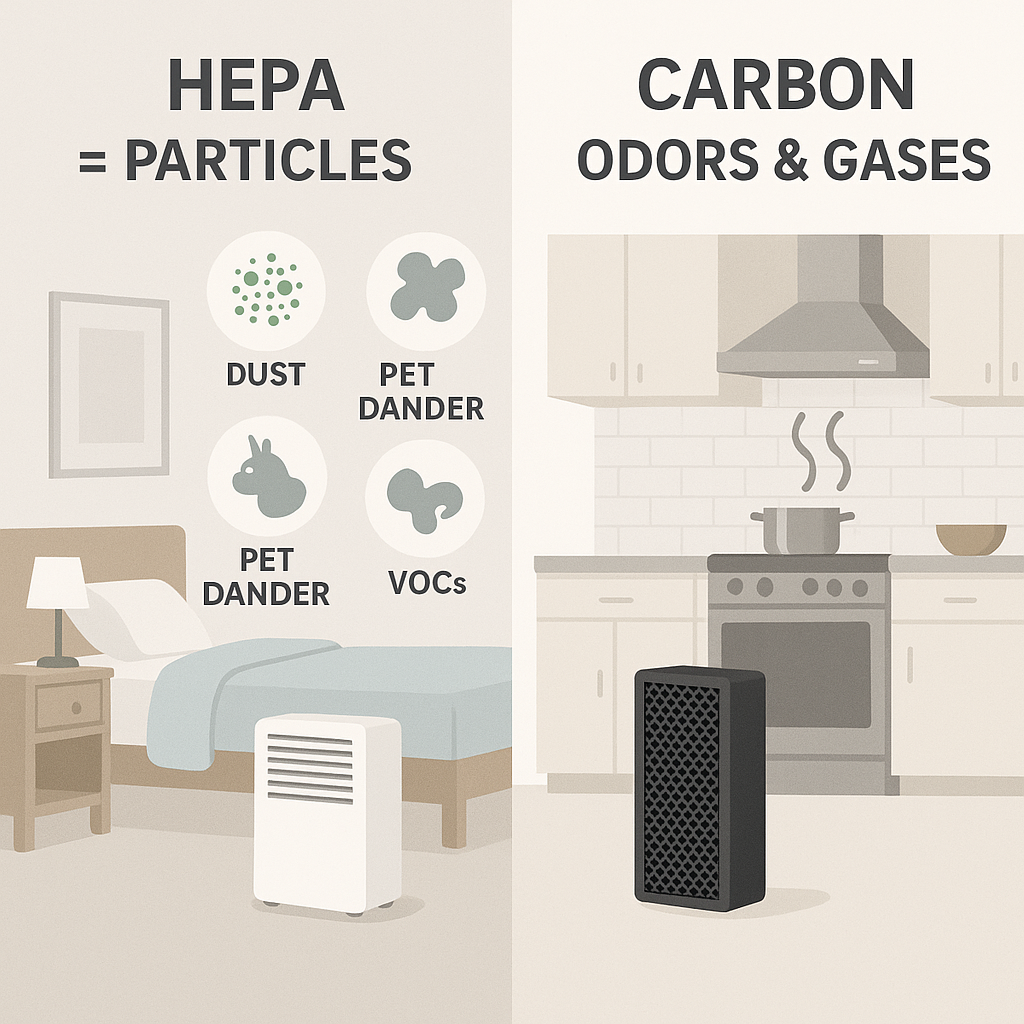
HEPA filters capture particles like dust, pollen, smoke, and pet dander, while carbon filters absorb gases, odors, and chemical fumes (VOCs). HEPA is best for allergies and asthma, carbon is best for smells and chemicals — and most air purifiers from brands like Levoit, Dyson, and Blueair combine both so you don’t have to choose.
| Filter Type | Best At | Limitations | Examples |
|---|---|---|---|
| HEPA (High Efficiency Particulate Air) | Capturing particles: dust, pollen, pet dander, mold spores, smoke, PM2.5 | Does not remove odors or gases (VOCs, fumes, chemicals) | Honeywell HPA300, Coway Mighty, Blueair 211+ |
| Carbon (Activated Carbon) | Absorbing gases and odors: cooking smells, pets, cigarette smoke, VOCs | Does not capture fine particles like pollen, dust, or mold | Austin Air HealthMate, Dyson Purifier Cool Formaldehyde, Levoit Core 400S |
| HEPA + Carbon Combo | Balanced protection: removes both particles and odors/gases | Filters must be replaced periodically; can be more expensive | Winix 5500-2, Coway Airmega 250, Levoit Core 600S |
What Do I Need in an Air Purifier?
When people shop for air purifiers, they usually aren’t comparing lab specs — they’re trying to solve a problem. The key is knowing whether your issue is caused by particles (dust, dander, smoke) or gases and odors (chemicals, cooking, pets). That’s where the HEPA vs carbon difference comes in.
10 Common Reasons People Buy Air Purifiers — and Which Filter Works Best
1. Allergy Relief
Allergies come from particles like pollen, dust, and mold spores. HEPA filters (High Efficiency Particulate Air) are essential here because they trap 99.97% of particles as small as 0.3 microns. That’s why organizations like the Asthma and Allergy Foundation of America (AAFA) certify certain models, such as the Honeywell HPA300 or the Coway AP-1512HH Mighty. Carbon won’t help much with allergies unless odors are also a trigger.
2. Asthma & Respiratory Support
Asthma attacks are often set off by fine particles known as PM2.5. HEPA is the hero filter for asthma because it removes those irritants. Some people also prefer machines like the Blueair 211+, which combine HEPA and carbon, since fumes and odors can worsen respiratory symptoms. The EPA notes that reducing particle exposure indoors is one of the best ways to support lung health.
3. Pet Odors & Dander
Pets create a double problem: dander (particles) and odor (gases). HEPA handles the dander while carbon removes the smell. Popular picks for pet owners include the Winix 5500-2 and the Levoit Core 400S, both of which balance HEPA filtration with a carbon layer.
4. Smoke & Wildfires
Smoke is tricky because it’s both particles (soot, ash) and gases (formaldehyde, benzene). You need HEPA for the particles and carbon for the gases — one filter alone won’t cut it. That’s why wildfire guides from the EPA recommend combo units like the Blueair 211+ Max or the heavy-duty Austin Air HealthMate, which uses thick beds of activated carbon.
5. Chemical Fumes & VOCs
Off-gassing from paint, new furniture, or cleaning products is made of gases called volatile organic compounds (VOCs). Only carbon filtration works here. A HEPA filter alone won’t help. This is where carbon-heavy machines like Austin Air stand out, since they’re designed for VOC removal.
6. Better Sleep
Nighttime symptoms come from allergens (HEPA’s job) and sometimes odors (carbon’s job). If you’re waking up congested or snoring, HEPA is the first fix. Models like the Levoit Core 300 are popular for bedrooms because they run quietly. Carbon is a bonus if smells (pets, cooking, outside air) disturb your rest.
7. Protection from Germs & Illness
HEPA can trap airborne bacteria and viruses that hitch a ride on particles. Brands like Dyson and Winix PlasmaWave add optional technologies (UV, ionization) to boost germ control. Carbon doesn’t affect germs directly, but HEPA makes a noticeable difference during flu season by reducing particles that spread illness.
8. Cooking Smells
Garlic, onions, and fried food leave behind gases and odors. Carbon is what clears the air. HEPA won’t make much difference unless smoke particles are also present. That’s why kitchen-friendly purifiers like the Dyson Purifier Cool Formaldehyde pair HEPA with advanced carbon filters.
9. Pollution & City Living
Traffic and industrial emissions contain both fine particles and gases. The best choice is HEPA + carbon together. Units like the Blueair 411i or the Coway Airmega 250 are marketed specifically for city apartments where pollution levels are high.
10. Peace of Mind
Even without a specific health concern, many families simply want fresher, safer indoor air. That’s why most whole-home purifiers — from Dyson to Levoit — include both HEPA and carbon filters by default, because real-world air problems rarely fall into just one category.
 Why Most Air Purifiers Use Both
 Why Most Air Purifiers Use Both
HEPA and carbon aren’t competitors — they’re teammates. HEPA removes the particles you can see and feel, while carbon targets the odors and gases you smell. If you only use one type, you’re leaving a gap. That’s why the majority of modern air purifiers, from budget-friendly Levoit units to premium Austin Air models, combine both filters in the same machine.
FAQ: Common Problems and Situations Air Purifiers Can Help With
Do air purifiers help with pet allergies and odors?
Yes. HEPA filters capture pet dander, fur, and saliva particles, which are the main triggers for pet allergies. Carbon filters absorb odors from litter boxes, wet dogs, and general pet smell. Popular options include the Levoit Core P350 and the Winix 5500-2, which combine both filters.
Can an air purifier remove wildfire smoke?
Wildfire smoke contains fine particles (PM2.5) and gases like benzene and formaldehyde. HEPA removes the particles, while carbon reduces the gases and odors. The EPA recommends portable HEPA + carbon purifiers, such as the Blueair 211+ or Austin Air HealthMate, during wildfire events.
Do air purifiers help with mold?
Yes. HEPA filters trap airborne mold spores before they can spread. However, no purifier removes mold growing on walls or surfaces — that requires cleaning or remediation. Carbon filters can help reduce the musty smell, but HEPA is the critical defense against spores.
Can air purifiers remove cooking odors?
Yes, if they include carbon. Cooking odors are made of gases and VOCs, which only activated carbon can absorb. HEPA won’t help unless smoke particles are also present. Kitchen-friendly models like the Dyson Purifier Cool Formaldehyde pair HEPA with advanced carbon filters.
Do air purifiers help with pollen?
Absolutely. Pollen grains are particles, and HEPA filters are designed to capture them. This makes air purifiers especially effective in allergy season. Honeywell and Coway Mighty purifiers are often recommended for seasonal pollen relief.
Can an air purifier reduce chemical fumes (VOCs)?
Yes. Volatile organic compounds (VOCs) from paint, carpet, and new furniture are gases. Carbon filters adsorb them, while HEPA cannot. Models like the Austin Air HealthMate are designed for VOC-heavy environments.
Do air purifiers help with dust?
Yes. HEPA filters are the gold standard for dust control, capturing particles as small as 0.3 microns. Carbon doesn’t affect dust. If dust buildup is your main concern, purifiers like the Honeywell HPA300 are effective.
Will an air purifier get rid of cigarette smoke indoors?
Partially. HEPA filters capture visible smoke particles, while carbon filters reduce odors and some chemicals. However, no purifier removes every toxic compound in tobacco smoke. Ventilation and avoiding indoor smoking are still critical.
Do air purifiers help with snoring?
Yes, indirectly. Snoring often worsens with nasal congestion or allergies. HEPA filters reduce dust, pollen, and pet dander, which can open nasal passages and ease snoring. While not a cure, many people notice quieter nights.
Can an air purifier improve sleep quality?
Yes. Cleaner air means fewer nighttime allergy flare-ups and less congestion. Some models, like the Levoit Core 300, also double as white noise machines, creating a soothing hum for deeper rest.
Do air purifiers reduce headaches?
They can. Headaches are often triggered by poor indoor air — especially exposure to VOCs, smoke, or allergens. Carbon filters absorb fumes, while HEPA reduces particle triggers that may cause sinus headaches.
Are air purifiers good for sinus problems?
Yes. HEPA filters capture dust, pollen, and mold spores that irritate sinuses. Carbon helps with odors that aggravate congestion. Together, they create a more sinus-friendly environment.
Are air purifiers safe for babies’ rooms?
Yes — and many parents choose them for nurseries. HEPA filters keep the air free of allergens and dust, while carbon reduces odors from diapers or cleaning products. Quiet models like the Levoit Core 300 or Dyson Purifier Cool are good for baby rooms.
Can an air purifier help with fatigue?
Sometimes. If fatigue is linked to poor indoor air quality — such as exposure to pollutants, smoke, or VOCs — cleaner air can make a difference. People often feel more refreshed after sleeping in a room with a HEPA + carbon purifier.
Will an air purifier help with new carpet smell?
Yes. New carpets release VOCs like formaldehyde and styrene. Carbon filters absorb these gases, while HEPA does nothing for odors. Purifiers with strong carbon stages, like the Dyson Formaldehyde series or Austin Air, are best for new carpet installations.
Can an air purifier get rid of paint fumes?
Yes. Paints and finishes release VOCs for days or weeks. Carbon filtration is essential for these gases. HEPA has no effect. That’s why carbon-heavy machines like Austin Air HealthMate or Blueair SmokeStop filters are preferred after painting projects.
Do air purifiers help in craft rooms with glue or resin?
Yes. Carbon filters absorb chemical fumes from adhesives, epoxy, and resin. HEPA captures fine dust or fibers from materials. Many crafters keep a small combo purifier, like the Levoit Core 400S, near their workspace.
Can air purifiers help with woodworking or sewing dust?
Yes — but only as a backup. HEPA filters capture fine sawdust or fabric fibers that escape into the air, making them a good secondary tool. For larger projects, a proper dust collection system is still necessary.
Will an air purifier help after remodeling?
Yes. Remodeling creates both particles (drywall dust, insulation) and gases (paints, adhesives). HEPA removes the particles, while carbon tackles odors and VOCs. That’s why contractors often recommend combo purifiers during and after construction.
Do air purifiers help with asbestos?
HEPA filters can capture airborne asbestos fibers, but the EPA warns that purifiers are only a temporary safeguard. True asbestos problems require professional removal.
Can air purifiers remove lead dust?
Yes. HEPA filters capture airborne lead particles, but purifiers should never replace proper remediation. The CDC recommends certified lead abatement if contamination is present.
Do air purifiers work on radon?
No. Air purifiers cannot remove radon gas. Radon mitigation requires ventilation systems and sealing foundation cracks, as recommended by the EPA.
Do I need both HEPA and carbon filters?
In most homes, yes. HEPA removes particles like dust, pollen, mold, and smoke. Carbon removes gases and odors like VOCs, cooking smells, and pets. That’s why most modern purifiers — from Levoit to Dyson to Austin Air — include both.
Bottom Line: Pick by Problem, Not by Hype
If your air problem is something you can see or feel—dust, pollen, smoke, mold—start with HEPA. If it’s something you can smell—paint, new carpet, pets, cooking—add activated carbon. Most homes need both because real life is a mix of particles and gases. Choose the filter for the problem you have today—and the combo that keeps tomorrow’s surprises covered.

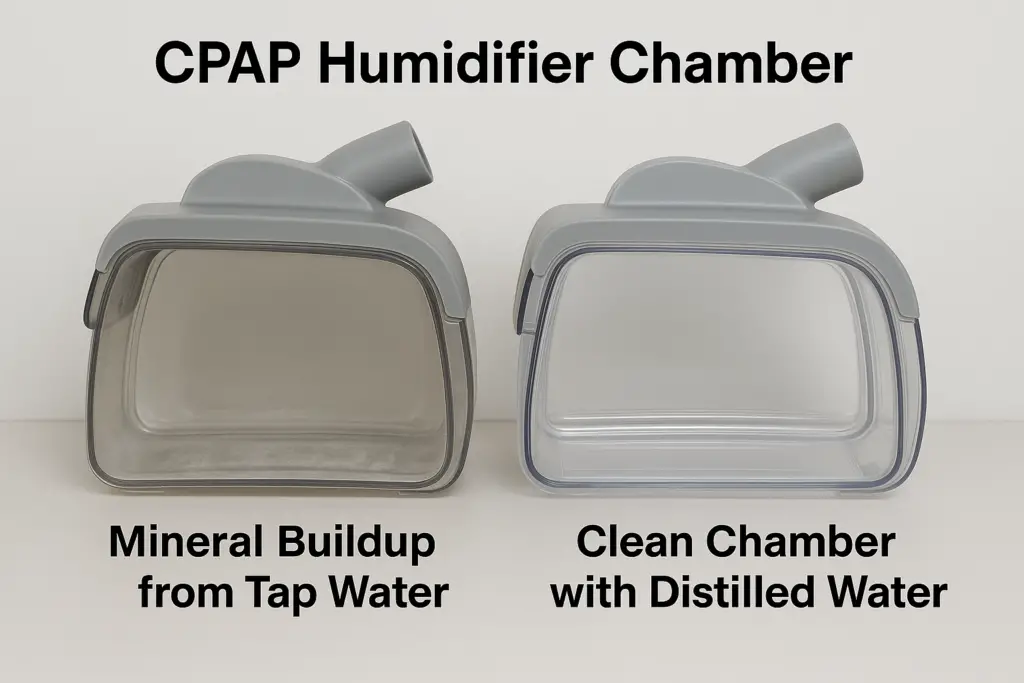 Why You Shouldn’t Use Tap Water in a CPAP
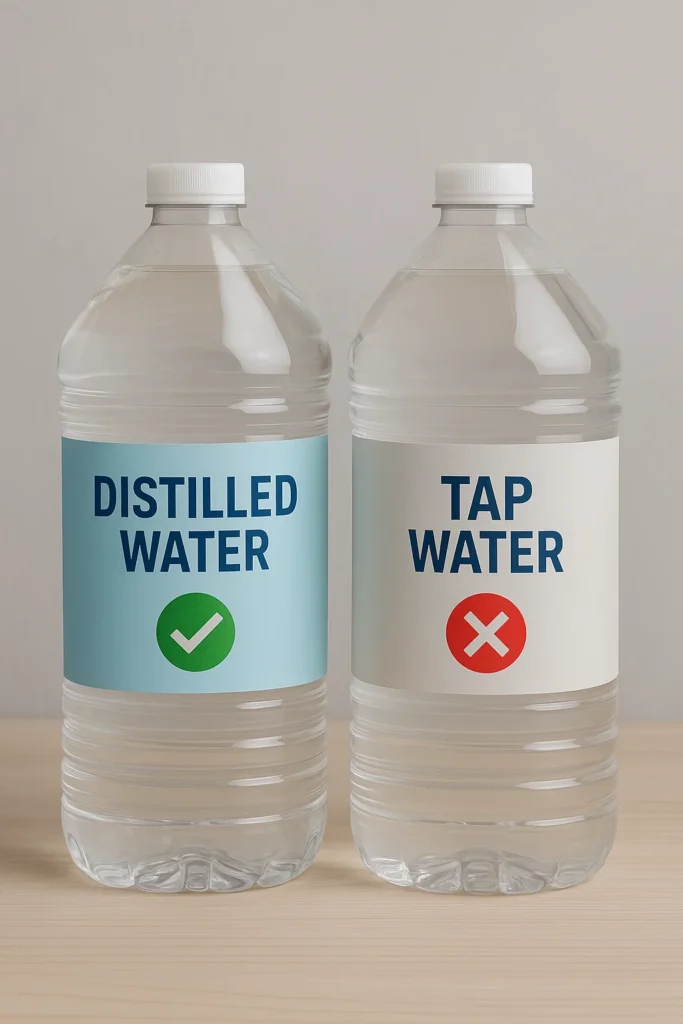 What Happens If You Use Tap Water?
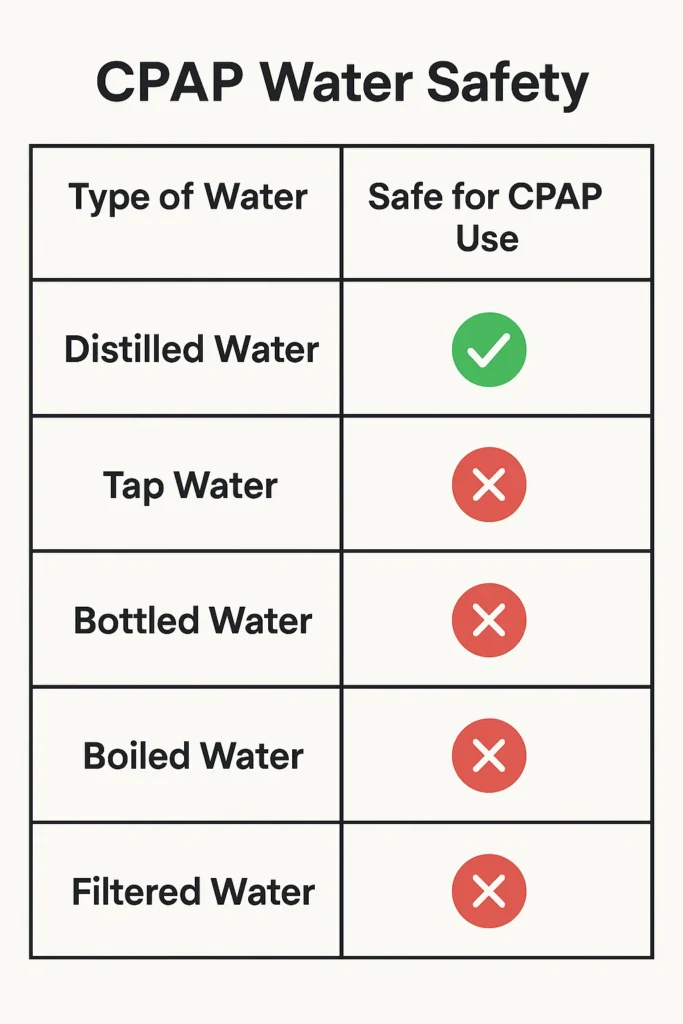 Water Types Compared for CPAP Use
 Travel Tips for CPAP Users
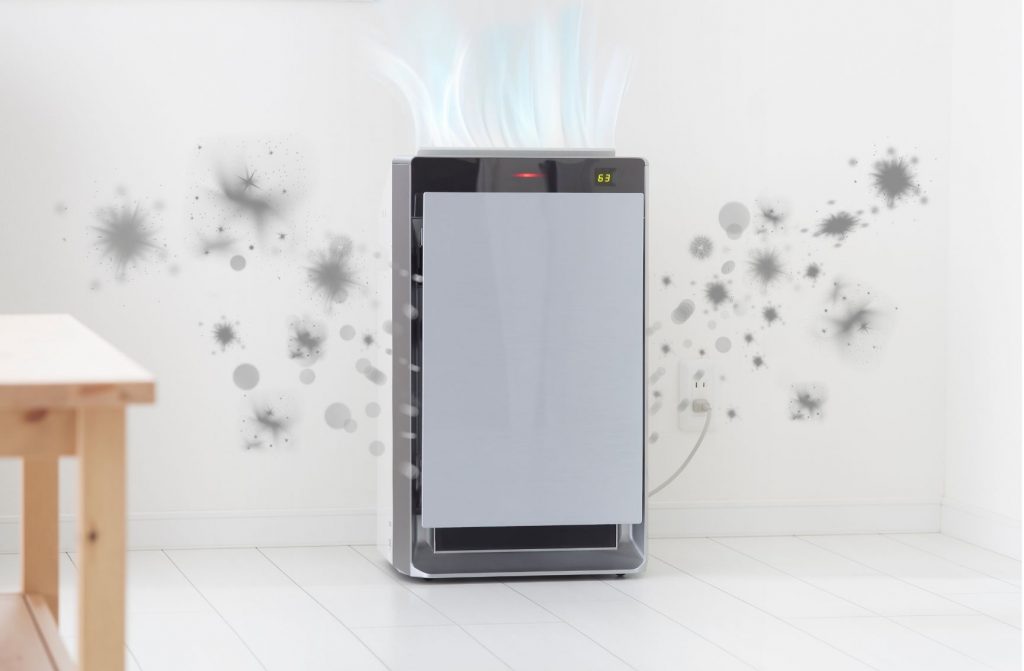
 Why Do People Think Air Purifiers Dry Out the Air?
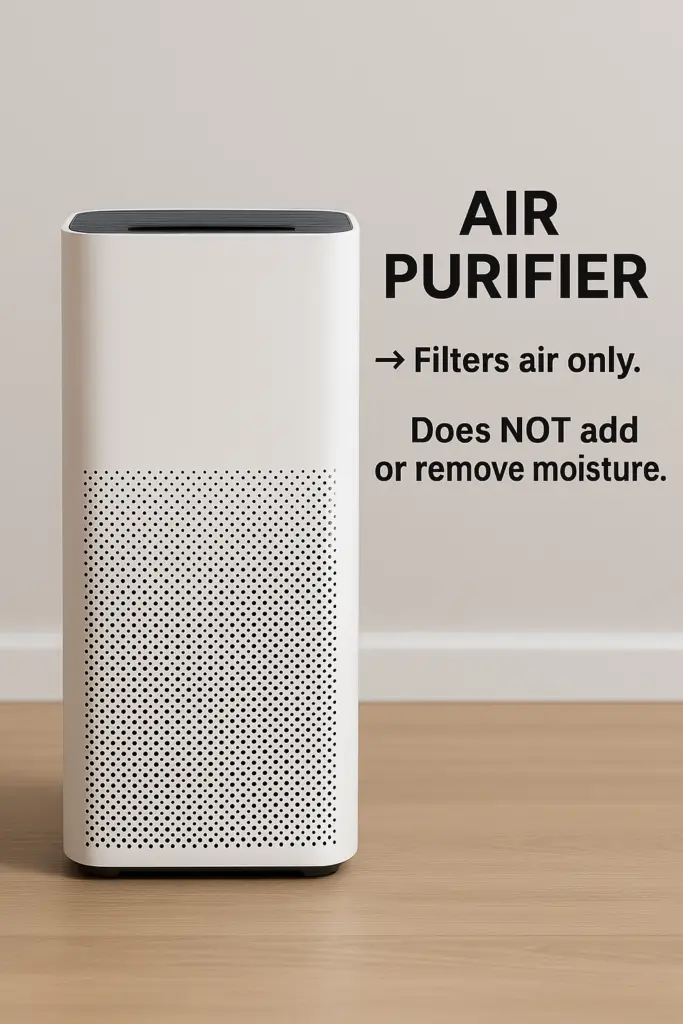
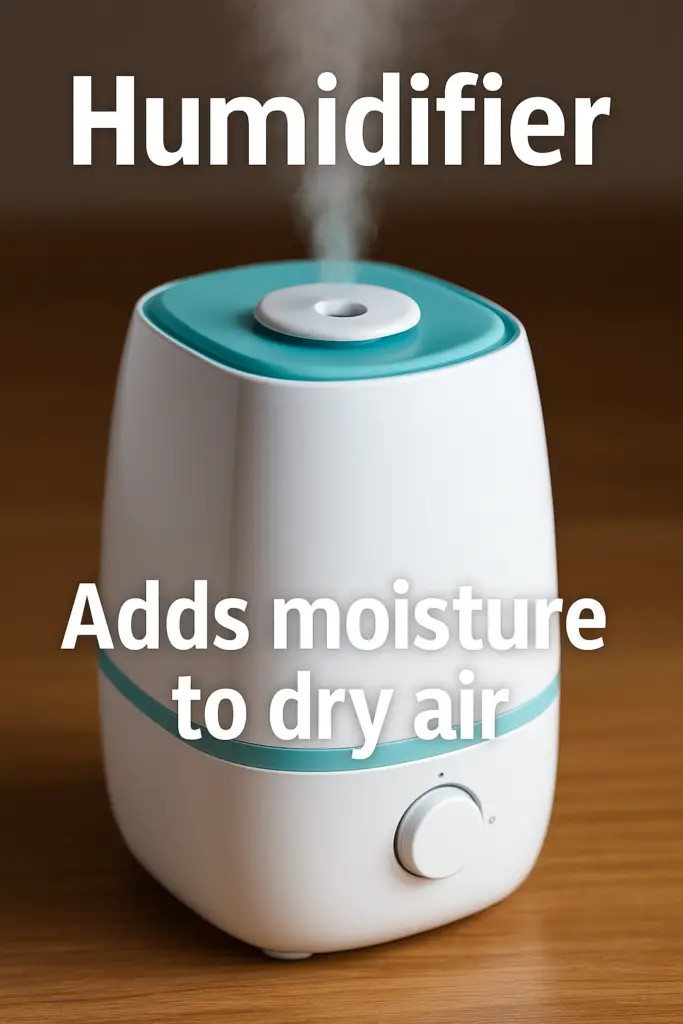 Air Purifiers vs. Humidifiers vs. Dehumidifiers
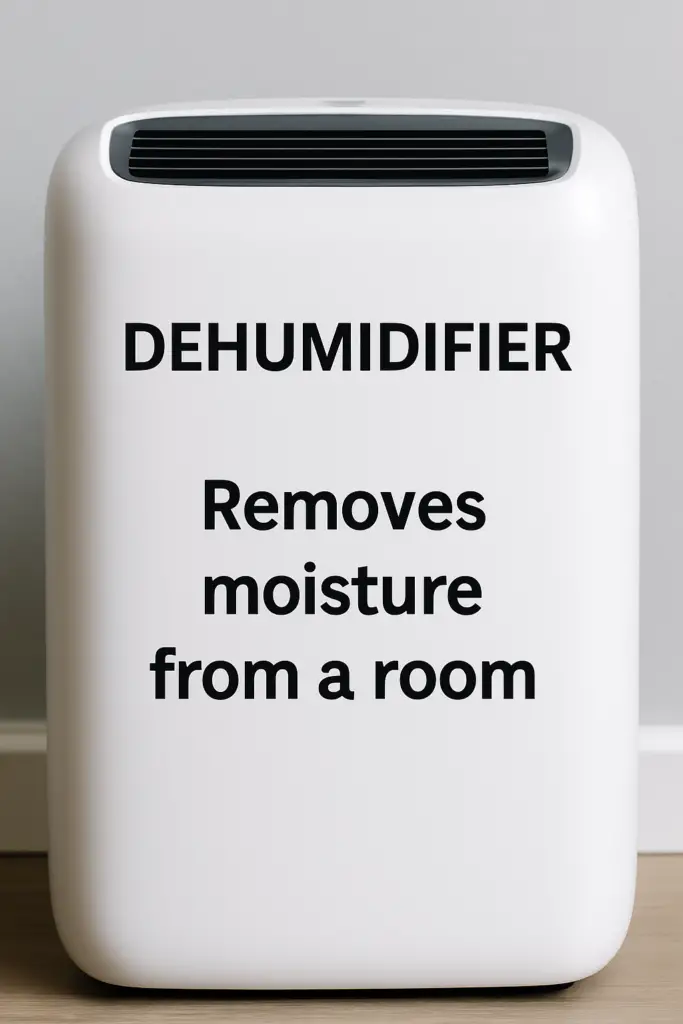 Do These Devices Ever Overlap?
 4.Standing water
 Recap
Recap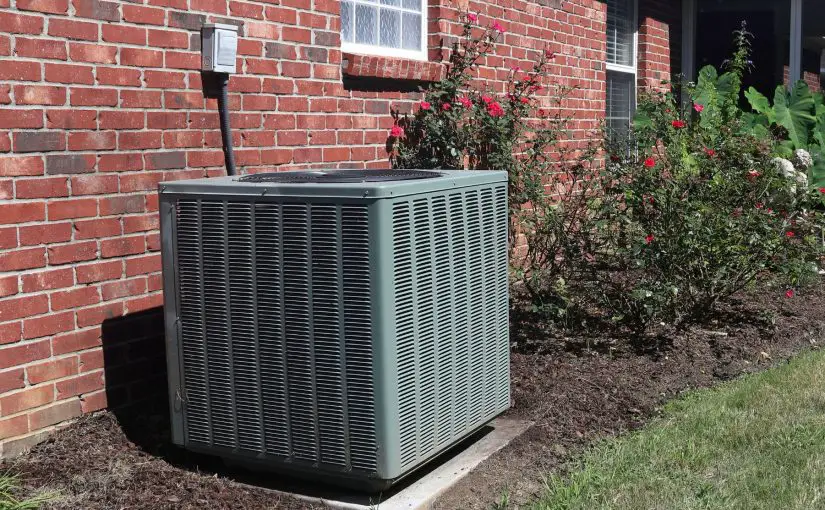
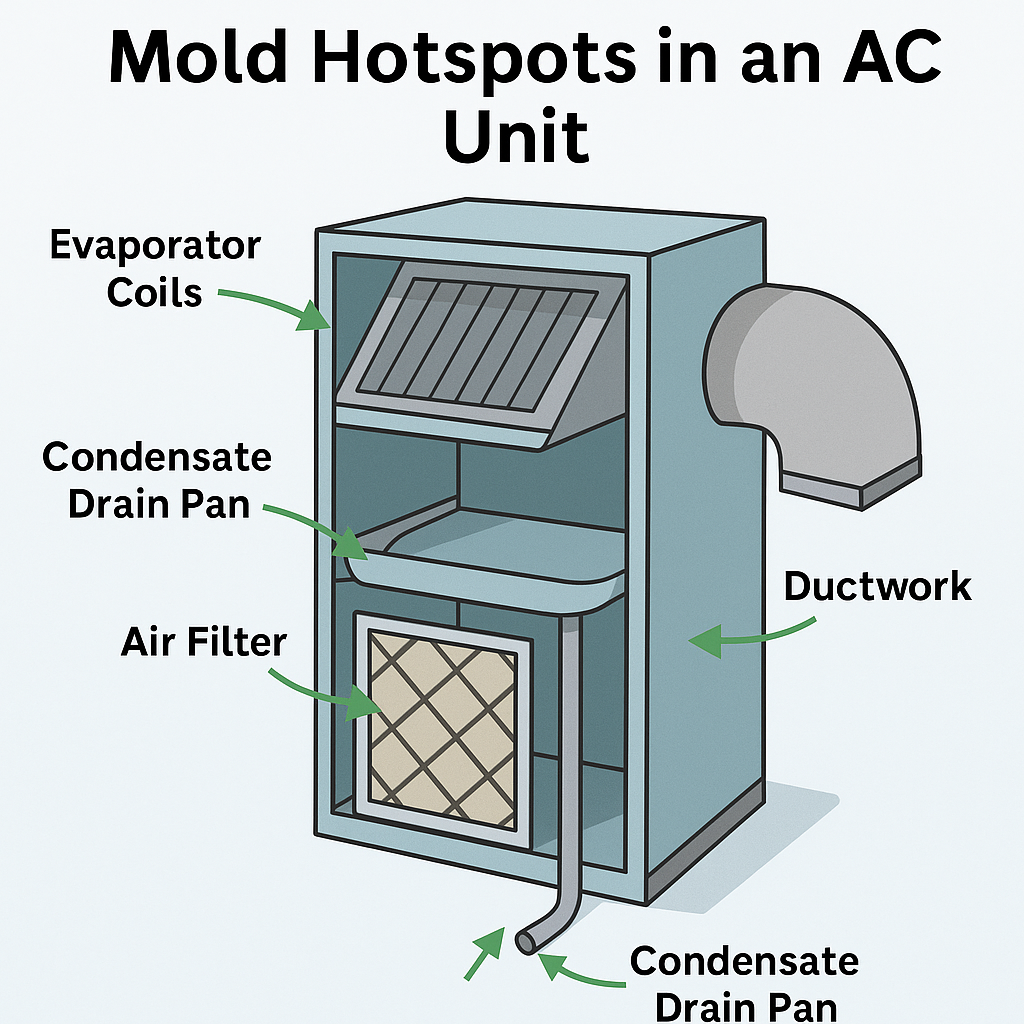
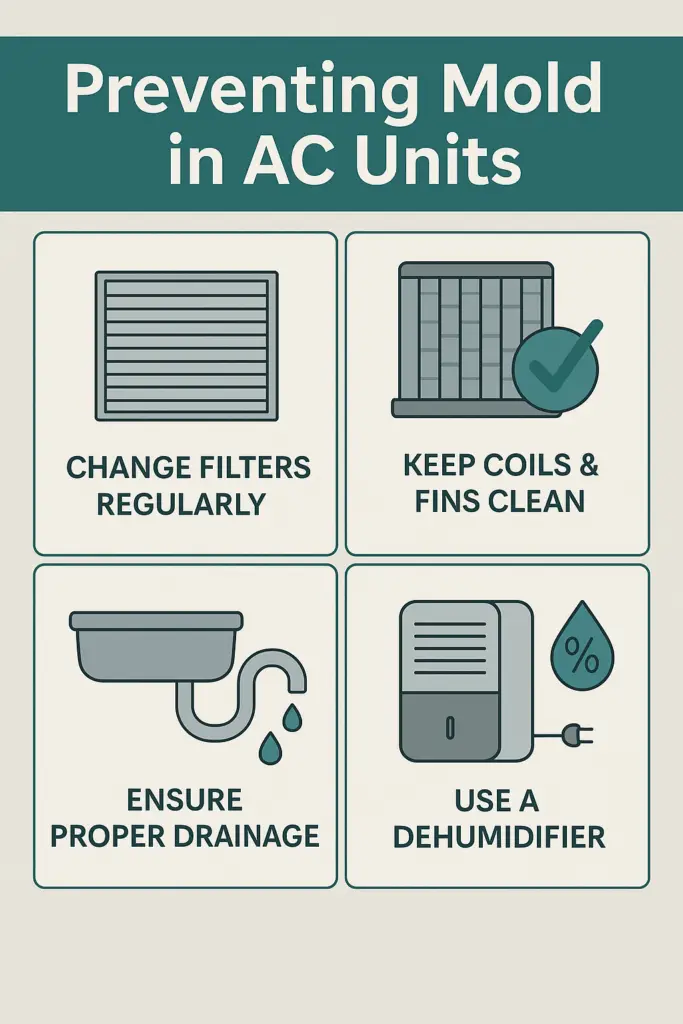
 Preventing Mold Growth in AC Units
 Removing Mold from AC Units
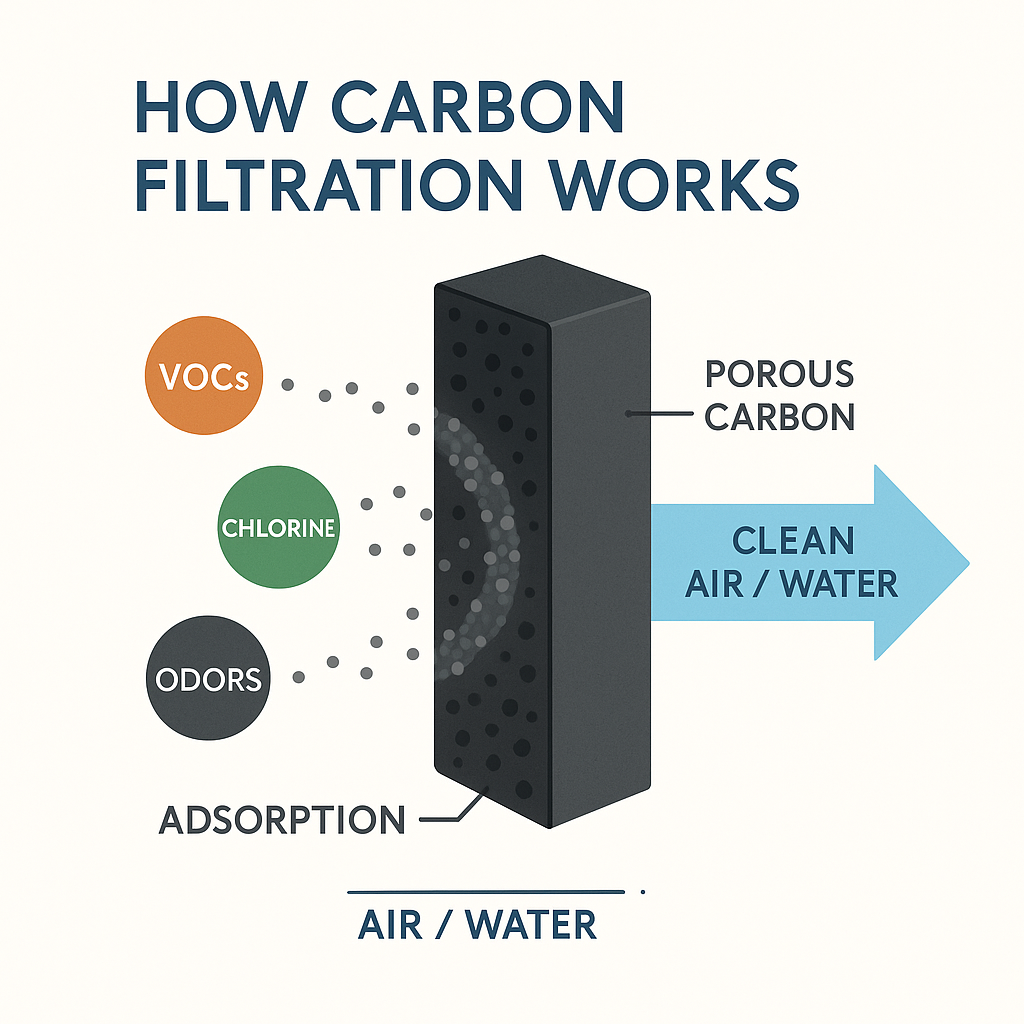
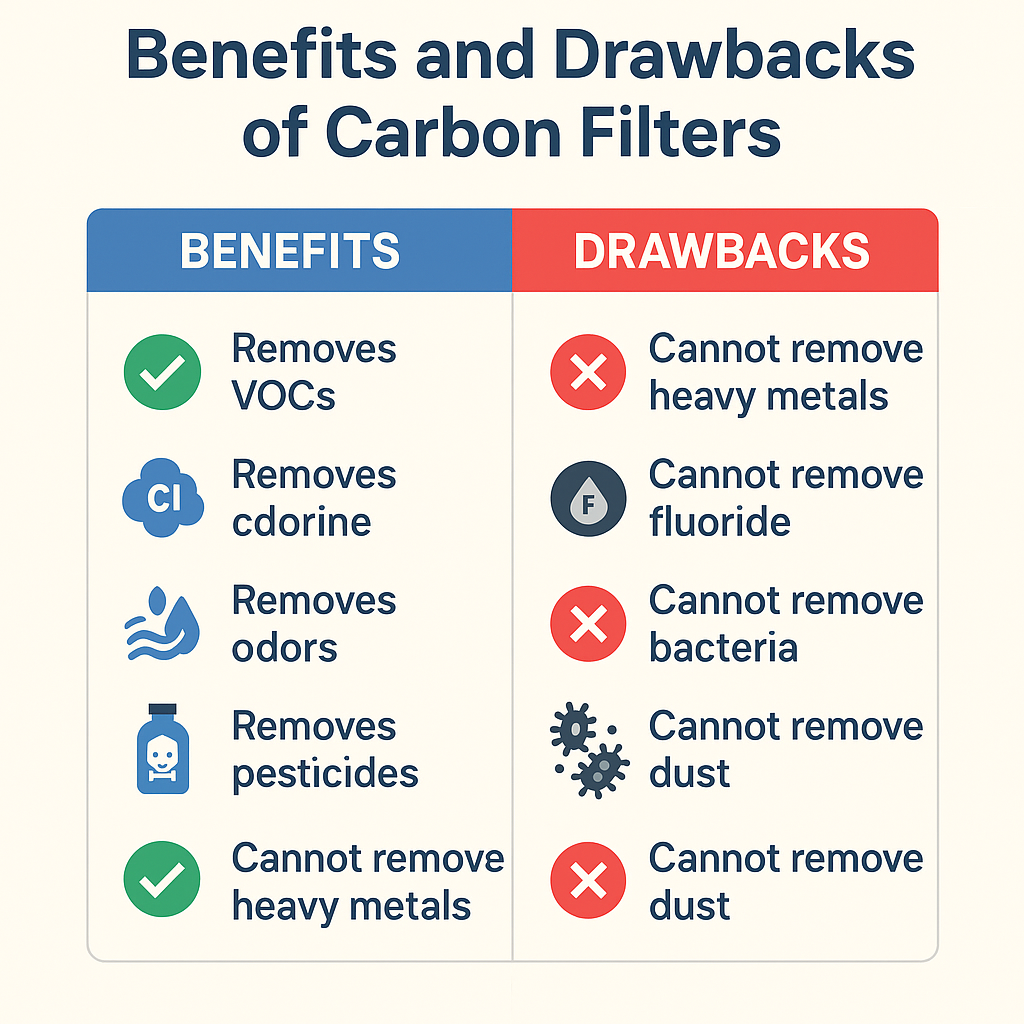
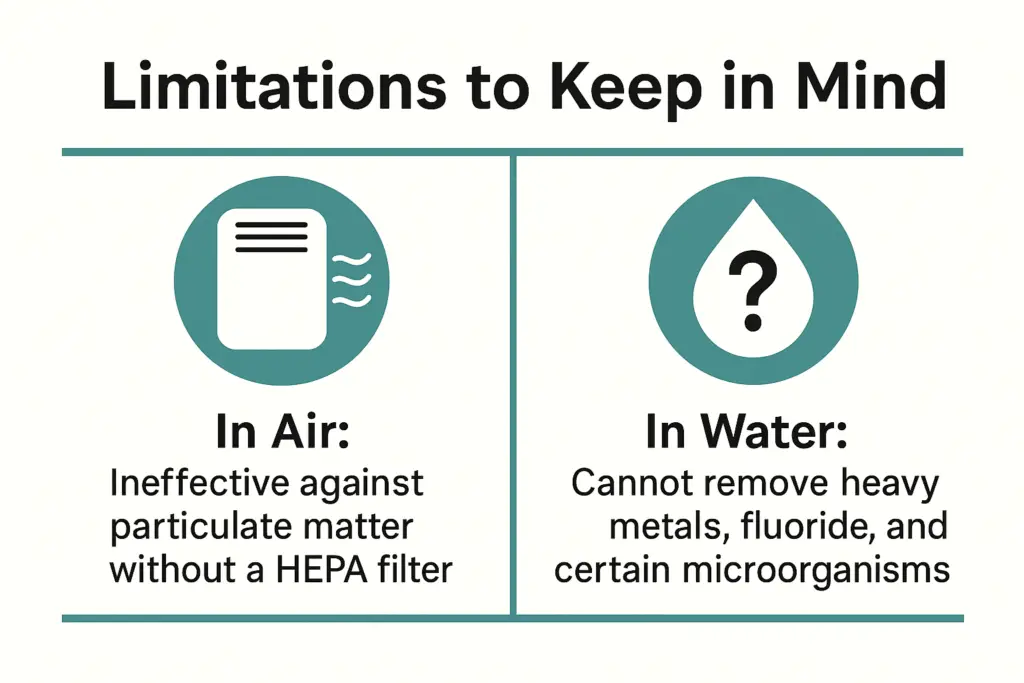
 Hidden Dangers of Carbon Filters
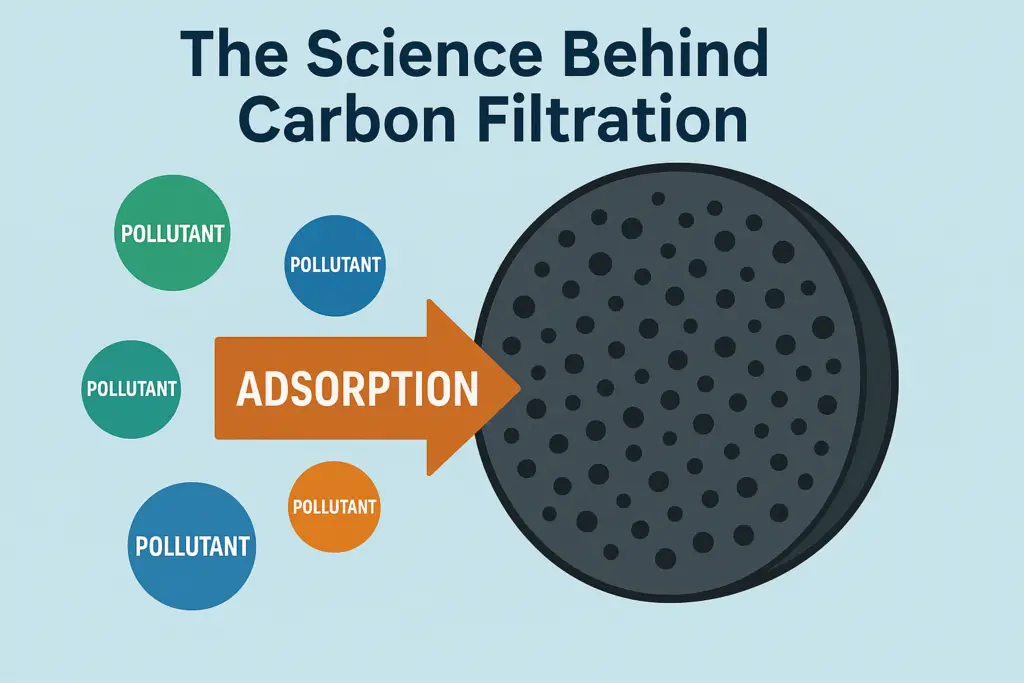

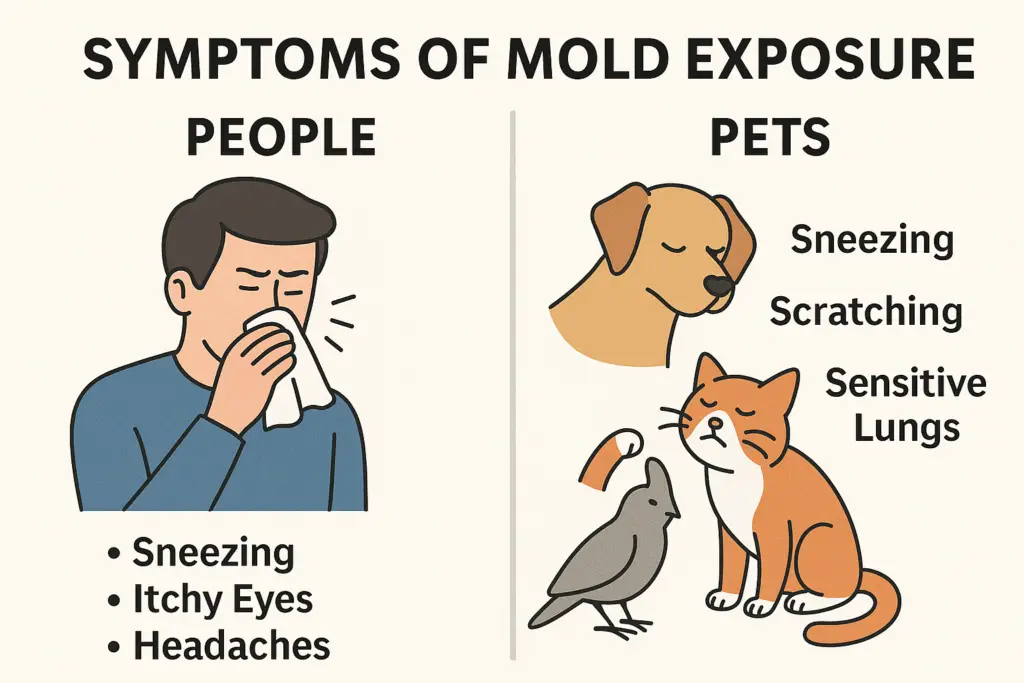
 Health Implications of Air and Water Contaminants
 While carbon filters are excellent for removing gases, odors, and


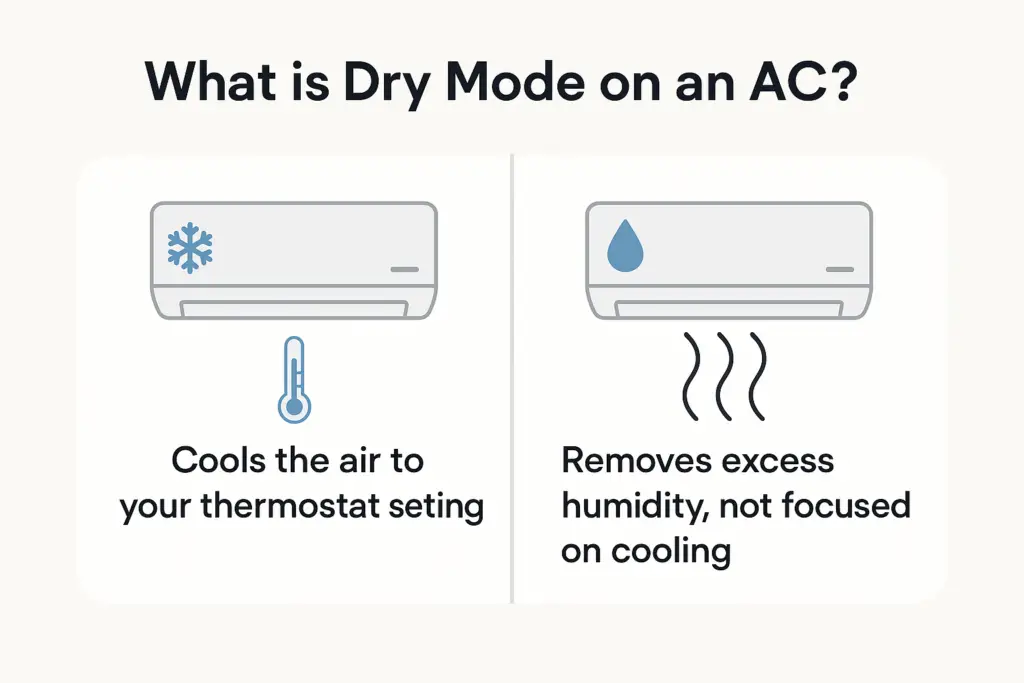
 Air conditioner dry mode vs. dehumidifier