


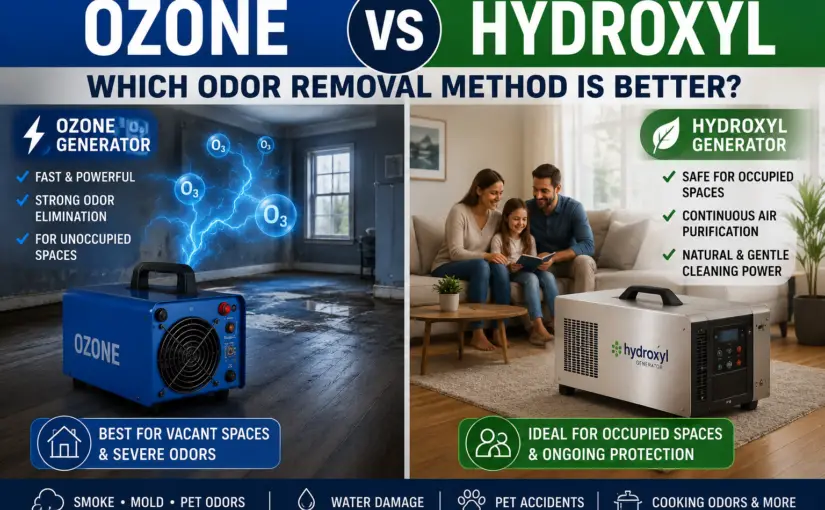
Quick Answer: Ozone generators are typically faster and more aggressive for odor removal, while hydroxyl generators are often preferred when people need to remain in the building. The best choice depends on the severity of the odor, whether the space is occupied, and how quickly results are needed.
Many homeowners assume ozone is always the better option because it’s more familiar. But professionals often choose hydroxyl generators for reasons that might surprise you—including the ability to continue working during treatment and a lower risk of damaging sensitive materials.
Do you know that feeling when you’ve tried everything to remove a stubborn odor—smoke, pet urine, mold, or that mysterious musty smell—and nothing seems to work? You start researching online, and suddenly you’re down a rabbit hole of ozone generators, hydroxyl generators, oxidation, and safety warnings. It’s confusing, and honestly, it can feel overwhelming.
Maybe you stumbled across hydroxyl generators while looking for an ozone machine and thought: What’s the difference? Is hydroxyl actually safer? Does it really work? And why do professional restoration companies seem to use hydroxyl generators so often when ozone gets all the attention online?
Here’s what you need to know: both technologies can help eliminate odors rather than just mask them. But they work differently, and choosing the wrong one for your situation can waste time, money, and potentially create safety hazards. Let’s break it down so you can make the right choice for your home, rental property, or business.
Key Takeaways
- Ozone generators are powerful and fast—but they require the space to be completely empty of people, pets, and plants during treatment.
- Hydroxyl generators are generally considered lower-risk for occupied-space use, but safety depends on the specific unit and conditions.
- Hydroxyls are generally gentler on sensitive materials than ozone, but “no damage” is too absolute—prolonged exposure to any reactive process can affect some surfaces.
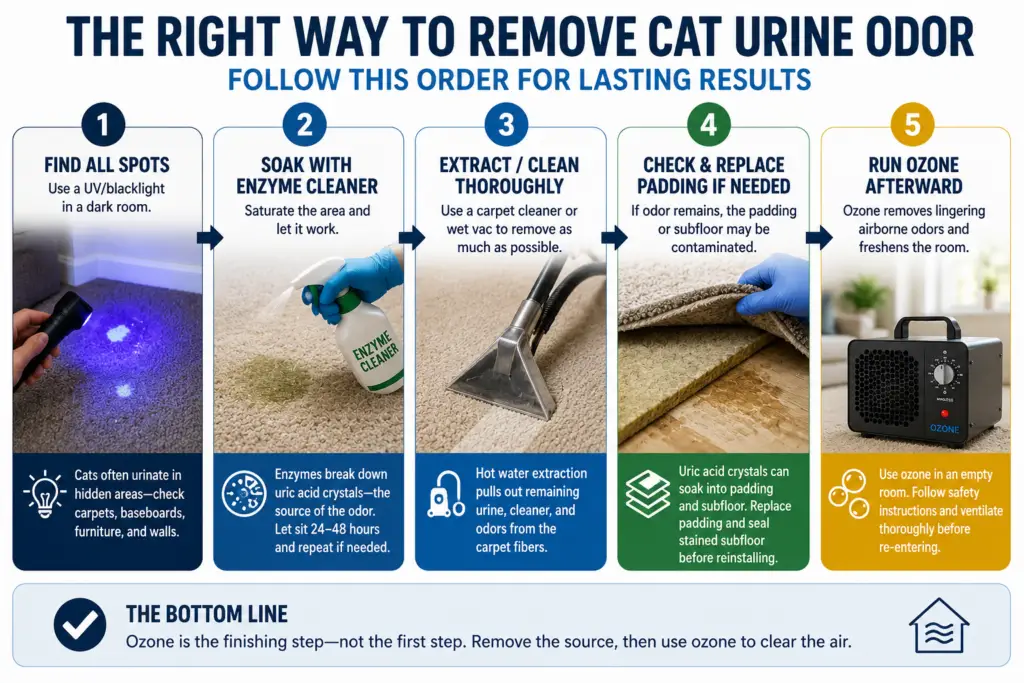
- Neither technology replaces source control—you still need to clean, remove moisture, and ventilate properly.
- Many restoration professionals use both technologies at different stages of a project.
- Cost differs: ozone machines are generally cheaper to buy, while hydroxyl generators often cost more upfront but offer greater flexibility for occupied spaces.
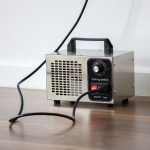
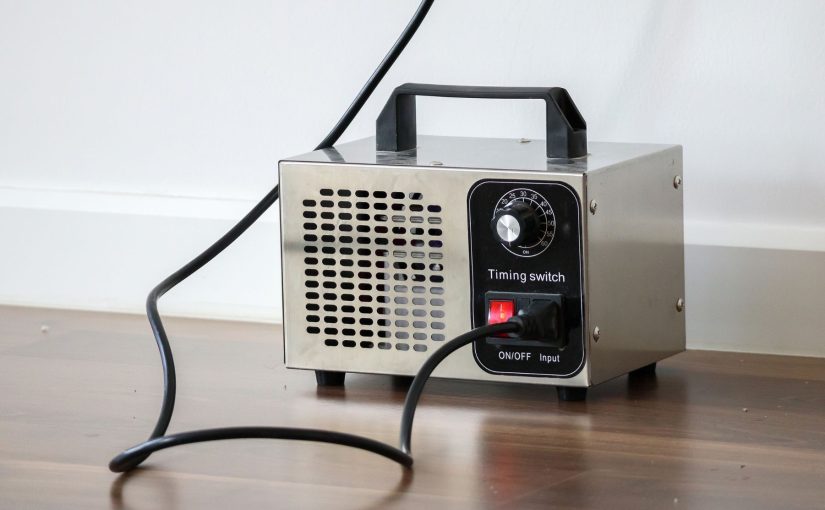
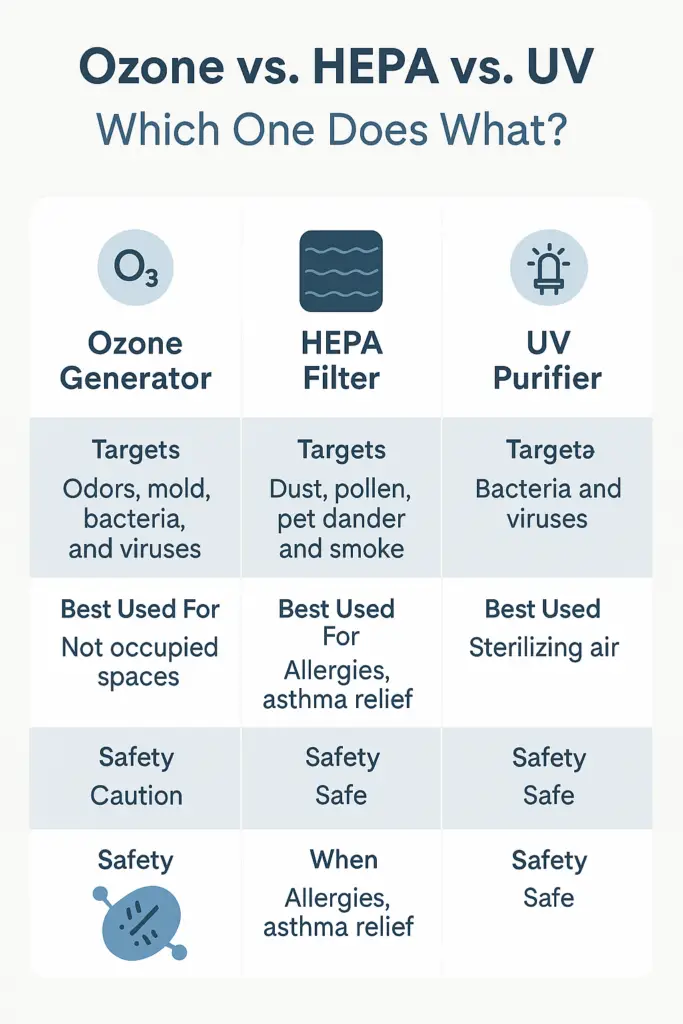
What Is an Ozone Generator?
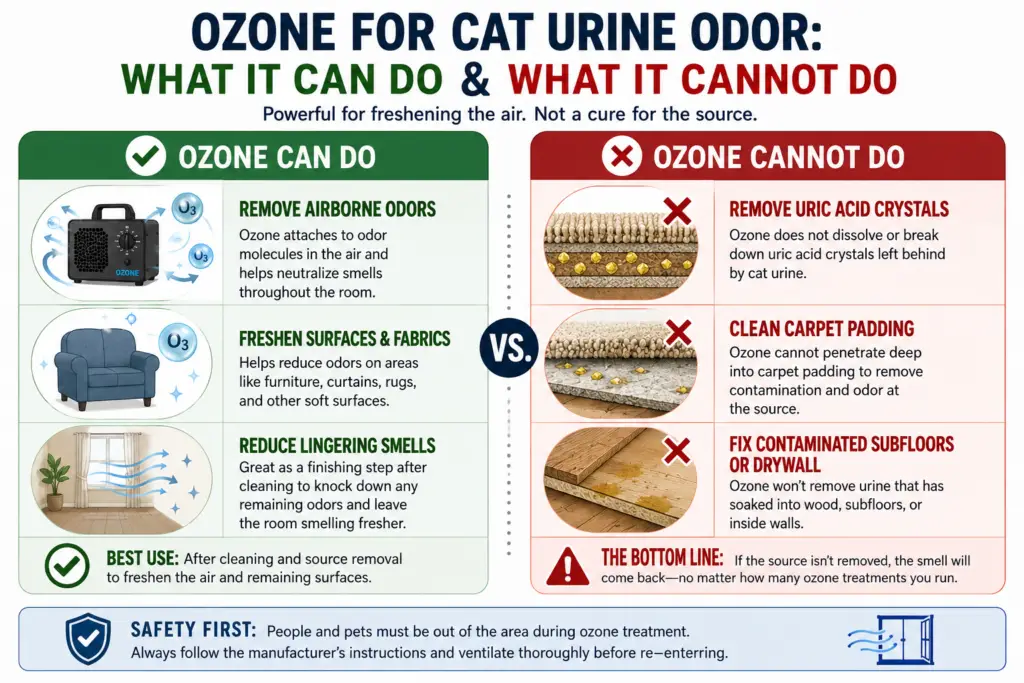
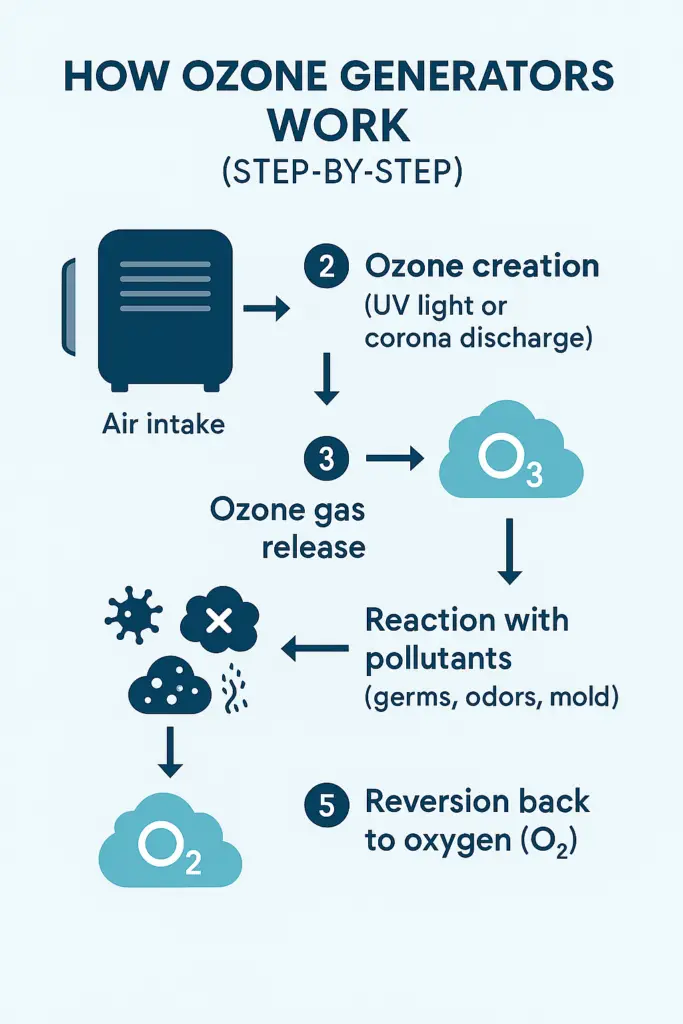
An ozone generator is a device that produces ozone gas (O₃)—a molecule made of three oxygen atoms instead of the two we breathe. Ozone is a powerful oxidizer that works by transferring its extra oxygen atom to odor-causing molecules, chemically changing their structure so they no longer produce odors. This process is called oxidation.
Think of it like this: imagine odor molecules as locks. Ozone is like a key that doesn’t just open the lock—it permanently changes the lock so it can never work again. That’s why ozone doesn’t just mask smells; it can destroy them.
Ozone’s strengths:
-
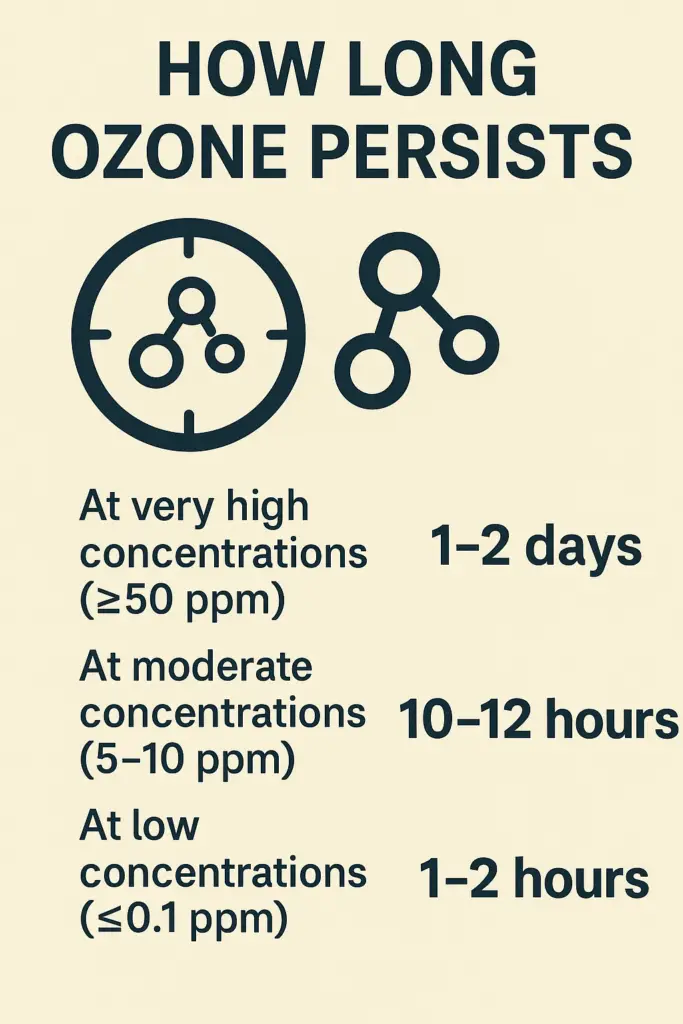
- Fast results: Ozone generators typically work in 1 to 12 hours, depending on concentration and space size.
- Penetrates porous materials: Ozone can reach deep into fabrics, carpets, upholstery, and even drywall.
- Effective on tough odors: Smoke, fire damage, severe pet odors, sewage, and musty smells.
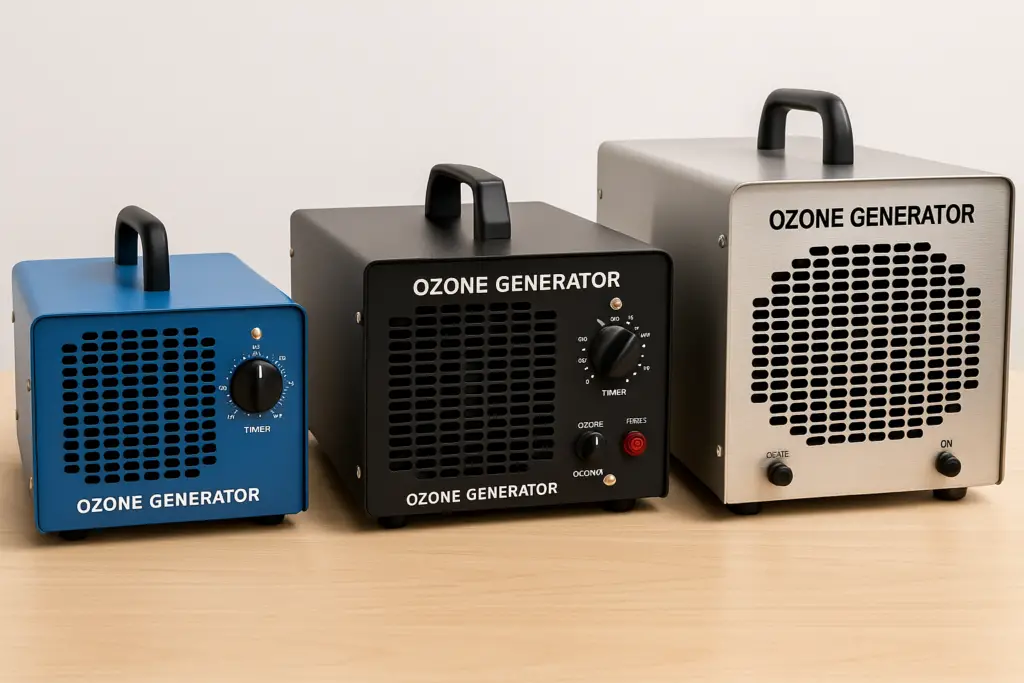
- Relatively affordable: Small ozone generators start around a few hundred dollars.
If you are comparing specific models for a home project, you can review our top ozone generator picks to see which brands offer the best balance of output and safety features.
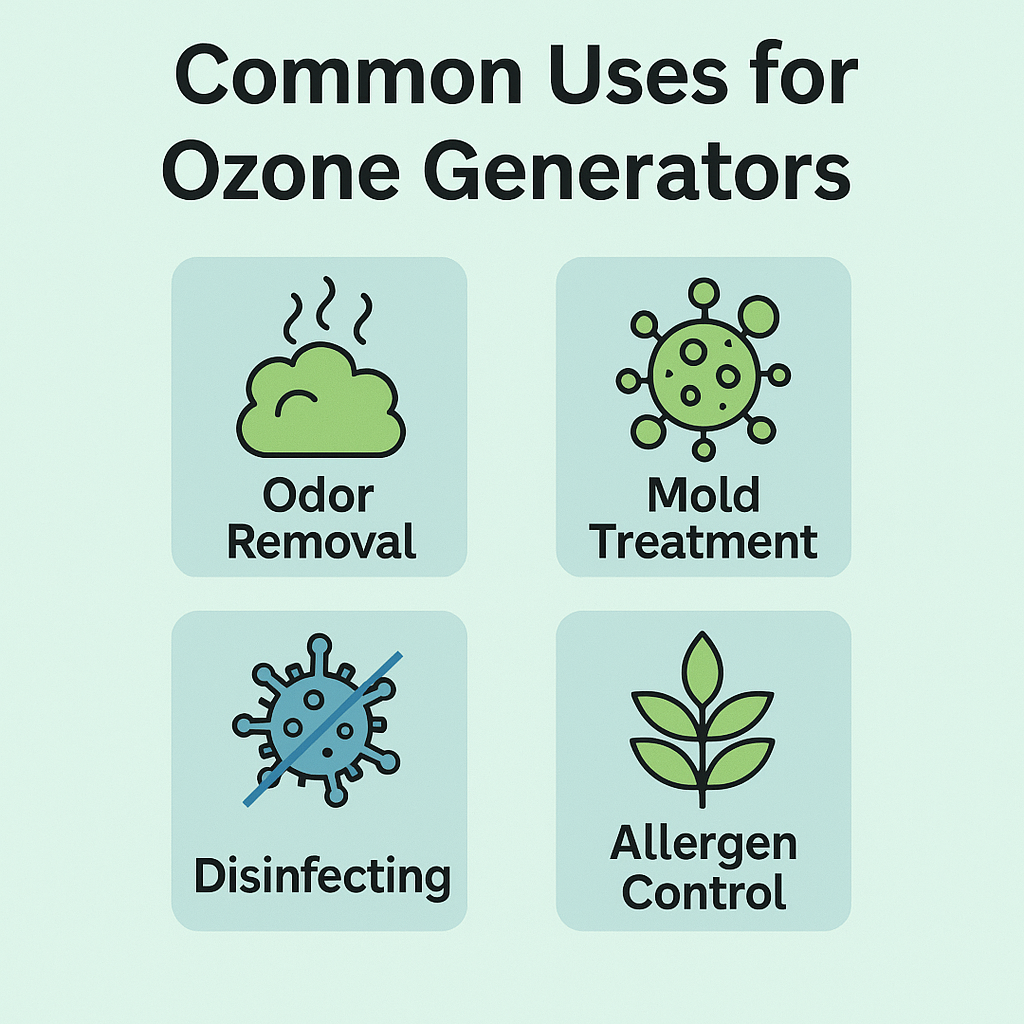
Common applications: Ozone generators are widely used for smoke-damaged homes and cars, pet odors in vacant properties, mold and mildew in unoccupied basements or attics, water damage restoration, and rental properties between guests.
Real-world example: A landlord turns over a rental property where the previous tenant smoked indoors for years. The smell is embedded in carpets, walls, and curtains. After removing the tenant’s belongings and deep cleaning, the landlord runs an ozone generator in the vacant unit for 24 hours. When they return, the smoke smell is dramatically reduced or eliminated.
What Is a Hydroxyl Generator?
A hydroxyl generator produces hydroxyl radicals (·OH)—molecules that occur naturally outdoors when sunlight (UV radiation) reacts with water vapor and oxygen in the atmosphere. They play a role in breaking down pollutants in the air.
Hydroxyl generators replicate this process indoors. Using specific UV light wavelengths (typically UVA in the 320–385nm range) combined with a catalyst like titanium dioxide (TiO₂), they produce hydroxyl radicals that can help dismantle odor-causing molecules.
How hydroxyls are different: Unlike ozone, hydroxyls are generally considered lower-risk for occupied spaces. However, safety depends on the specific unit’s output, placement, and operating conditions. It’s always wise to follow the manufacturer’s guidance and consult with professionals when in doubt.
Hydroxyl generators are often used during active restoration work because they can run while people are on-site. They are generally gentler on sensitive materials than ozone—though “no damage” is too absolute. Prolonged exposure to any reactive process can potentially affect some surfaces, so it’s wise to monitor treated areas.
Hydroxyl’s strengths:
- Often used in occupied spaces: Depending on the unit and conditions, people, pets, and plants may remain during treatment.
- Generally gentler on materials: Lower risk of damage to rubber, plastics, electronics, artwork, and fabrics compared to ozone.
- Typically requires less airing-out: Does not usually require the same post-treatment evacuation protocol as ozone.
- Continuous treatment: Can run while restoration work continues.
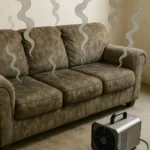
Common applications: Hydroxyl generators are often used in homes and apartments where people need to stay; businesses, schools, and hospitals that must remain open; active restoration projects (can run simultaneously with drying and demolition); fire and smoke damage; mold remediation support; and environments with sensitive belongings.
Real-world example: A family’s home suffers smoke damage from a kitchen fire. The restoration company brings in hydroxyl generators and runs them continuously while they clean, dry, and repair the property. The family may be able to remain in the home, depending on the specific unit and conditions. The generator runs for several days, and when complete, the smoke odor is significantly reduced without noticeable damage to furniture, electronics, or family photos.
Ozone vs Hydroxyl: The Biggest Differences
Let’s get straight to the comparison. Here’s how these technologies stack up side by side:
| Feature | Ozone Generators | Hydroxyl Generators |
|---|---|---|
| Occupancy | Unoccupied spaces only—evacuate people, pets, plants | Often marketed for occupied use; depends on unit and conditions |
| Treatment Speed | Fast: typically 1–12 hours | Slower: often 3–5 days |
| Material Safety | Can damage rubber, leather, plastics, electronics over time | Generally gentler on materials; lower risk of damage |
| Post-Treatment | Requires ventilation; time varies by concentration and space | Typically does not require the same airing-out protocol |
| Effectiveness | Excellent for strong, concentrated odors in vacant spaces | Broad spectrum; often used for ongoing treatment |
| Cost | Lower upfront cost | Higher upfront cost |
Speed vs flexibility tradeoff: The biggest takeaway? Ozone is about speed; hydroxyl is about flexibility for occupied spaces.
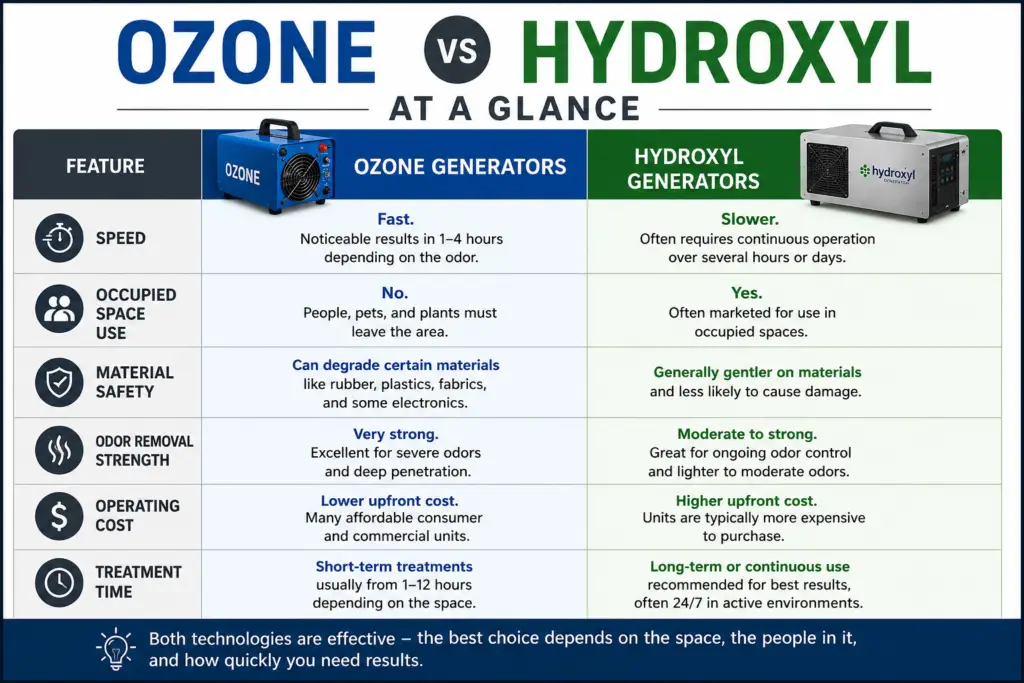
Ozone delivers faster results because it’s used in higher concentrations. But those higher concentrations are exactly why it’s dangerous to breathe and can be damaging to materials. Hydroxyl generators operate at lower concentrations, which means they take longer—typically several days instead of hours.
Which One Works Better for Smoke Odors?
Both technologies can help with smoke odors, but they approach it differently.
Ozone for smoke: Ozone is often preferred for severe smoke damage, particularly from cigarette smoke that has penetrated walls, carpets, and fabrics; fire damage where smoke has been absorbed into porous materials; and cooking odors like burnt food or grease fires. Ozone’s speed is its advantage here. In a vacant property, a 24-hour ozone treatment can dramatically reduce or eliminate smoke odor that might otherwise require replacing carpets and repainting walls.
Hydroxyl for smoke: Hydroxyl generators are also used for smoke odors, but they typically require more time—often 3 to 5 days. However, hydroxyl has advantages for smoke restoration: it can run while other work continues, it’s generally considered lower-risk for occupants (depending on the unit), and it’s less likely to damage contents like electronics or artwork.
Which is better for smoke? If the property is empty and you need fast results, ozone is usually the preferred choice for smoke odors. If people are staying or you’re in the middle of restoration work, hydroxyl may be the more practical option.
Which One Works Better for Mold and Water Damage?
Mold and water damage odors are common challenges for restoration professionals and homeowners alike. Neither technology replaces source control—you must fix the moisture problem and physically clean affected areas.
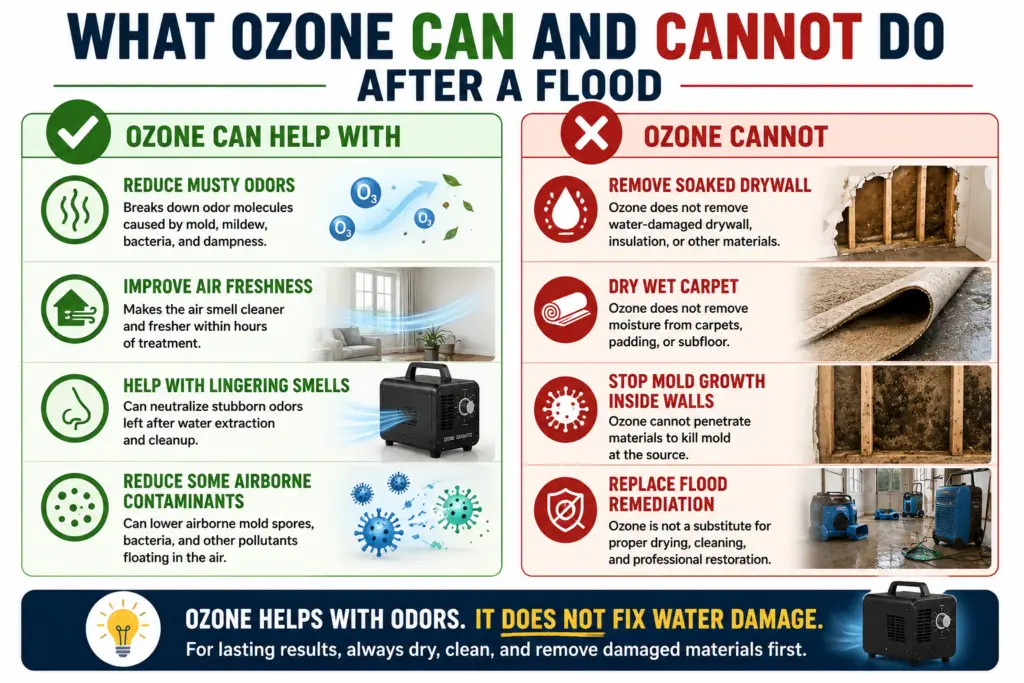
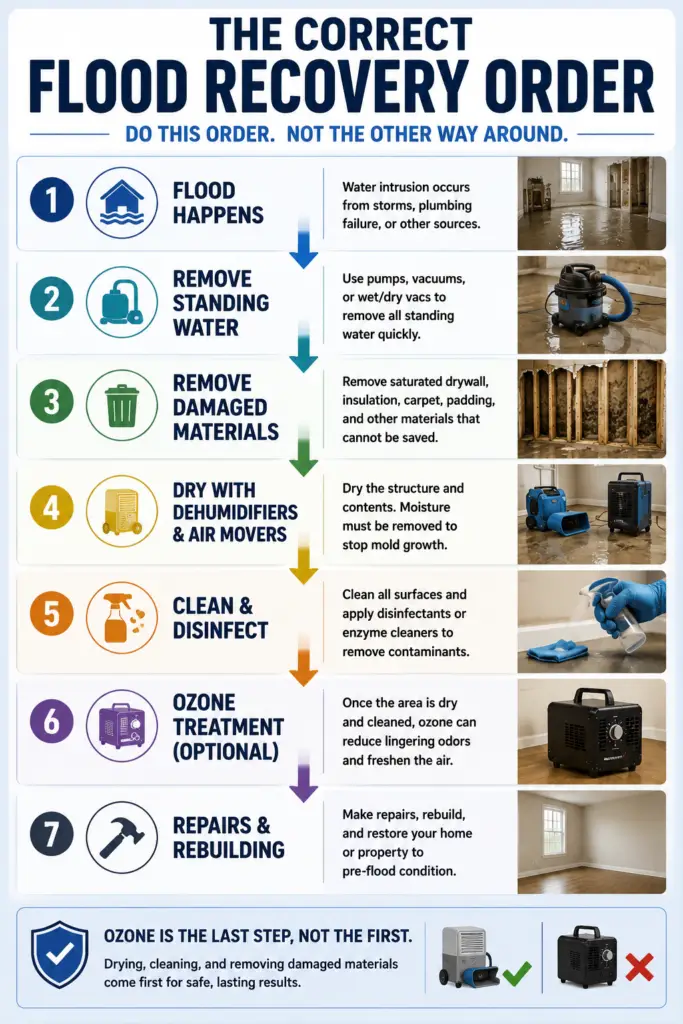
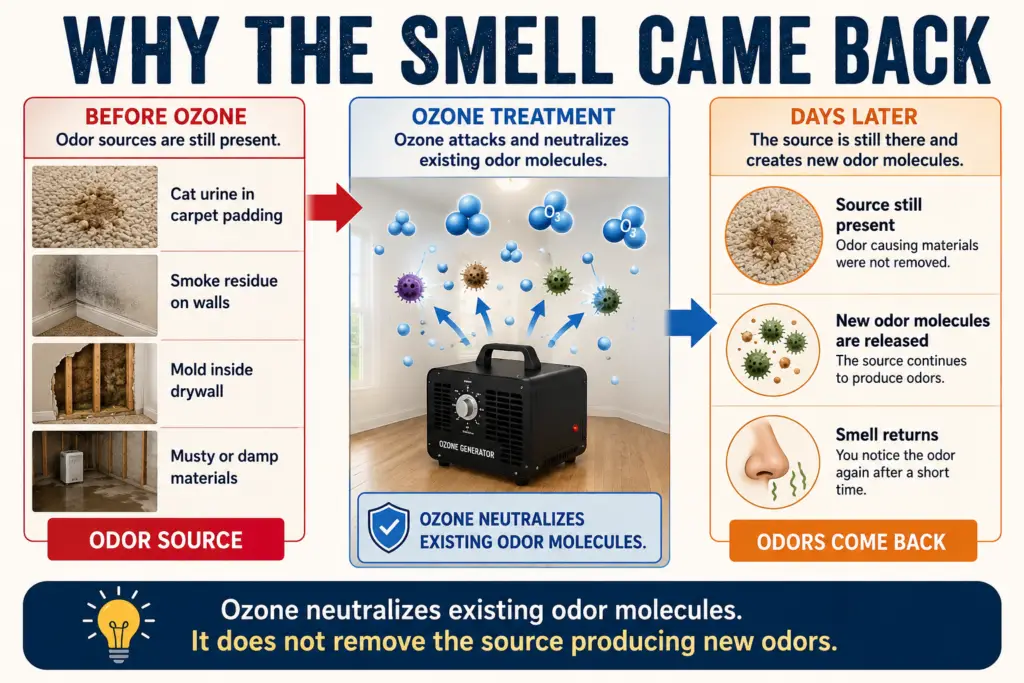
Ozone for mold: Ozone can help neutralize musty odors, but there’s a catch: ozone doesn’t address the moisture source. If you don’t fix the water problem, mold will return. Restoration professionals typically use ozone only after removing the source of moisture and physically cleaning mold-affected areas. Ozone can be effective for deodorizing damp basements, vacant properties with water damage, and HVAC systems (when properly treated).
Hydroxyl for mold: Hydroxyl generators are often used during active remediation projects because they can run while demolition, drying, and cleaning are underway. This means no downtime waiting for odor treatment to finish, and workers can remain on-site (depending on the unit and conditions). Hydroxyls may help reduce musty odor associated with mold, but they should be used in conjunction with proper moisture control and physical mold removal.
Which is better for water damage? For active water damage restoration, hydroxyl generators are often the practical choice because they can integrate with the rest of the restoration process. For treating a vacant property with a lingering musty smell, ozone may be sufficient and faster.
Important: Neither ozone nor hydroxyl generators are a substitute for proper mold remediation. If you have visible mold growth or a known moisture problem, address the source first—remove moisture, clean affected materials, and consult with a restoration professional.
Can Hydroxyl Generators Replace Ozone Machines?
The short answer is no—not completely. But it depends on the situation.
When hydroxyl is sufficient: Hydroxyl generators can handle many common odor problems—everyday pet odors, cooking smells, light to moderate smoke, musty basements, occupied spaces where ozone can’t be used, and environments with sensitive materials.
When ozone remains the better choice: Ozone still wins in certain scenarios—severe smoke or fire damage in vacant properties, situations where speed is critical, when a property can be completely sealed and emptied, as a shock treatment for very stubborn odors, and when budget is a primary concern (ozone machines are typically cheaper).
Why professionals often use both: Many restoration companies own both technologies and use them at different project stages:
The easiest way to understand why restoration companies invest in both technologies is to look at where each one fits into a typical restoration project.
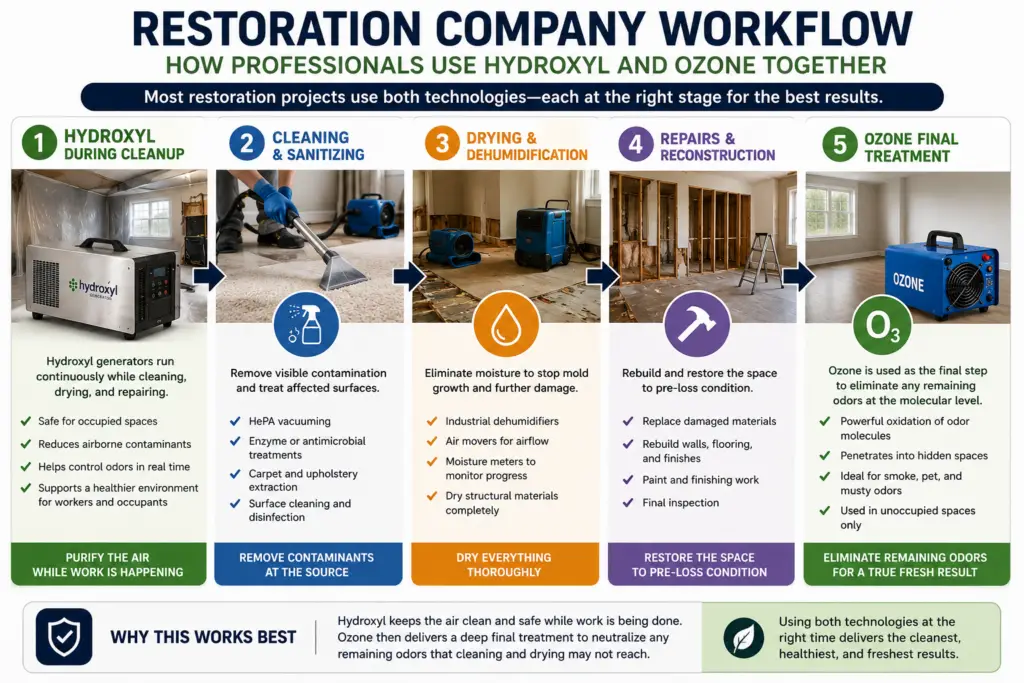
- Start with hydroxyl during active restoration—drying, cleaning, demolition—while people are on-site.
- Switch to ozone for a final shock treatment once the property is empty and restoration is nearly complete.
- Use hydroxyl again for ongoing odor control if needed.
This layered approach gives professionals the best of both worlds: the flexibility of hydroxyl during active work, and the speed of ozone for the final knockout punch.
Ozone vs Hydroxyl for Homeowners: A Practical Guide
Here’s how to decide which technology is right for your project:
Before choosing a specialized treatment machine, ensure you actually need a remediation tool rather than a daily air cleaner by reading our guide on the differences between air purifiers and ozone generators.
Use Ozone If:
- Property is vacant — No risk to people, pets, or plants.
- You need fast results — Ozone works in hours, not days.
- Strong, stubborn odors — Smoke, fire, severe musty smells.
- Budget is limited — Ozone machines are generally cheaper.
- You can ventilate afterward — Plan for proper airing-out time.
Use Hydroxyl If:
- People or pets remain in the building — Depending on the unit and conditions.
- You need continuous treatment — Can run while other work continues.
- Sensitive materials are present — Generally gentler on rubber, plastics, electronics, and artwork.
- Ongoing restoration project — Use during demo, cleaning, and drying.
- Business must stay open — No evacuation required (depending on the unit).
Decision Chart:
| Your Situation | Recommendation |
|---|---|
| Vacant house with smoke damage | Ozone |
| Rental property between guests | Ozone |
| Occupied home with pet odor | Hydroxyl (if unit is appropriate) |
| Fire restoration with family still living there | Hydroxyl (depending on unit) |
| Active construction/restoration | Hydroxyl |
| Severe musty odor in damp basement (vacant) | Ozone after addressing moisture |
| Business with smoke odor (must stay open) | Hydroxyl (if unit is appropriate) |
| Car interior with smoke smell | Either—but if occupied, use hydroxyl (depending on unit) |
Potential Drawbacks of Each Technology
Ozone drawbacks:
-
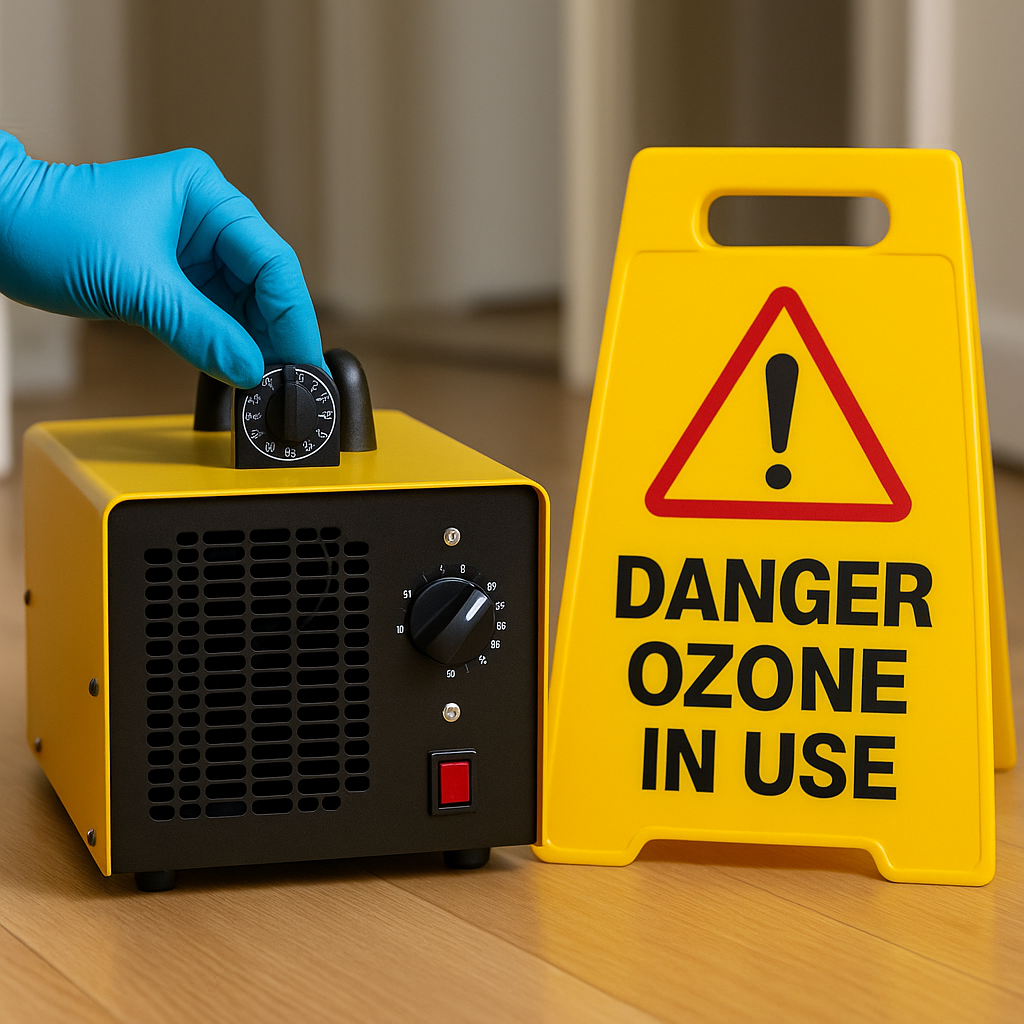
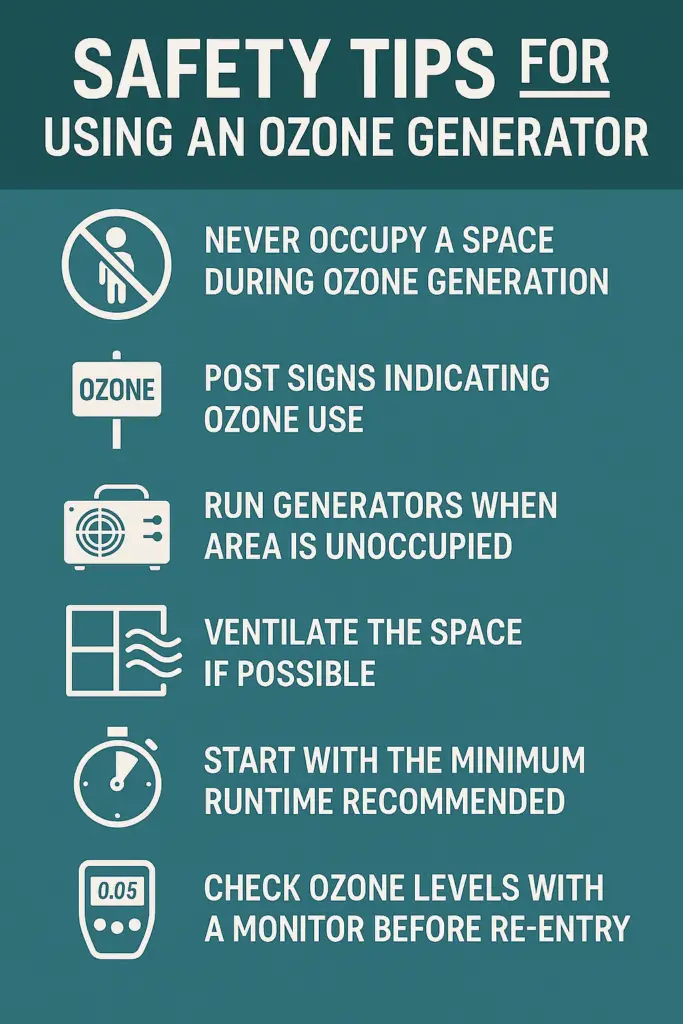
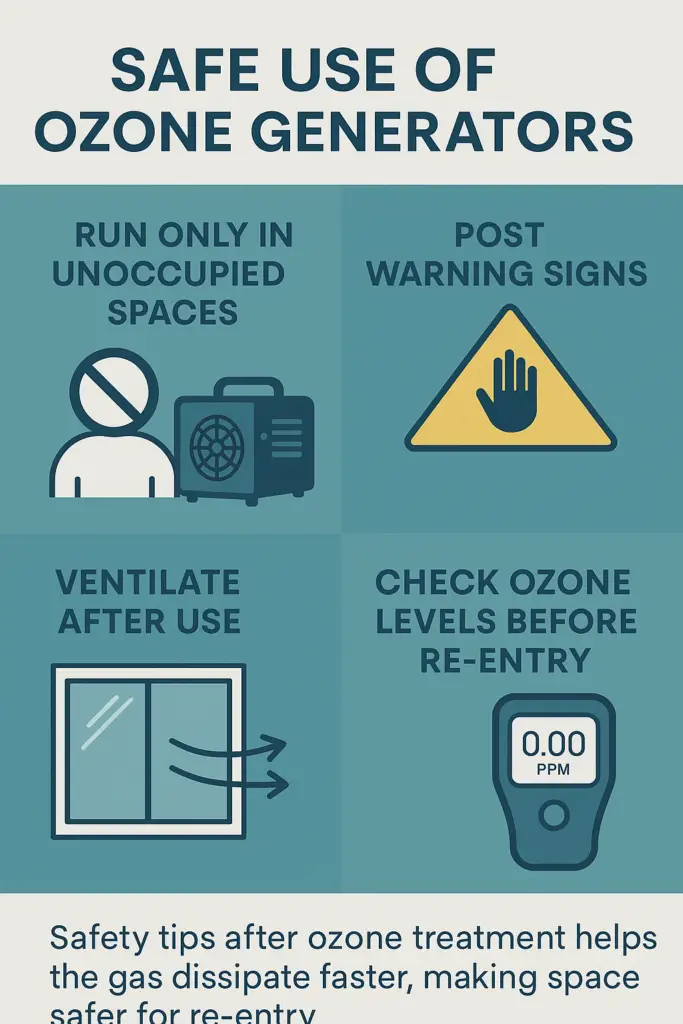
- Occupancy restrictions: Ozone is harmful to breathe. OSHA and the EPA classify it as a toxic air pollutant. You must completely evacuate the space during treatment—this means people, pets, plants, and even fish in aquariums.
Because inhaling high concentrations of the gas can cause immediate respiratory distress, you should be familiar with the immediate steps to take if you accidentally breathe ozone during a treatment.
- Material degradation: Ozone can damage certain materials with prolonged exposure—natural rubber, some plastics, leather, electronics, artwork and textiles, and plants.
- Safety concerns: Proper safety equipment and protocols are essential. Even low levels of ozone can irritate lungs, eyes, and throat.
Hydroxyl drawbacks:
- Slower treatment times: Where ozone works in hours, hydroxyl typically requires 3 to 5 days for comparable results. If you need quick results, hydroxyl can feel frustratingly slow.
- Higher equipment cost: Hydroxyl generators are typically more expensive than ozone machines. Professional-grade units can cost thousands of dollars, while basic ozone machines start much lower.
- Limited availability: Hydroxyl technology is newer and less widely available than ozone generators. You may need to rent professional equipment from restoration suppliers.
- Humidity requirements: For optimal performance, hydroxyl generators often need adequate humidity levels. In very dry environments, they may not work as effectively.
- Safety claims vary: “Safe for occupied spaces” depends on the specific unit, output, and conditions. Always verify manufacturer specifications and consult professionals.
FAQ
Is hydroxyl safer than ozone?
Hydroxyl generators are generally considered lower-risk for occupied-space use than ozone. However, safety depends on the specific unit, output, and conditions. Ozone is a respiratory irritant and requires complete evacuation during treatment.
Can hydroxyl generators be used around people?
Many hydroxyl generators are marketed for use in occupied spaces, depending on the unit and conditions. Always follow the manufacturer’s guidance and consult with a professional for your specific situation.
Do restoration companies prefer hydroxyl or ozone?
Many professionals use both. Restoration companies often choose hydroxyl for active restoration projects because it can run while people are working. They may then use ozone for final treatment in vacant spaces.
Which removes smoke odors faster?
Ozone typically works faster—usually 1 to 12 hours compared to 3 to 5 days for hydroxyl. However, hydroxyl can be used in occupied spaces (depending on the unit), so there’s no evacuation required.
Can hydroxyl kill mold?
Hydroxyl generators may help reduce musty odor associated with mold, but they should be used in conjunction with proper moisture control and physical mold removal. Hydroxyl alone won’t solve a mold problem—you must address the source.
Why are hydroxyl generators more expensive?
Hydroxyl generators use more advanced technology, including specialized UV lights and photocatalytic oxidation systems. Professional-grade units may cost thousands, while basic ozone generators can be had for a few hundred dollars.
Can ozone and hydroxyl be used together?
Yes. Many restoration professionals use both technologies at different project stages. For example, use hydroxyl during active restoration work and ozone for final treatment in the vacant property.
Do hydroxyl generators leave a smell?
Typically, no. Unlike ozone, which can leave a temporary chemical smell, hydroxyl generators generally don’t leave odors or residues.
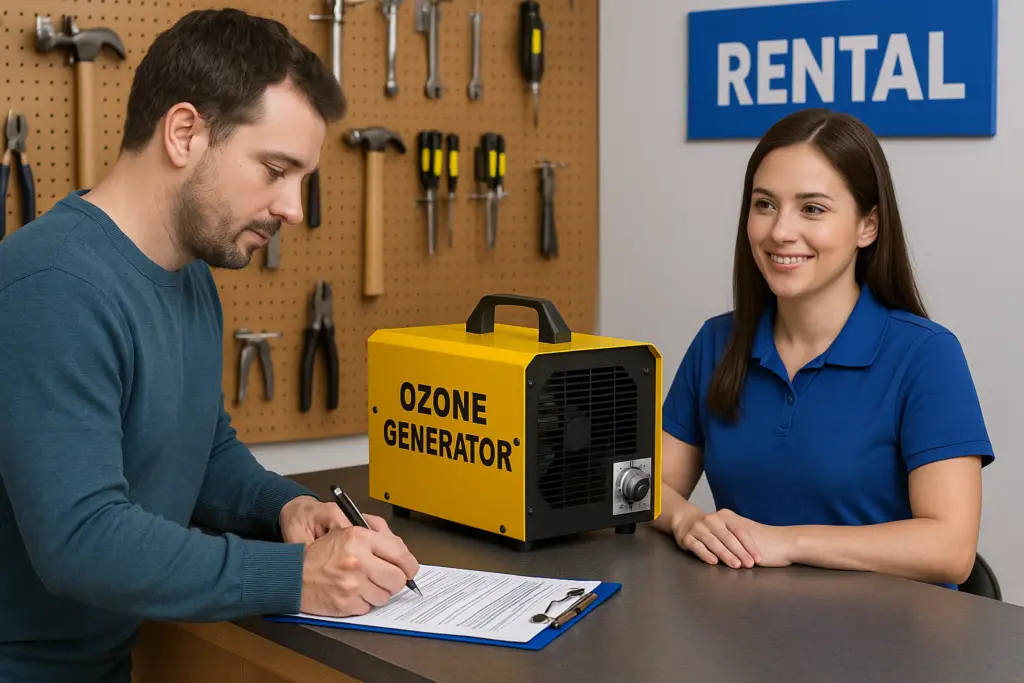
Can I rent a hydroxyl generator?
Yes. Many restoration equipment suppliers rent hydroxyl generators. Renting can be a cost-effective way to use this technology for a specific project rather than purchasing an expensive machine.
Does ozone remove odors permanently?
Ozone can permanently destroy odor-causing molecules through oxidation. However, the odor will return if the source isn’t removed. For example, ozone will eliminate the smell of mold, but if the moisture problem isn’t fixed, new mold will grow and the odor will return.
Bottom Line
Choosing between an ozone generator and a hydroxyl generator comes down to understanding the tradeoffs between speed and flexibility.
Ozone generators are usually faster and more aggressive. They’re the go-to choice for severe odors in vacant spaces—smoke damage, fire restoration, stubborn pet odors, and musty basements. But they require complete evacuation and can damage sensitive materials. They’re the heavy artillery of odor removal: powerful, effective, and not to be used lightly.
Hydroxyl generators are generally more flexible for occupied spaces. They can run continuously and are often used during restoration projects, in businesses that must stay open, and in homes where people can’t leave. They’re gentler on materials and typically don’t require the same airing-out protocol. But they’re slower and more expensive.
The best choice depends on your specific project:
- Vacant property with severe smoke odor? Consider ozone.
- Occupied home with pet smell? Consider hydroxyl (if the unit is appropriate).
- Active restoration with workers on-site? Consider hydroxyl.
- Need fast results and can vacate? Consider ozone.
- Want to treat while life continues? Consider hydroxyl (depending on the unit).
Many professionals use both technologies—hydroxyl during active work for flexibility, ozone for final treatment in empty spaces. This layered approach often delivers the best results.
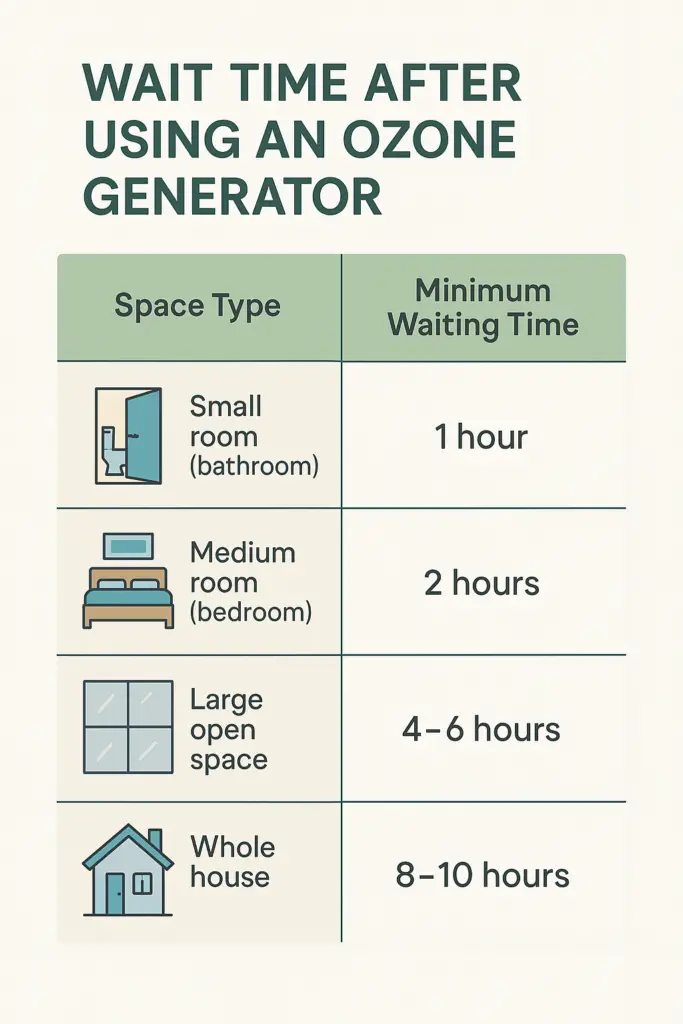
Important: Neither technology replaces source control. You still need to clean, remove moisture, and ventilate properly. Always follow manufacturer safety guidelines. In fact, neglecting the deep cleaning phase is the biggest mistake people make when using an ozone generator, as the odor will often return if the source isn’t removed. If using ozone, completely evacuate the space, remove all living things, and ventilate thoroughly before re-entry. If using hydroxyl, ensure you have the right equipment for your space size and understand treatment times.
The right tool for the right job—combined with proper source control—is how professionals eliminate odors effectively and safely.
Read More About Ozone Generators
- What Is an Ozone Machine? — A beginner’s guide to ozone technology
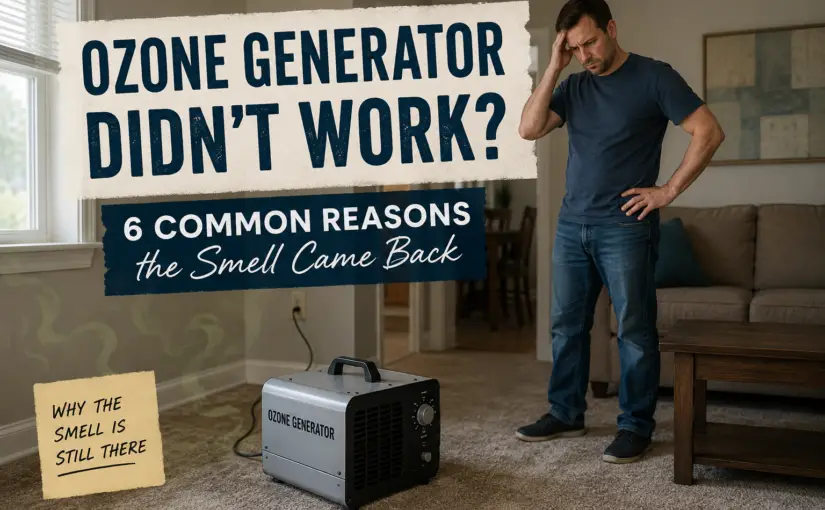
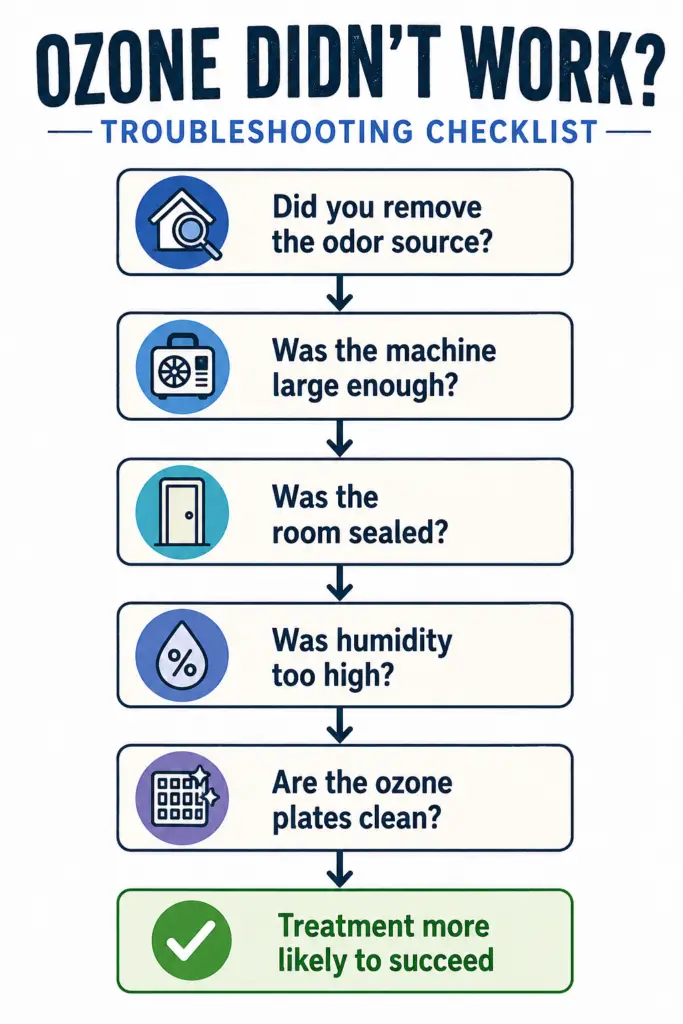
- Ozone Generator Didn’t Work? — Common reasons and solutions
- Ozone After Flooding — Using ozone for water damage restoration
- What Does Ozone Smell Like? — Identifying ozone and understanding safety
- Ozoning a House: Do’s and Don’ts — Best practices for safe, effective treatment
“`
 To Get the Smell Gone Right
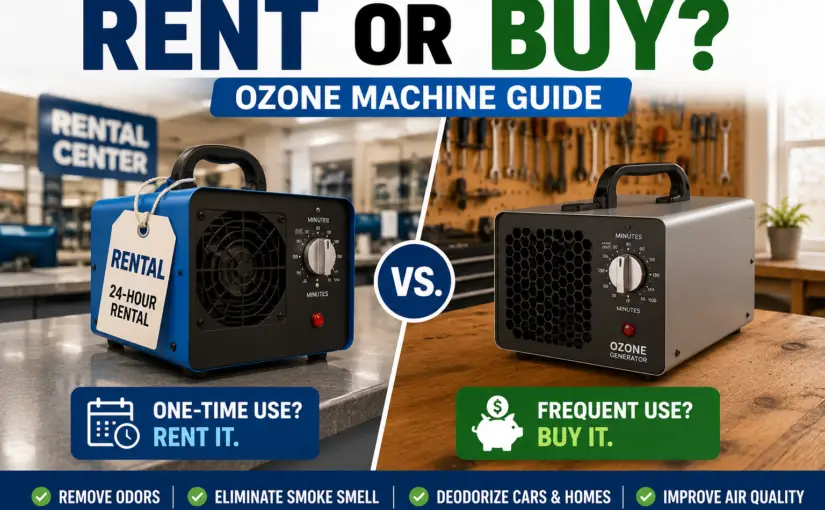


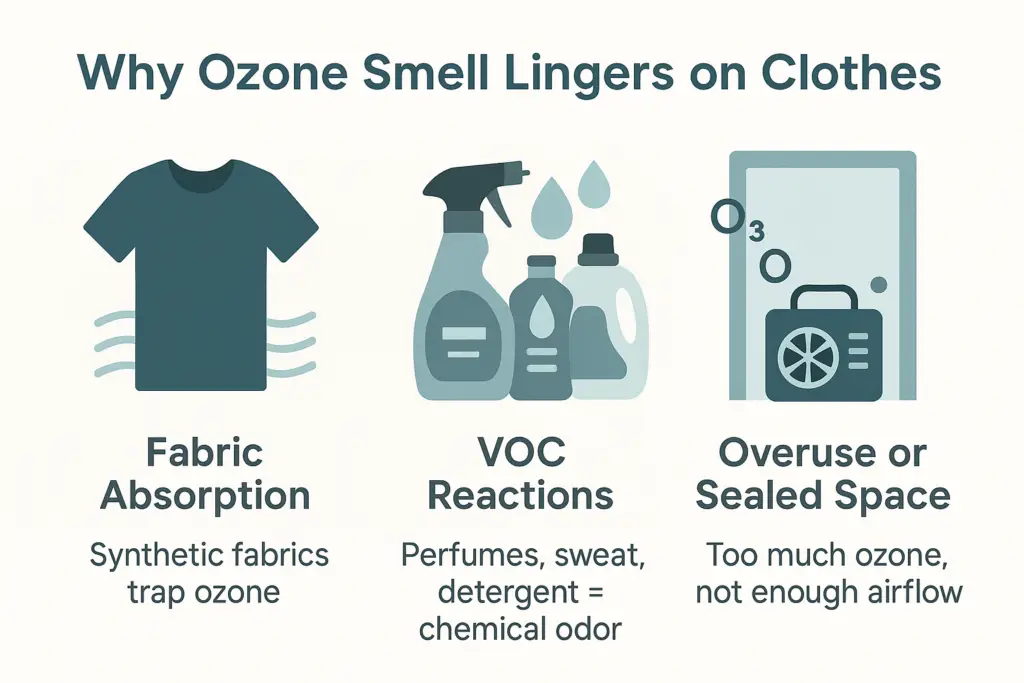
 How to Get the Ozone Smell Out of Clothes (and Everything Else It Clings To)
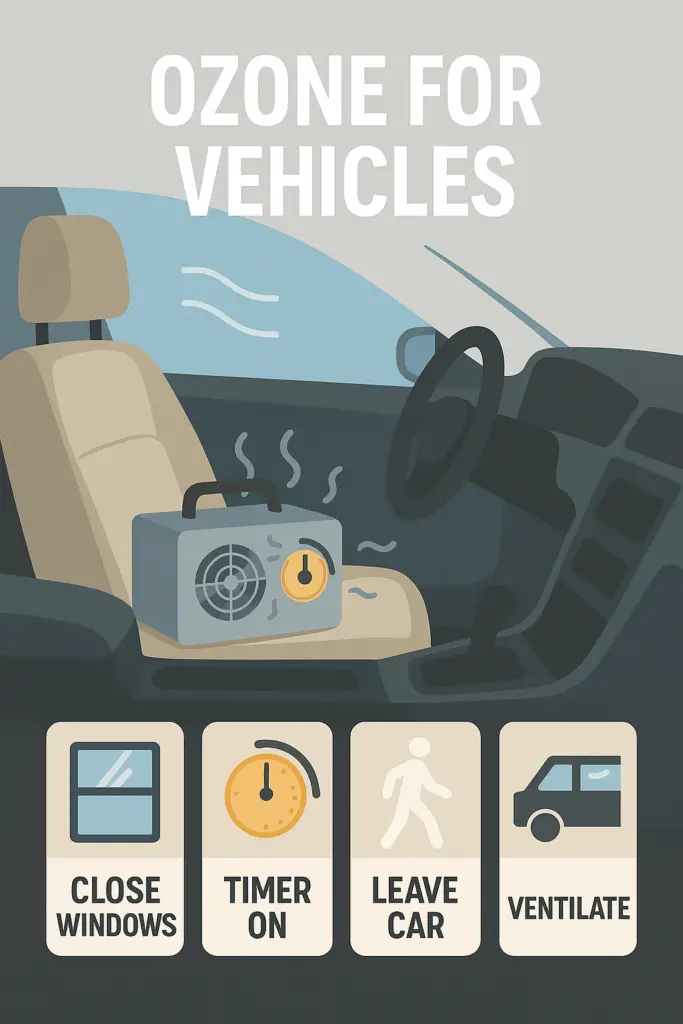 Is It Safe to Use Ozone in Cars?
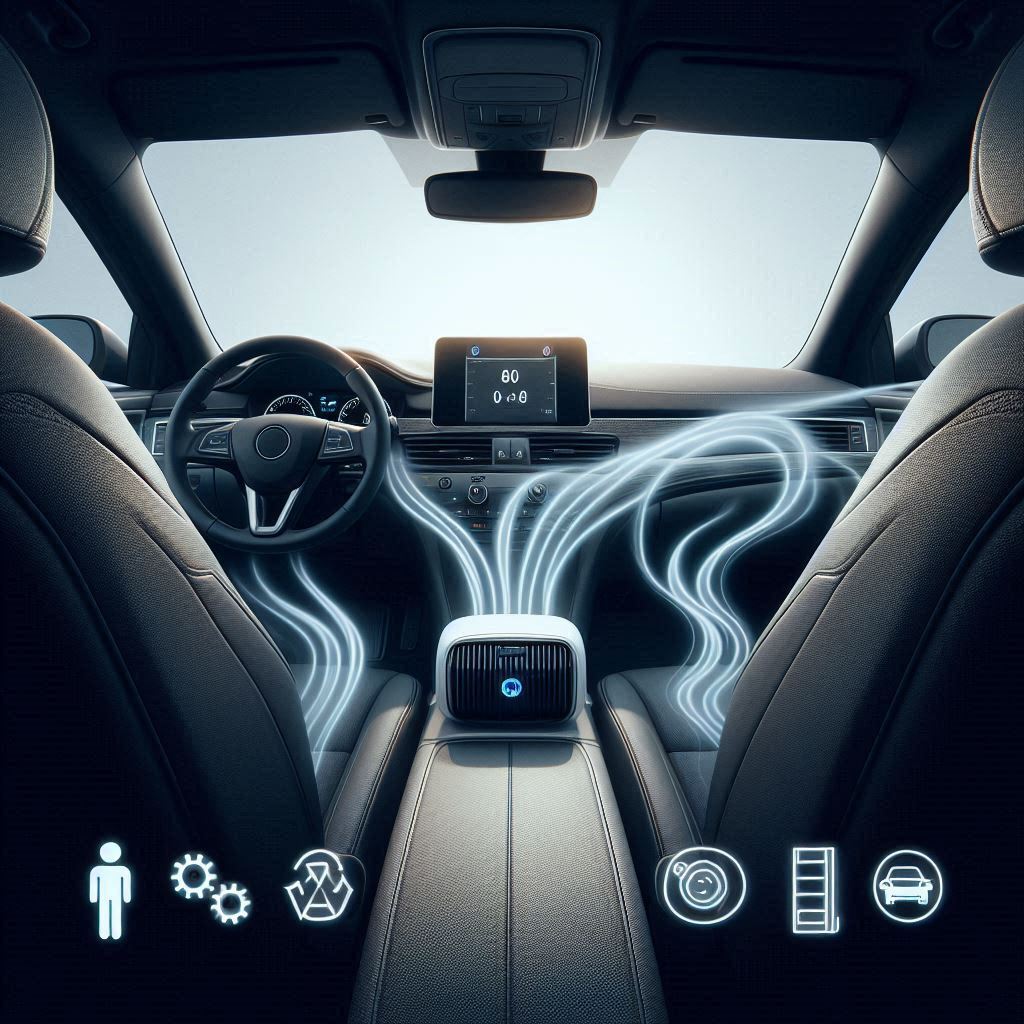
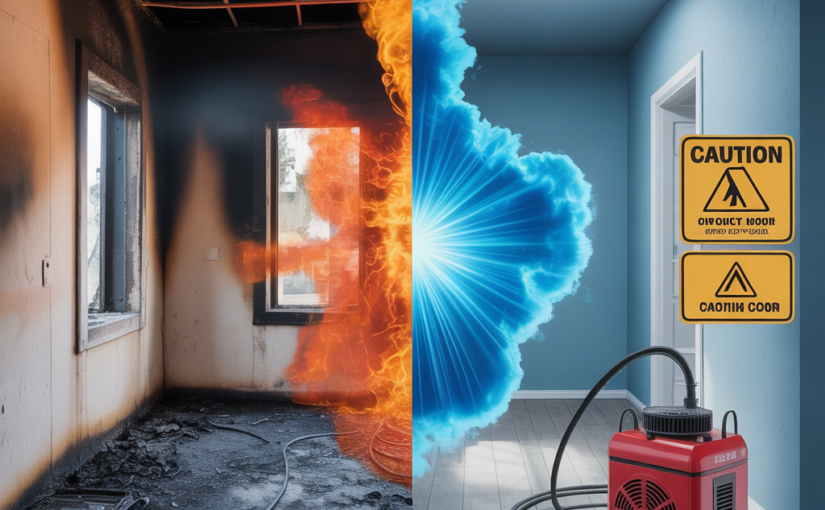
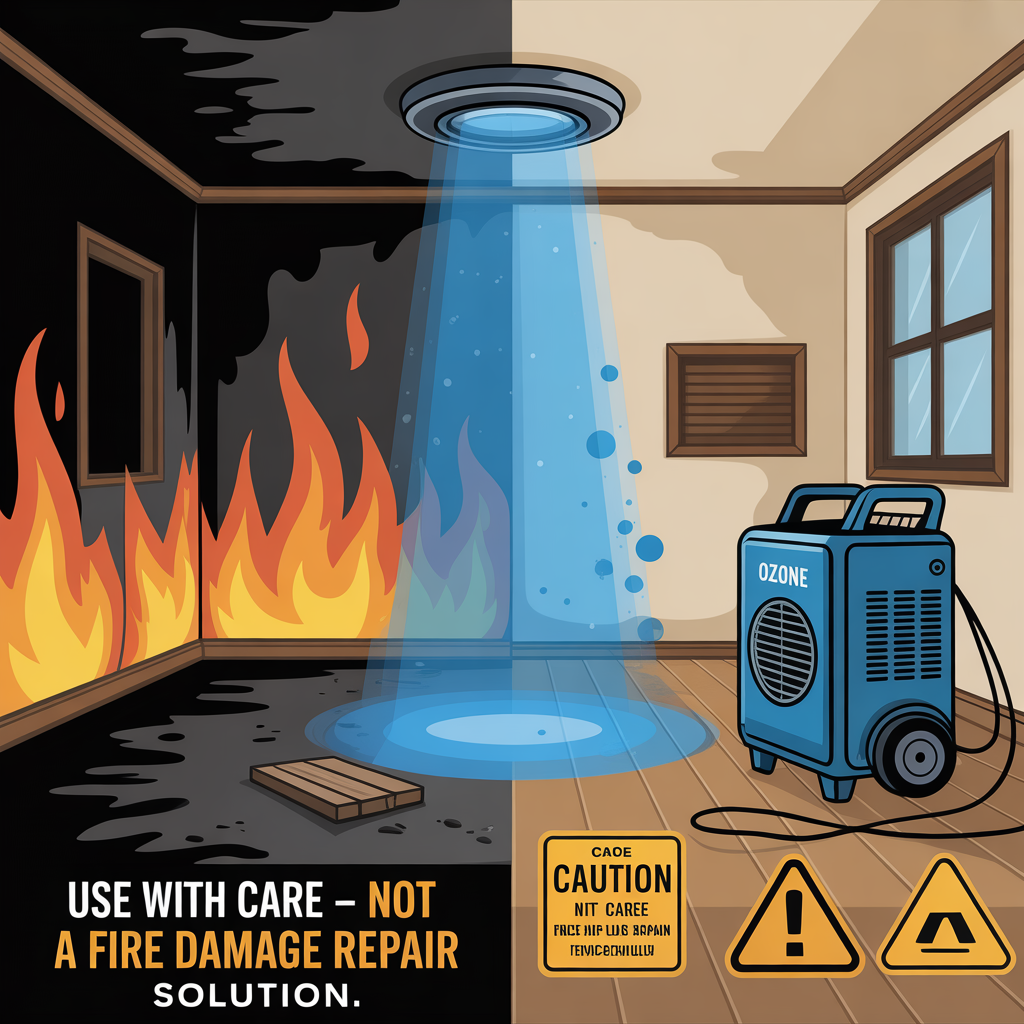 Can an Ozone Generator Really Help with Fire or Smoke Damage?