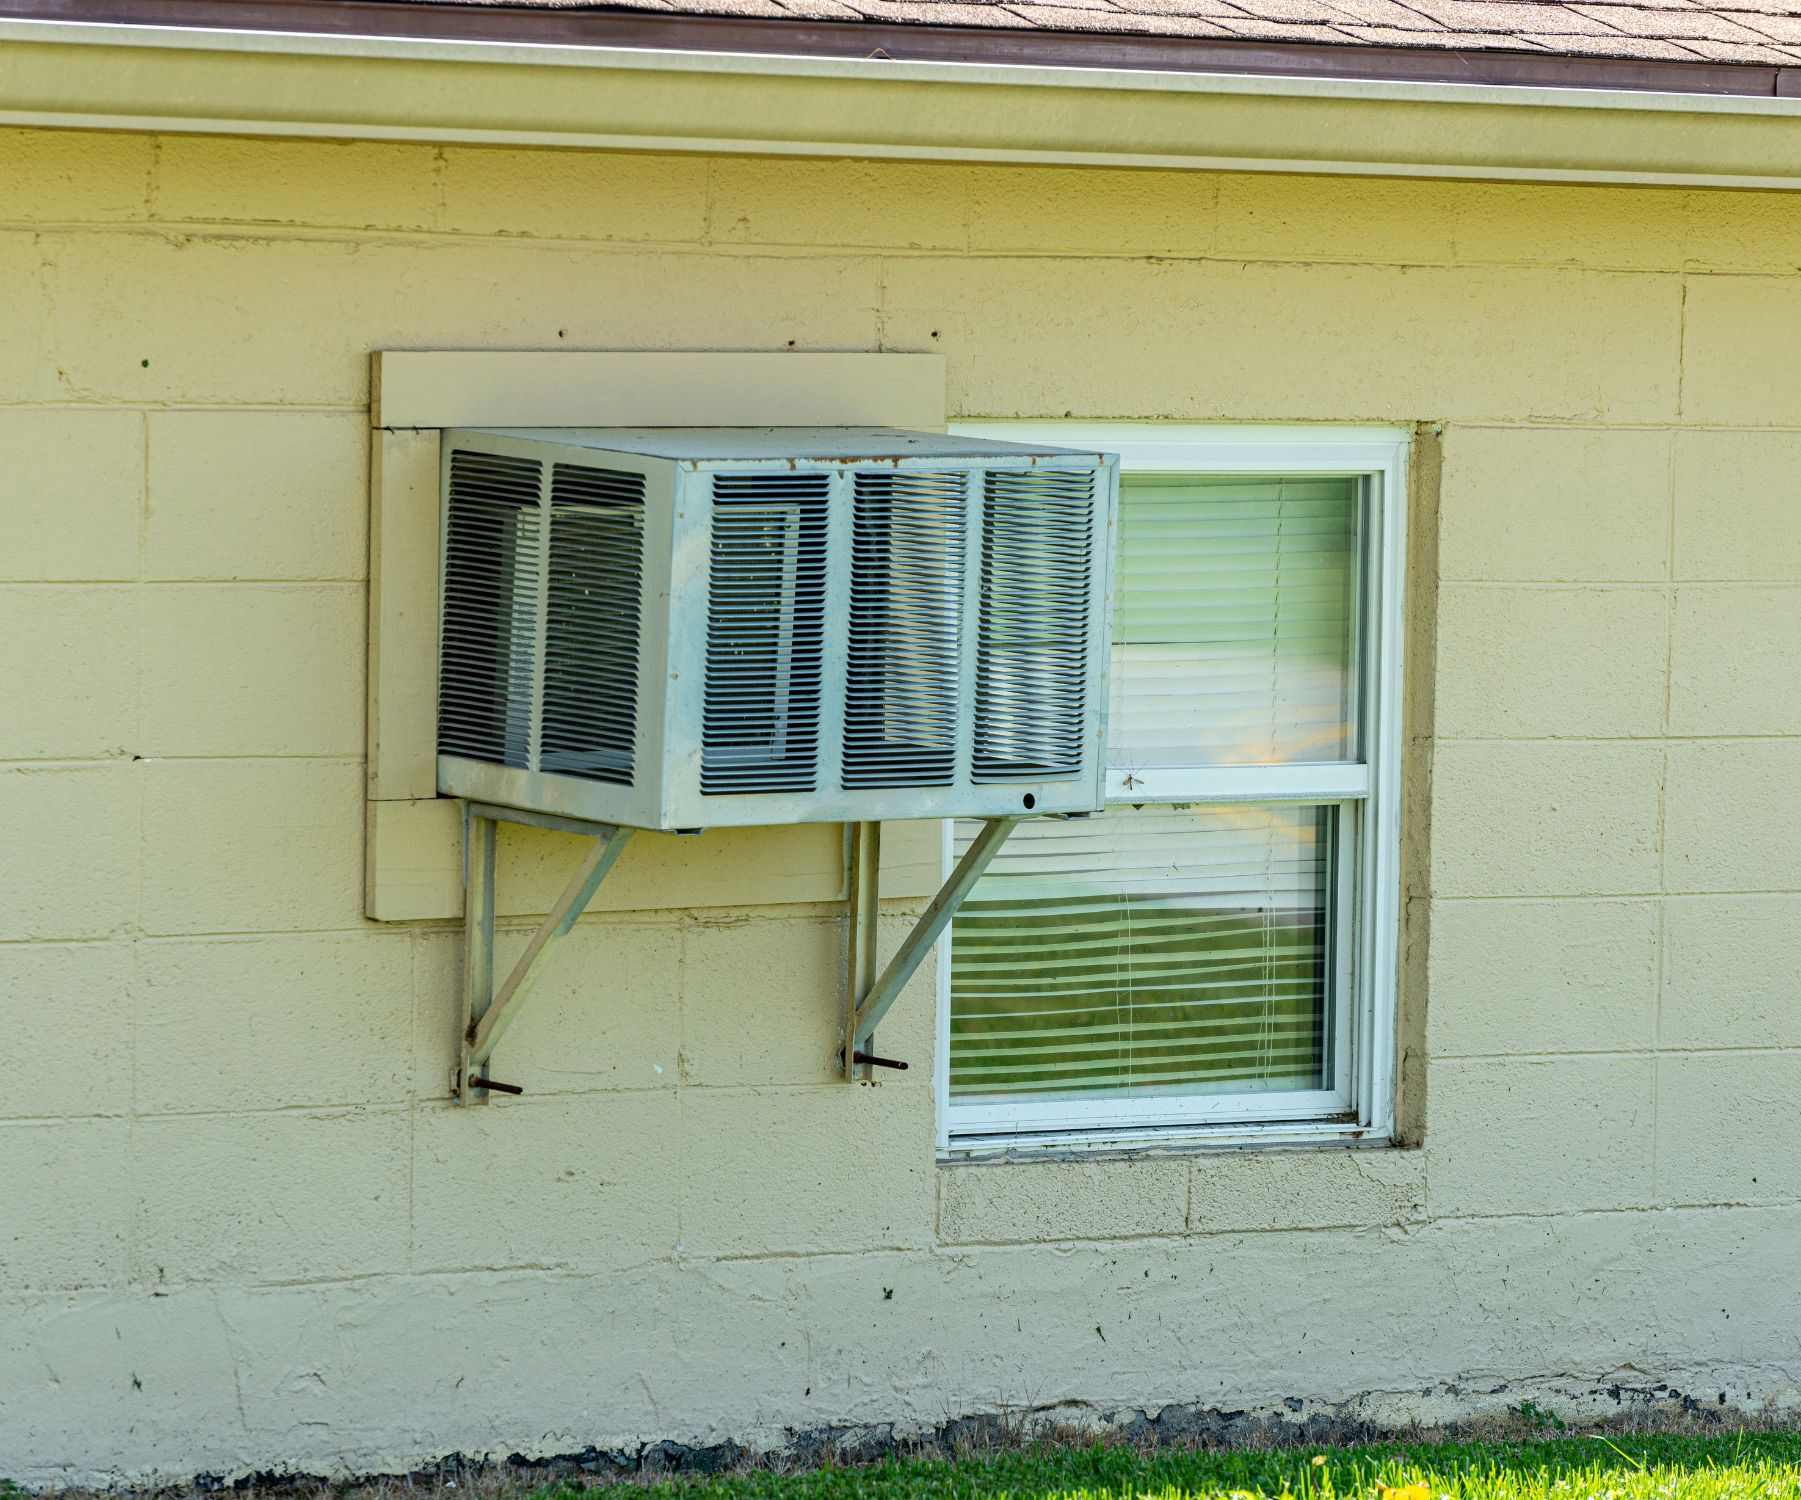
Are you tired of sweating through the summer months because your central air conditioning is on the fritz? Installing a window air conditioner can be a cost-effective and efficient solution to keep your home cool and comfortable.
Not only is it a great solution for those hot summer months, but it’s also a project that you can easily do yourself with a little bit of know-how and the right tools.
In this article, we’ll take you through the step-by-step process of installing a window air conditioner, including measuring your window, preparing the window, installing the mounting bracket, sealing the unit and enjoying your cool air. So, whether you’re a handy homeowner or a renter looking for an easy DIY project, we’ve got you covered.
Installing a window air conditioner can be a daunting task, but with a little know-how and the right tools, it’s a project anyone can tackle.
Table of Contents
A Beginner’s Guide to Installing a Window Air Conditioner
Step 1: Measure Your Window
Before you start, it’s important to make sure you purchase the correct size window air conditioner for your space. Measure the width of your window and reference the manufacturer’s sizing chart to ensure a proper fit. Once you have the unit, you’ll need to gather a few tools, including a drill, screwdriver, and level.
Step 2: Prepare the Window
The next step is to prepare the window for installation. This involves removing any screens or storm windows, and cleaning the window sill to ensure a tight seal. Make sure to remove any debris, dust or any obstacle that can affect the installation process.
Step 3: Install the Mounting Bracket
With the window prepped, it’s time to install the mounting bracket. This is usually done by drilling holes into the window frame and securing the bracket with screws. Make sure that the bracket is level and securely fastened to the window frame.
Step 4: Install the Air Conditioner
With the bracket in place, it’s time to install the air conditioner. This is typically done by sliding the unit into the bracket and securing it with screws. Make sure to check the instructions provided by the manufacturer for specific instructions on how to secure the unit.
Step 5: Seal the Air Conditioner
The final step is to seal the air conditioner to the window. This will help to keep hot air out and cool air in. Use a foam sealant or weatherstripping to seal the gaps around the unit. Make sure to pay special attention to the top and sides of the unit, as these areas are most likely to let in hot air.
Step 6: Enjoy Your Cool Air
Once you’ve completed all the steps, turn on your air conditioner and enjoy the cool air. Make sure to check the unit periodically to ensure that it’s working properly and that the seal around the unit is still tight. With a little bit of know-how and the right tools, installing a window air conditioner is a project anyone can tackle.
 Conclusion: At first glance, installing a window air conditioner may seem like a challenging task, however, with the right information and tools, it becomes a manageable project for anyone.
This beginner’s guide to installing a window air conditioner has provided you with all the necessary information to get started. Remember to measure your window, prepare the space, install the bracket, seal the unit and enjoy the cool air.
To ensure the best performance of your air conditioner, don’t forget to check the unit regularly and make sure that the seal around the unit is still tight. With this guide in hand, you’ll be able to beat the heat and enjoy a cool and comfortable home all summer long.


