No — you don’t have to use distilled water in a humidifier. Tap water will work, but it usually leaves mineral buildup that can clog the machine, reduce output, and create “white dust” around the room. If you use tap water, plan on cleaning more often (and consider switching to distilled if your humidifier gets crusty fast).
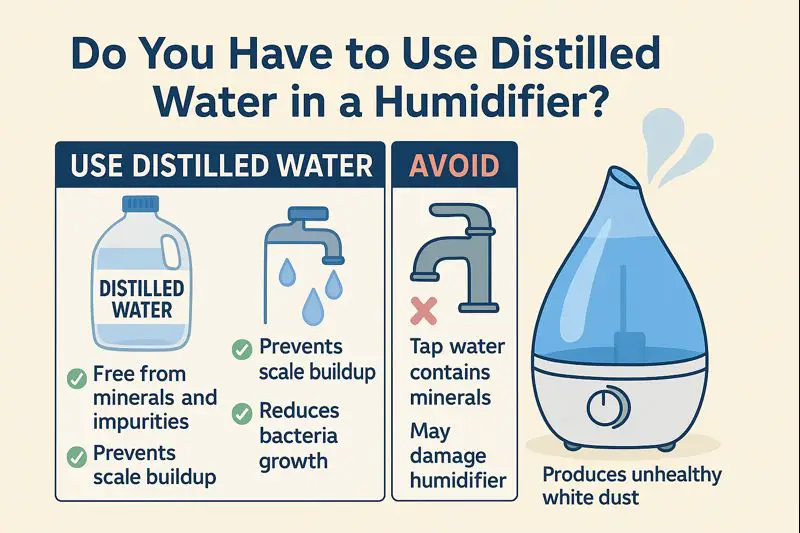
Do You Have to Use Distilled Water in a Humidifier?

Introduction:
What is the problem with not using distilled water in a humidifier? The truth is you can get away with using tap water in a humidifier or a CPAP machine for a while. But eventually the mineral content will become a problem for your humidifier or CPAP machine.
This is true story:
Recently my wife had an issue with her CPAP machine. if you’re not familiar with what a CPAP machine is, it’s a device that helps you breathe while you sleep. It comes with a mask that you put on, that basically pushes oxygen into your lungs.
And just like a humidifier they are required to be filled with water.
As the story goes, this specific CPAP machine that my wife was using stopped working.
With some aggravation, She immediately she got a hold of the manufacturer who agreed that they would send a shipping label for her to send it in to get it fixed.
And just like they promised, the whole transaction went smoothly and they repaired the device and send it right back.
The invoice that was included in the package specified the problem:
“unit was clogged up, thoroughly cleaned and working properly again. Solution, switch to distilled water”
A lot of hassle and money to get a CPAP machine repaired to find out that she was using tap water to fill it, and the minerals in the water had eventually stopped up the machine where it would not function.
So do you have to use distilled water in a humidifier? No it will work with tap water, But eventually you may wish you would have.
If you’ve run out of distilled water: using tap or bottled water once or twice usually won’t cause immediate damage. The bigger issues tend to show up over time — mineral buildup inside the unit and fine residue settling around the room.
If you notice a chalky film on surfaces or dust forming near your humidifier, that’s often the first sign minerals are being dispersed into the air. We explain exactly why this happens — and what to do about it — in our guide to white dust from humidifiers.
Water Types for Humidifiers
| Water Type |
Mineral Content |
Potential Impact on Humidifier |
Suitability for Humidifiers |
Maintenance Tips |
| Distilled Water |
Very Low |
Minimal scaling and buildup |
Highly Recommended |
Regular cleaning with less effort |
| Tap Water |
High |
Increased scaling, potential for clogging |
Not Recommended |
Frequent deep cleaning required |
| Bottled Water |
Variable |
Possible scaling depending on mineral content |
Better than tap, worse than distilled |
Regular cleaning recommended |
| Boiled Water |
Reduced |
Less scaling than tap water, but some minerals remain |
Better than tap, not as ideal as distilled |
Regular cleaning with attention to mineral buildup |
Distilled Water For Humidifiers? Why is it Best?
If you don’t already keep distilled water on hand, many people simply add a few gallons of distilled water for humidifiers to their regular household shopping. It’s inexpensive and helps avoid mineral buildup from the start.
Distilled water is the best water to use in a humidifier because of its low mineral content. Because of the process it goes through, it has the lowest mineral content of any type of water.
This is important for a few reasons:
1.The mineral content in most drinking water will eventually shorten the life of your humidifier and lower the output by stopping it up.
2. The minerals in most water are what is responsible for the dust that you see gathering around your humidifier.
Since dust is one of the primary reasons that your skin gets dried out in dry weather, using water with a lot of mineral content in a humidifier can produce the opposite effect than intended.
3. The higher the mineral content in the water that you use in a humidifier, the more likely, the growth of mold and bacteria in the water.
Can I Use Regular Water in a Humidifier?
Is it dangerous to use regular tap water in a humidifier. No.
Now more so than drinking tap water.
And though most of us probably drink bottled water more regularly than tap water, anytime you purchase tea or coffee from a restaurant, it’s going to be made with tap water.
So whether we believe that tap water is good to drink or not, most of us are most likely consuming it on a regular basis.
The issue with tap water being used in a humidifier are primarily about the high mineral content in tap water.
The higher the mineral content in the water that you use in a humidifier, the more likely to get stopped up and not work properly.
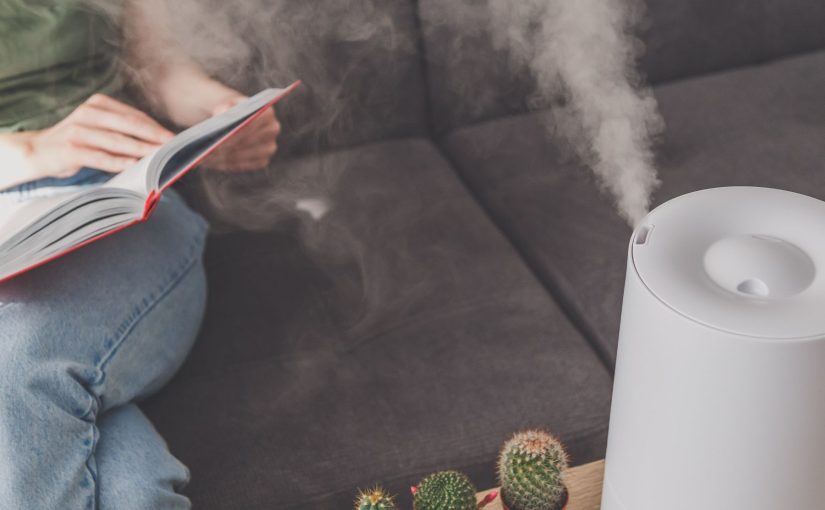
And it’s the mineral content in the water that creates the white dust that accumulates on the humidifier and around it.
Since dry skin is one of the primary reasons people purchase humidifiers and dust is one of the primary things that pulls the moisture out of your skin,
operating a humidifier that is creating more dust by using tap water somewhat counterproductive.
Another issue with tap water is that the minerals in the water have more of a chance to become food for mold to be able to take root inside of a humidifier.
Finally, tap water has a whole list of chemicals that are there “for our own good apparently” that you do not necessarily want to breathe in as part of the moisture content in your air.
So even though tap water is definitely not the best option for a humidifier, the issues with it are not immediately harmful or dangerous. And if that’s all you have at your disposal, you know the risk,
And it’s not like you can’t clean your humidifier extra well after you use tap water in it. And as for the dust, keep it wiped up.
Many ultrasonic humidifiers — including popular models from Levoit and Honeywell — will still run on tap water, but mineral buildup and white dust tend to appear much faster compared to using distilled water.
Quick note: ultrasonic humidifiers show the “white dust” problem the most
If you have an ultrasonic humidifier, it can aerosolize minerals in hard tap water, which is why you may notice white dust on furniture. Evaporative/wick humidifiers usually have less of that issue, but they still get mineral buildup over time.
What other water besides distilled can you use in a humidifier?
Bottled?
Bottled water has a lot of minerals in it that could be an eventual problem for your humidifier. Even the water that is produced by using reverse osmosis has the disclaimer on it that minerals are added back to make it more consumable.
It’s a better option than tap water but it still has its fall backs.
Boiled water?
Boiling water causes the minerals in the water to settle. So if you had a way to separate the settlement so that it did not make it into the humidifier with the rest of the water, it would make a great choice.
The problem is, making that happen. Not exactly easy to do.
But there is absolutely one type of water you should never run your humidifier with.
Stagnant water
Water that has been allowed to sit inside of your humidifier is going to be moldy and full of germs and bacteria.
And when you turn that humidifier on with that stagnant water still in it, the germs and bacteria in that water will become part of the air that you are breathing.
Now talk about having the opposite effect than you intended, the humidifier that was supposed to make you feel better, has basically become a weapon of germ warfare.
Legionnaires’ disease and humidifier lung are harsh reminders of what can happen when humidifiers and evaporative coolers are allowed to sit with moldy water.
You can easily look up the symptoms of mold allergies and discover that they look very closely like the symptoms of the flu.
So if you think that the humidifier in your house may be making you sick, you may be right. And you should take it seriously.
Fortunately, Humidifiers have become pretty sophisticated devices and many of them have ways of helping control mold growth.
If you’re in the market for a new humidifier, it’s well worth it to look into some of the features that can help reduce the chance mold and bacteria growing in your humidifier and becoming part of the air you’re breathing.
There are additives that you can place in your humidifier that can reduce the chances of a humidifier developing bacteria too.
Maintenance Tips for Humidifiers
Proper maintenance is crucial for ensuring your humidifier operates efficiently and safely, extending its lifespan and improving indoor air quality. Regardless of the water type you choose, here are some essential maintenance tips to keep your humidifier in top condition:
- Regular Cleaning: Clean your humidifier regularly to prevent the buildup of minerals and the growth of mold and bacteria. Depending on usage, a thorough cleaning every 1-2 weeks is recommended.
- Empty the water tank, dismantle the parts, and clean them with mild soap and warm water.
- Use a soft-bristled brush to scrub away any mineral deposits or buildup.
- Use Distilled Water When Possible: While not always necessary, using distilled water can significantly reduce mineral buildup and the need for frequent descaling, making regular maintenance easier.Some humidifiers also support optional demineralization cartridges, which can help reduce white dust when distilled water isn’t available — though regular cleaning is still important.
- Descale and Disinfect: Even with distilled water, it’s important to descale and disinfect your humidifier to remove any mineral deposits and kill germs that could be harmful.
- Descale the humidifier by using a mixture of white vinegar and water. Let it sit for at least 30 minutes, then rinse thoroughly.
- Disinfect the water tank and other parts by using a diluted bleach solution (1 teaspoon of bleach per gallon of water) or hydrogen peroxide. Rinse all parts thoroughly after disinfection to ensure no chemicals remain.
- Change Filters Regularly: If your humidifier has a filter, follow the manufacturer’s recommendations for changing it. Filters can harbor mold and bacteria, reducing air quality and humidifier efficiency.
- Dry Before Storing: If you plan to store the humidifier for an extended period, ensure it is completely dry to prevent mold and bacteria growth. Disassemble the parts, clean them thoroughly, and let them air dry before storing.
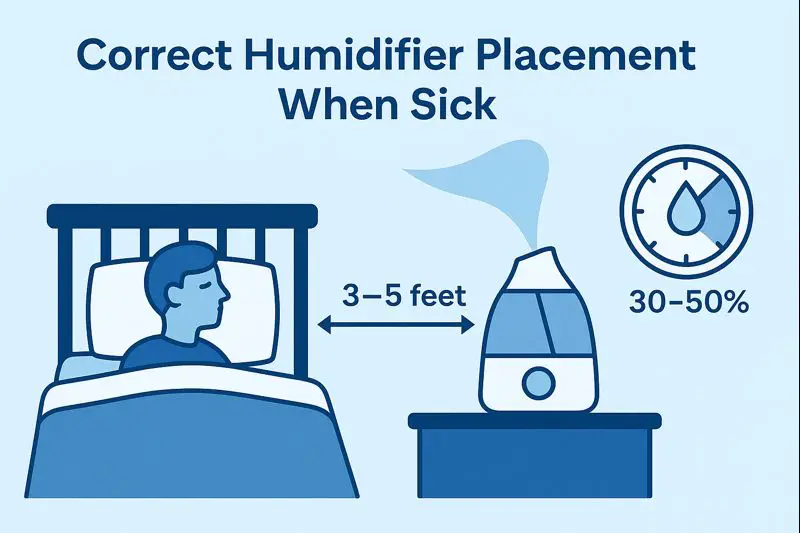
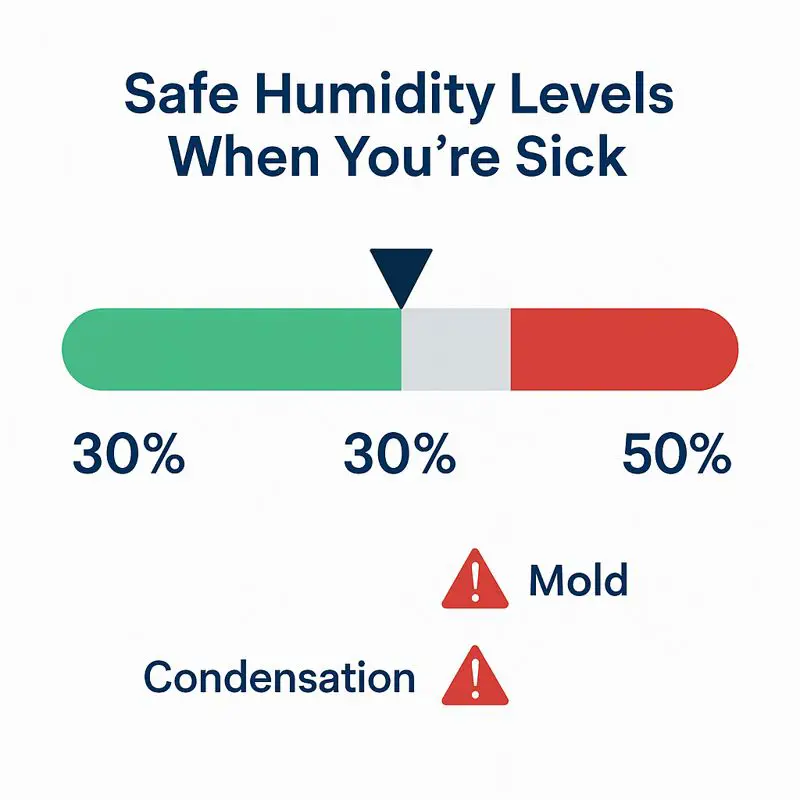
- Monitor Humidity Levels: Use a hygrometer to monitor room humidity levels, maintaining them within a comfortable range of 30-50%. This helps prevent problems associated with over-humidification, such as mold growth and condensation on windows.
- Check for Leaks and Damages: Regularly inspect your humidifier for any signs of leaks or damage. Addressing these issues promptly can prevent further damage and potential water damage to your surroundings.
Pros and Cons of Using Distilled Water in Humidifiers
| Pros |
Cons |
| Minimizes Mineral Deposit Buildup: |
Cost: |
| Using distilled water reduces the accumulation of mineral deposits inside the humidifier, thereby extending its lifespan and maintaining its efficiency. |
Regularly purchasing distilled water can be more expensive than using tap water. |
| Less Maintenance Required: |
Accessibility: |
| Due to fewer mineral deposits, humidifiers operating with distilled water require less frequent cleaning and maintenance. |
Distilled water may not be as readily available as tap water, requiring extra trips to the store or the need to distill water at home. |
| Reduces White Dust Formation: |
Environmental Impact: |
| The low mineral content of distilled water minimizes the white dust that often accumulates around humidifiers using tap or hard water, leading to cleaner air and surfaces. |
Buying distilled water in plastic bottles can increase plastic waste, contributing to environmental concerns. |
| Prevents Microbial Growth: |
Not Always Necessary: |
| Distilled water is less likely to harbor bacteria and mold because it lacks the minerals and impurities that feed microbial growth in humidifier tanks. |
For some humidifiers, especially those with built-in filters or demineralization cartridges, the benefits of using distilled water might be less significant. |
Summary
Do you have to put distilled water in a humidifier?
No. Even though distilled water is the best water to keep your machine from stopping up and extending the life of your humidifier,
A humidifier will work without it.
If mineral residue or dust starts appearing, that’s usually the point where switching water types or adding filtration makes the biggest difference.
And though everyone agrees that tap water is the worst water you want to use in a humidifier, you can use it without having to worry about it being dangerous to you.
The main issue with tap water is that it is filled with minerals that can stop up your humidifier. And those minerals can and will produce humidifier dust on your unit and around it.
If tap water is what you have available, then do your best to keep your humidifier clean with vinegar and keep the dust around the humidifier wiped up so it does not become part of the air quality.
Arguably, The most important thing to remember when using a humidifier is to never run it with stagnant moldy water in it.
Mold in your air can produce very similar symptoms to the flu. Pneumonia, humidifier lung, and legionnaires are harsh reminders of what can happen when mold is allowed to grow in water unchecked.
We cover all the common questions and solutions in our full humidifier guide.


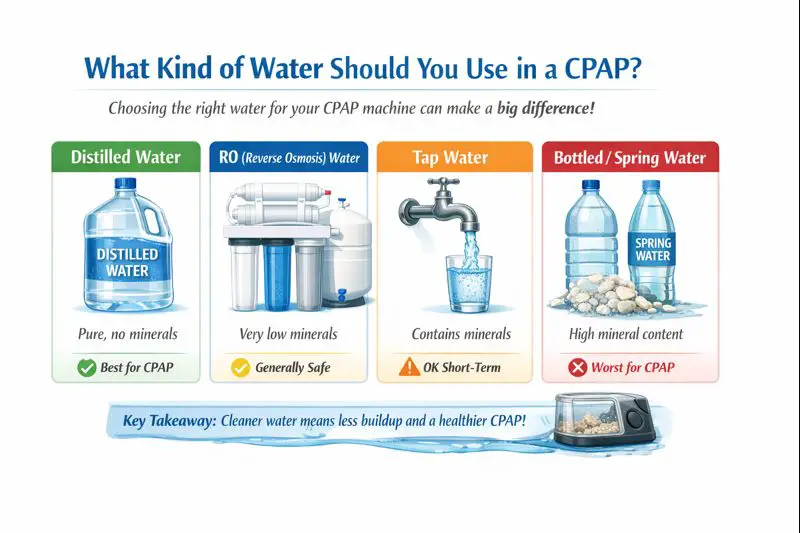 What Kind of Water Goes Into a CPAP Machine?
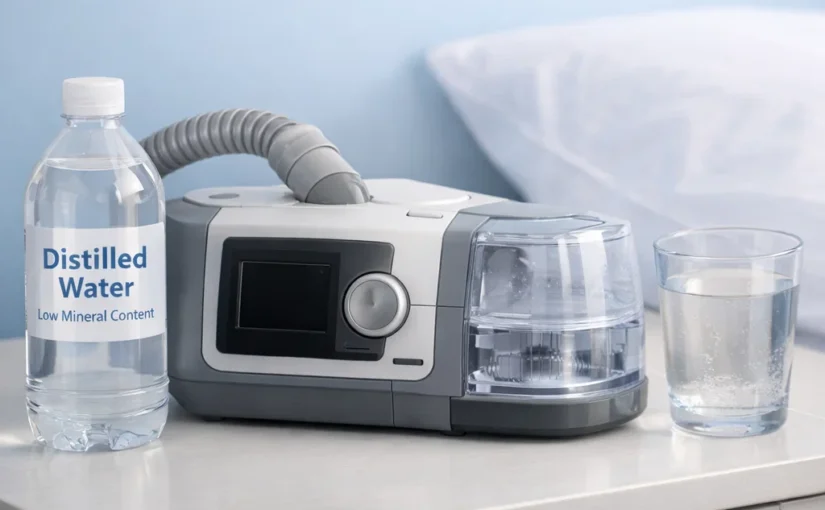
 What Happens If You Don’t Use Distilled Water in a CPAP?


 This is true story:
 What other water besides distilled can you use in a humidifier?

 White dust around a humidifier is caused by minerals in the water, most commonly calcium and magnesium.
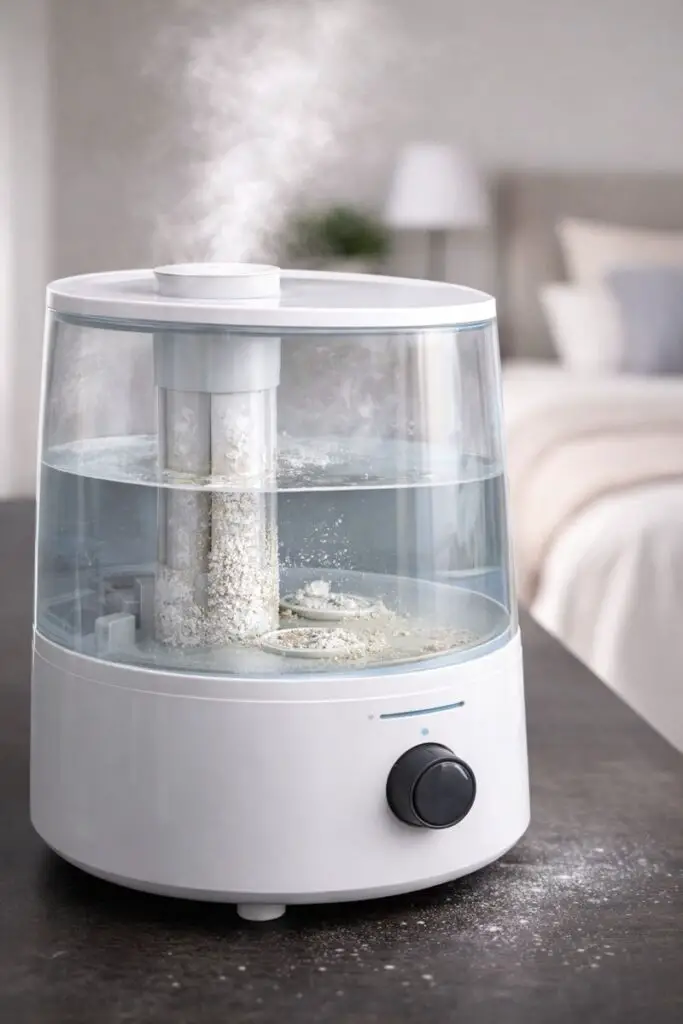 B. Boiled water

 Honeywell HCM-350 Cool Moisture Humidifier
 Levoit 6L Cool Mist Top Fill Essential Oil Diffuser
 Pure Enrichment MistAire Ultrasonic Cool Mist Humidifier

 Safety Tips for All-Night Operation
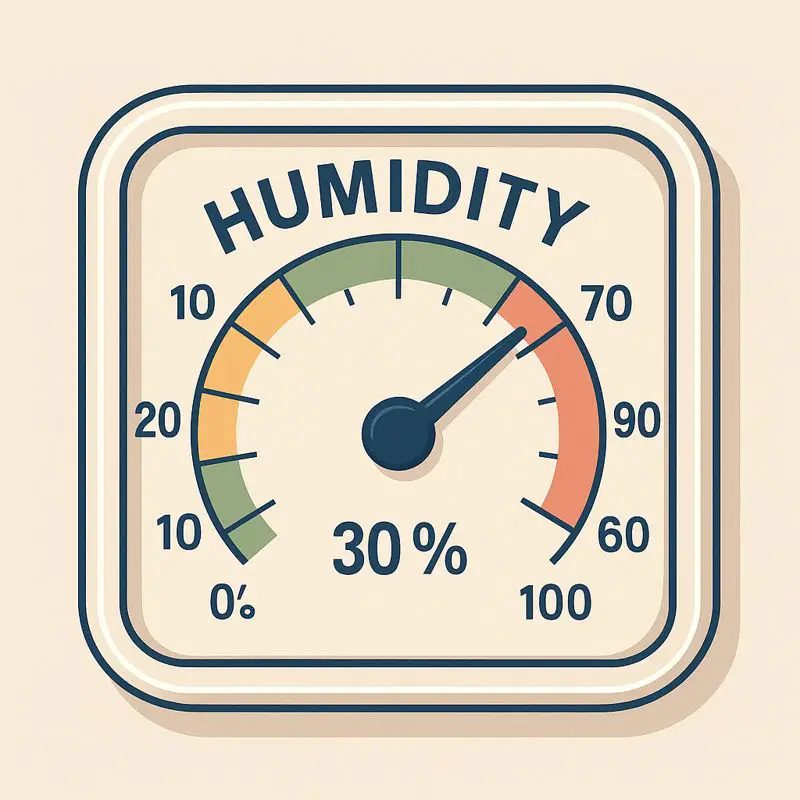


 Hydrogen Peroxide in Humidifiers: Why It’s So Controversial
 What About Gargling with Hydrogen Peroxide?
 So… Should You Put Hydrogen Peroxide in Your Humidifier?