

If you’re like me, your dogs are part of the family. I’ve got two dogs and one is a distemper survivor. That tends to make me a little more careful to choose products that are safe for him.
Distemper, among the other symptoms that it caused, made his eyes very dry. It somehow messed with his tear ducts so he does not properly produce tears anymore.
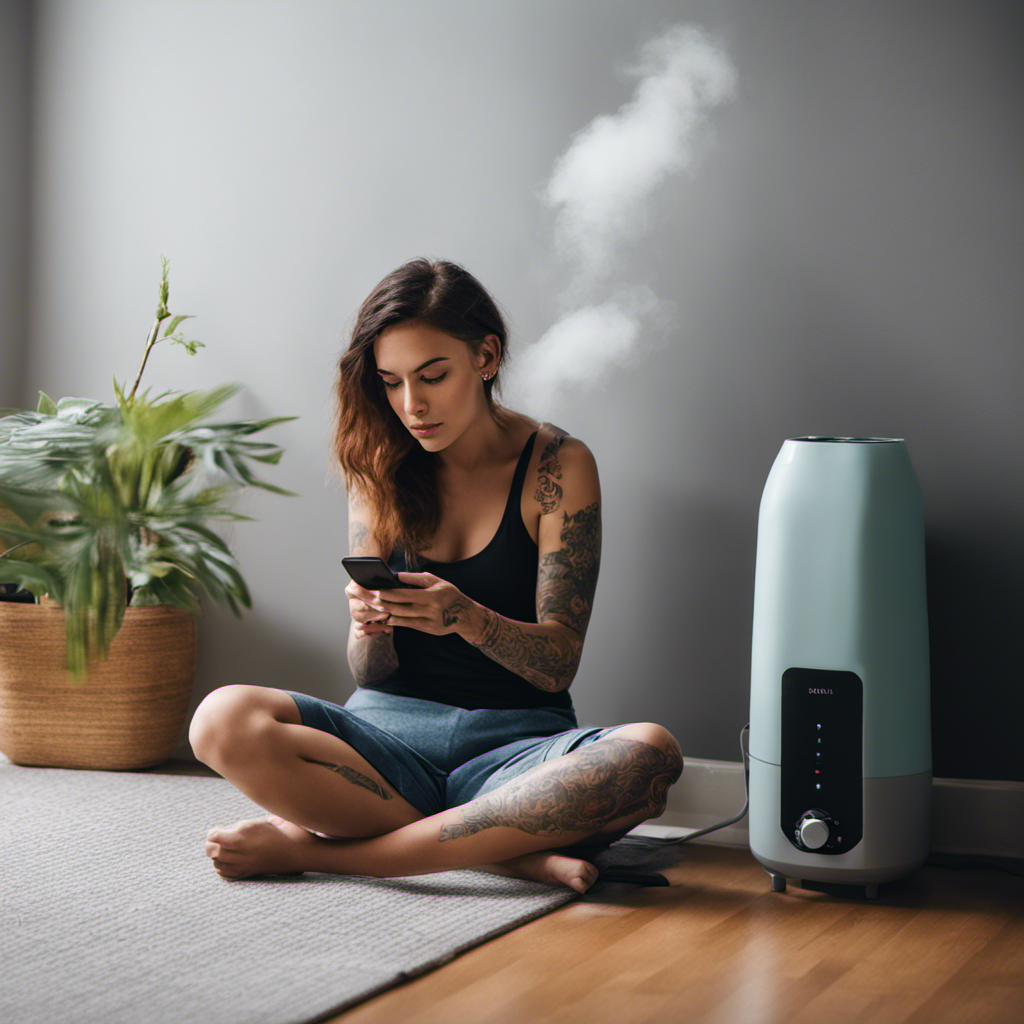
Since his eyes are so dry I decided to start looking into getting a humidifier to use daily to help keep moisture in the air. And hopefully help keep his eyes from getting so dry and red.
But when I was doing some research on which humidifier I wanted to purchase, I came across a couple of articles that said some humidifiers are not safe for dogs.
That piqued my interest when I heard that. Honestly, I never thought that could be a thing. Turns out it is.
Here’s what I discovered.
Are Humidifiers Safe For Dogs?
Dogs can benefit from humidifiers just as much as people when the air is dry and the humidity is low.
But there are definitely things to watch out for when it comes to using a humidifier around a dog.
- If they use Vicks and other mentholated products
- They create high pitch sounds that are uncomfortable for dogs
- They release bacteria in the air that can exasperate dermatitis issues prevalent in canines.
- Warm mist vaporizers can easily cause a burn
- Aromatherapy Diffusers can use oils that are poisonous to canines
Are Vicks Vaposteam humidifiers safe for dogs?
1. Vicks
Some air humidifiers are specifically made to put Vicks in them to evaporate into the air.
Though an excellent way to help unclog in soothe nasal passages in humans, one of the main ingredients in Vick’s is camphor.
And as it turns out camphor is toxic for dogs.
Not only is it dangerous if your dog were to ingest it, Vicks as well as other products that include eucalyptus, menthol, or tea tree oil are very strong to the olfactory.
And since dogs already have a very sensitive sense of smell, these products can be overbearing for them.
Menthol products can also cause your eyes to burn.
Since my dog already has very sensitive dry eyes, using a product that could make his eyes burn is out of the question.
Here’s another thing that I would not have guessed could be an issue with humidifiers.
2. High-pitch sounds
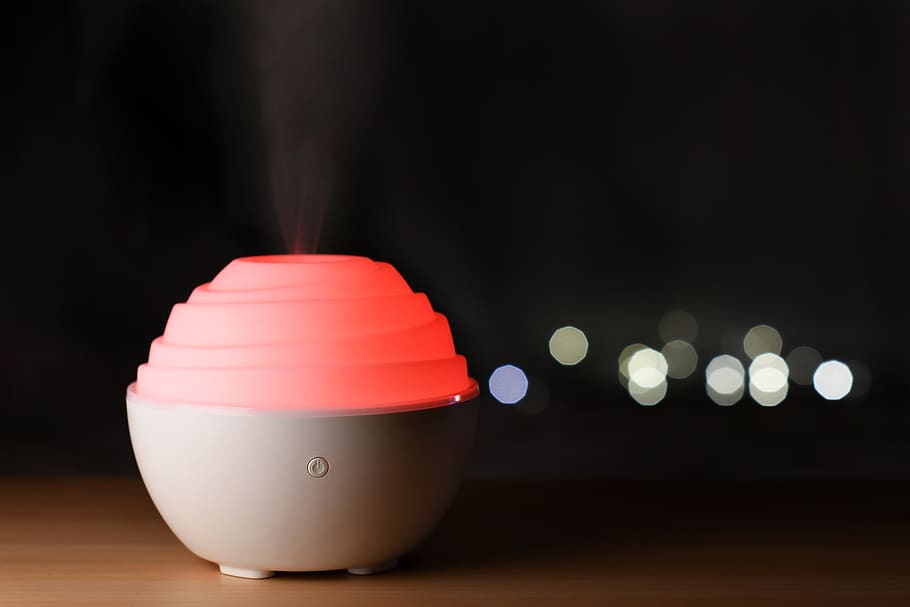
There is one type of popular humidifier that is called an ultrasonic humidifier.
This basically means that the sound frequencies it creates while running or above the range that people can actually hear.
It’s meant to be a very quiet humidifier. And for people, it absolutely is.
But for dogs, the frequencies it creates can be very loud and very alarming. At the very least uncomfortable.
There are, after all, other products that use ultrasonic frequencies that are meant to repel pests and animals as well as control excessive dog barking.
Not exactly the reason I was looking for a humidifier for my dog.
Though it seems like a good product for someone who wants to add humidity to the air in their bedroom and also control the barking dog next door. Someone should invent that
Maybe I just did.
 3. Bacteria
Dogs can be very sensitive to bacteria, parasites, and fungi. They can develop dermatitis when there is a source of bacteria like a humidifier around.
Humidifiers are infamous for being germ farms. And it is not only because of being poorly maintained and allowed to grow mold and bacteria,
They can also dispense bacteria and minerals that are already present and the water of the humidifier.
Though I don’t mean to keep picking on them, ultrasonic humidifiers don’t even include a filter the help keep these pollutants out of the airstream.
Getting a humidifier that has a good filtering process and using distilled water is a must when you talking about using your humidifier for your dogs.
4. Warm mist vaporizers.
A warm mist vaporizer or humidifier basically boils water into a vapor.
This presents a general safety issue for animals and even more for small children.
These humidifiers should be placed where they cannot be messed with by children or animals.
Since they are primarily used to add humidity to the air and don’t really do much for easing sinus issues, placing them higher up is not a problem in terms of their effectiveness but will help keep your little ones including dogs, safe from getting burned by one of them.
5. Aromatherapy Diffusers
There are many aromatherapy diffusers that also double as humidifiers.
Related to the issue that dogs have with Vicks and other mentholated products,
Many of the essential oils good are used in air diffusers contain ingredients that can be harmful to dogs.
Some popular essential oils like cinnamon, peppermint, Wintergreen, and citrus can be very uncomfortable for a dog to breathe.
And can be poisonous if ingested.
So there you go. turns out that buying a humidifier for your dog is not as cut-and-dry as I would have thought.
Humidifiers can definitely be beneficial for dogs as well as your other animals as long as you take in account but not all humidifiers are made the same and not all humidifiers are good for dogs.
Will a humidifier hurt my dog?
It’s not the humidifier that can hurt your dog, It’s some of the additives, especially Vicks and Tea Tree Oil, that can be a problem for dogs.
Cool mist humidifiers can help ease allergies for dogs as well as help with snoring and dry eyes. Cool mist humidifiers also disperse a cool breeze that is comforting for canines.
It turns out “simpler is better” when you’re looking for a humidifier for your dog.
You don’t want the bells and whistles like essential oils and ultra-quiet operation that are actually high pitched for dogs.
You just need something that adds a cool mist to the air and filters it in the process.
Humidifier safety
Humidifiers have to be maintained regularly in order to be efficient and not turn into a health hazard.
 Cleaning the humidifier every few days is essential to keeping it from becoming a mold and bacteria dispensary instead of a cool-mist dispensary.
Simply taking the humidifier apart and washing it every few days is enough to keep mold from growing inside of the machine.
Be careful putting the humidifier parts into the dishwasher though. Not all of those plastic parts can take the high heat of a dishwasher.
- Another issue when it comes to humidifiers is overdoing it.
Too much humidity in a room can have the opposite affecting what you intended.
High humidity can facilitate dust mites and mold growth.
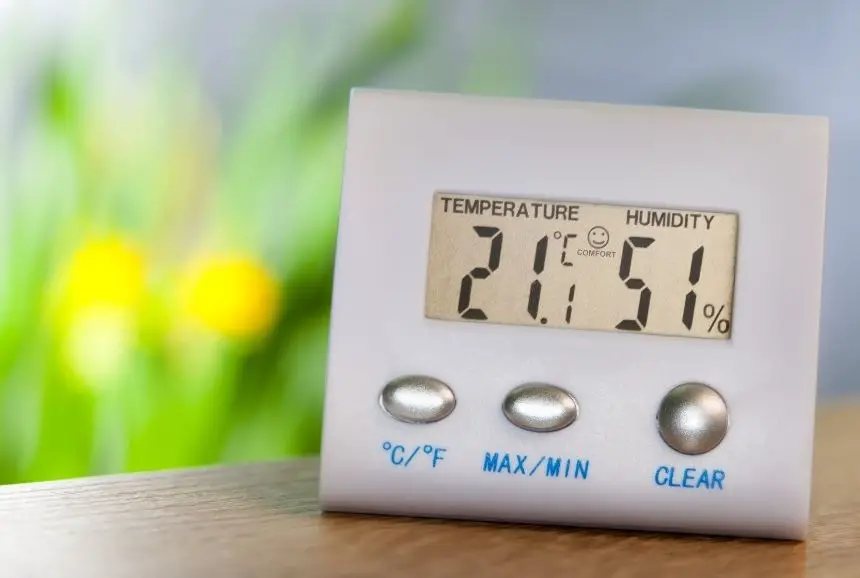
 Hygrometer Uses
 4. Dust
 Humidifier vs Vaporizer vs Nebulizer for Specific Conditions
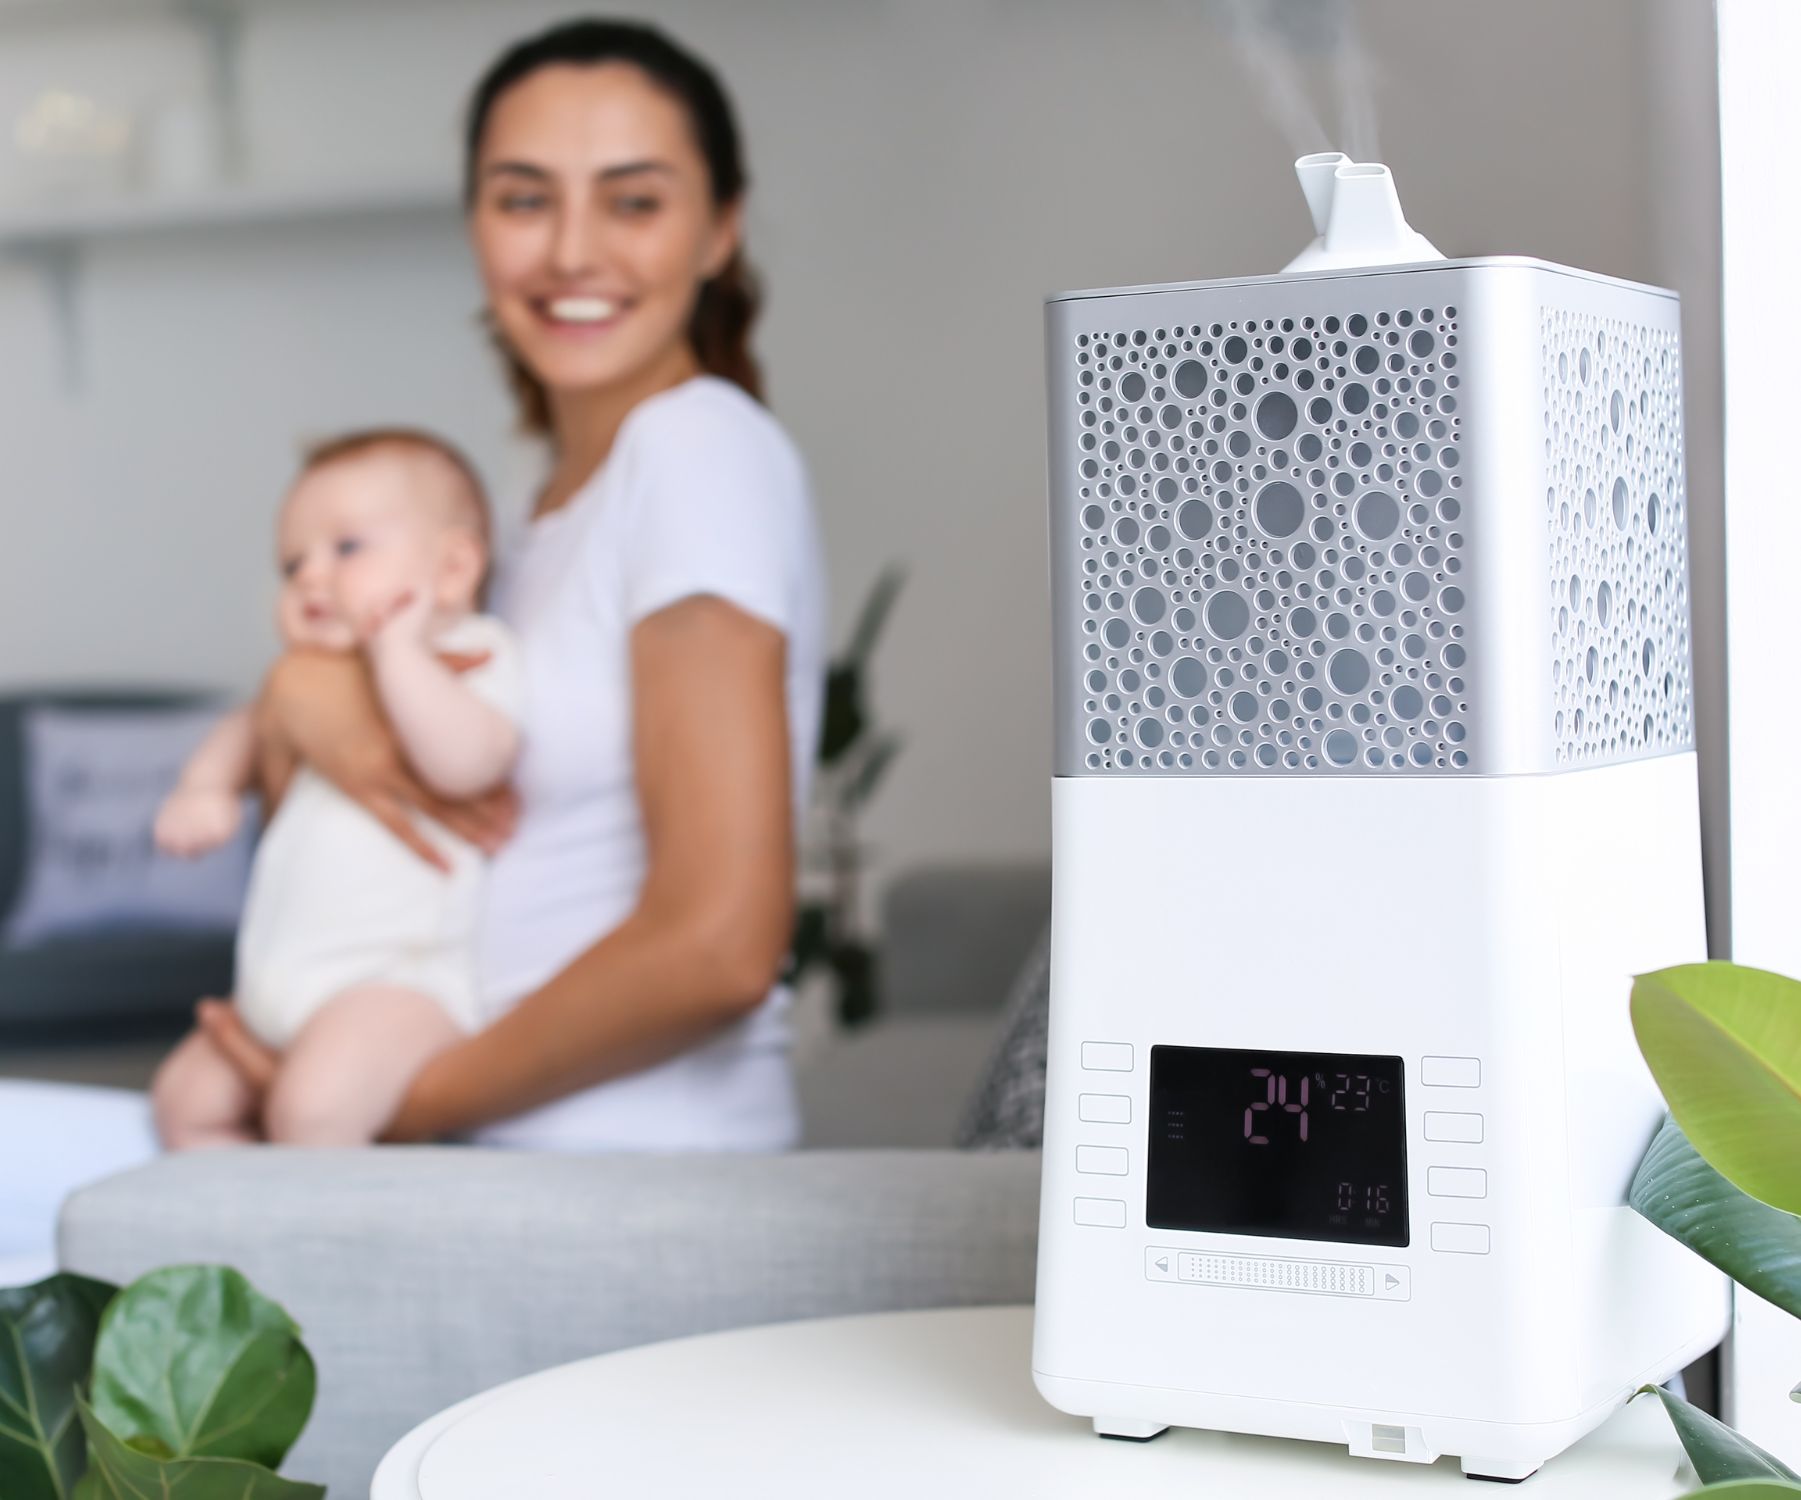 Why do doctors recommend cool-mist humidifiers?
 Preventing Home Contamination from Workplace Asbestos
 FAQ: Asbestos Exposure and Safety Measures
 Mother-in-law tongue plant benefits:


 Other Types of Asbestos:
 Risk Mitigation Strategies
 Here are examples of Well-known Air Conditioner brands equipped with ionizing and plasma technologies:
 Making Your Decision:
 At-Risk Groups for Air Conditioning Related Symptoms

 What does the fan setting on an air conditioner do?
 Alternative Cooling and Ventilation Strategies
 Common Airborne Allergens: Invisible Triggers of Allergic Reactions
 Impact on Health: Navigating the Spectrum of Allergic Responses
 Navigating the Air Quality Index (AQI): A Guide to Healthier Air
 Mitigating Allergens with HEPA Air Purifiers: A Breath of Fresh Air