
Air purifiers do not dry out the air. They remove pollutants like dust, pollen, and pet dander but have no mechanism to add or remove humidity. If your air feels dry, it’s usually caused by heating or air conditioning, not the purifier itself.
Do Air Purifiers Make the Air Dry?
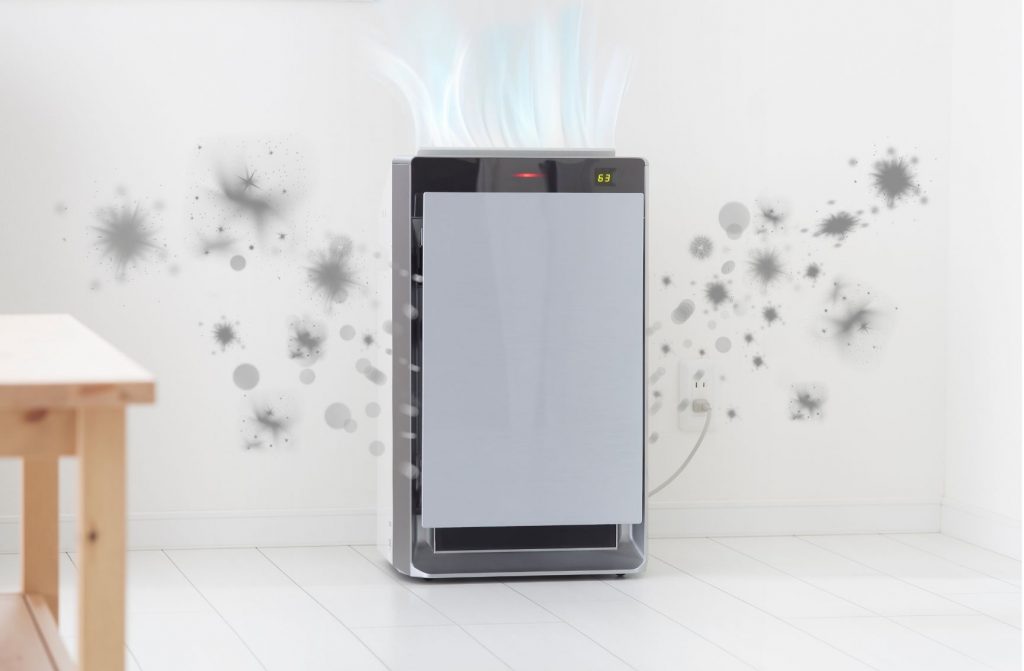
If you’ve ever woken up with a dry throat or irritated sinuses, it’s natural to wonder if your air purifier is the culprit. The good news: air purifiers like Levoit or BlueAir don’t add or remove moisture from the air. Their only job is to pull air through filters and capture pollutants like dust, allergens, smoke, or pet dander.
When indoor air feels dry, the real culprit is almost always your heating or cooling system. Heaters act like giant hair dryers, while air conditioners condense moisture as they cool. Both can leave a room feeling arid, but your purifier is just along for the ride.
 Why Do People Think Air Purifiers Dry Out the Air?
 Why Do People Think Air Purifiers Dry Out the Air?
There are a few reasons this myth sticks around:
- Device confusion: The names sound similar. A humidifier adds moisture, a dehumidifier removes it, and an air purifier just cleans the air.
- Misattribution: People already struggling with dry air may notice it more after buying a purifier and connect the dots incorrectly.
- Marketing jargon: Ads often say things like “breathe healthier air,” which can make people assume it also affects humidity.
Do Air Purifiers Cause Dry Throat or Sinus Problems?
No — an air purifier itself doesn’t dry out your throat or sinuses. What often happens is this:
- Winter heat: Constant heating pulls moisture from the air, leaving sinuses dry and scratchy.
- Summer AC: Air conditioning naturally removes humidity and can create desert-like conditions indoors.
- Sitting too close to the purifier: The air around the machine is where dust and allergens are being pulled in. Sitting directly next to it can feel irritating even though the purifier isn’t drying the air.
Think of it like standing near a vacuum cleaner — it’s not changing humidity, but you’re in the middle of airflow.
Air Purifiers vs. Humidifiers vs. Dehumidifiers
 Air Purifiers vs. Humidifiers vs. Dehumidifiers
It helps to lay out the differences clearly:
| Device | What It Does | What It Doesn’t Do |
|---|---|---|
| Air Purifier | Removes dust, pollen, allergens, smoke | Add or remove moisture |
| Humidifier | Adds moisture to dry air | Remove pollutants or allergens |
| Dehumidifier | Removes excess humidity from damp air | Clean or filter airborne particles |
That’s why confusion happens so often: the words sound related, but their functions are completely different.
Do These Devices Ever Overlap?
 Do These Devices Ever Overlap?
On the surface, air purifiers, humidifiers, and dehumidifiers look like three machines with totally separate jobs. And for the most part, that’s true. But there are a few cases where their functions can cross over — and that’s where the confusion often comes in.
- Humidifiers can have a “washing” effect: As they push mist into the air, some humidifiers also trap dust and particles in the water chamber. It’s not the same as a true HEPA filter, but it can make the air feel fresher.
- Dehumidifiers help air quality indirectly: By pulling excess moisture out of the air, dehumidifiers make it harder for mold spores and dust mites to thrive. In that sense, they act a little like an air purifier by reducing allergy triggers.
- Air washer combos exist: These are hybrid units that use water to both filter air and add moisture. They can be great if you need a humidifier and some level of purification, but they usually don’t clean air as well as a dedicated purifier, and they can make a room too damp in summer.
So while each device has its specialty, there are overlaps that can be useful. Understanding these crossovers can save you from buying the wrong machine or expecting one device to do a job it wasn’t designed for.
Symptoms, Causes, and Solutions for Dry Air
If you’re dealing with dryness at home, it helps to connect the dots between symptoms, causes, and fixes:
| Symptom | Likely Cause | Solution |
|---|---|---|
| Dry throat / sinuses | Heater or AC running constantly | Add a humidifier |
| Room feels muggy | High humidity levels | Use a dehumidifier or AC dry mode |
| Allergies worse near purifier | Too close to the intake airflow | Move purifier to the opposite side of the room |
This quick breakdown makes it clear: if your air feels uncomfortable, the solution usually isn’t the purifier — it’s balancing your humidity.
Can You Use a Purifier with a Humidifier or Dehumidifier?
Absolutely. In fact, this is often the best setup:
- Winter: Run a purifier and a humidifier together. The purifier keeps allergens low, and the humidifier adds moisture to combat heating dryness.
- Summer: Pair a purifier with a dehumidifier. The purifier clears airborne pollutants, while the dehumidifier reduces mold and dust mites that thrive in high humidity.
Just avoid placing them right next to each other. A purifier works best when it pulls in air from across the room, not just what the humidifier or dehumidifier is releasing.
Common Misconceptions About Air Purifiers
Let’s quickly clear up a few other myths:
- Do they make the room cold? No. Purifiers move air but don’t change temperature.
- Do they need water? No — unless it’s a special “air washer” combo unit that uses water as part of its filtration process.
- Do they worsen allergies? Not if they’re placed correctly. Keep them across the room so you’re not sitting in the direct airflow of incoming dust and dander.
FAQ: Common Questions About Air Purifiers and Dry Air
Do air purifiers cause dry throat?
No. Air purifiers don’t remove moisture from the air. A dry throat is usually caused by low humidity from running the heater in winter or air conditioning in summer. A humidifier is the better solution if your air feels too dry.
Do air purifiers dry out sinuses?
Air purifiers don’t affect humidity, so they can’t dry out your sinuses. If you’re experiencing dryness, it’s most likely due to indoor heating or cooling systems. Sitting too close to a purifier’s intake can also make you feel “sinusy,” since that’s where dust and allergens are being pulled through.
Can air purifiers cause breathing problems or make allergies worse?
Not when used correctly. In fact, they usually help. The only time problems may occur is if you sit or sleep right next to the purifier’s intake — that airflow carries contaminants toward the filter, and you don’t want to breathe that in. Place the purifier across the room for best results.
Do air purifiers help with moisture?
No. Air purifiers don’t add or remove humidity. If your air is too dry, you’ll need a humidifier. If it’s too damp, a dehumidifier will solve the problem.
Do air purifiers dehumidify?
No. Dehumidifiers are designed specifically to remove excess moisture. An air purifier cleans the air, but it won’t reduce humidity levels.
Can you use a dehumidifier and an air purifier in the same room?
Yes. In fact, they often complement each other. A purifier removes allergens like dust and pollen, while a dehumidifier lowers humidity, which helps prevent mold and dust mites.
Do air purifiers make the room cold?
No. Air purifiers only circulate air through filters; they don’t change the temperature of a room. If your room feels cooler, it’s likely because of airflow from your AC or drafts, not the purifier.
Do air purifiers need water?
No — most purifiers use filters, not water. The only exception is a type of hybrid machine called an “air washer,” which uses water to trap particles and add moisture, but these are not common.
Summary: What Air Purifiers Really Do
At the end of the day, air purifiers are designed for one thing: cleaner, fresher air. They trap pollutants and help relieve allergy symptoms, but they don’t change the humidity in your home.
If your air feels dry, look at your heater or AC — or consider adding a humidifier. If your air feels muggy, a dehumidifier will help. But don’t blame the air purifier. Instead, think of it as your year-round partner for reducing allergens and improving indoor air quality.
 4.Standing water
 Recap
Recap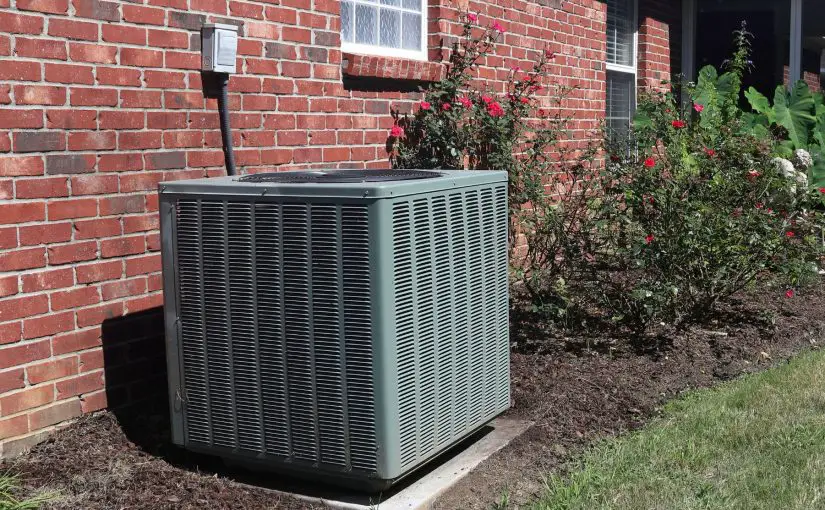
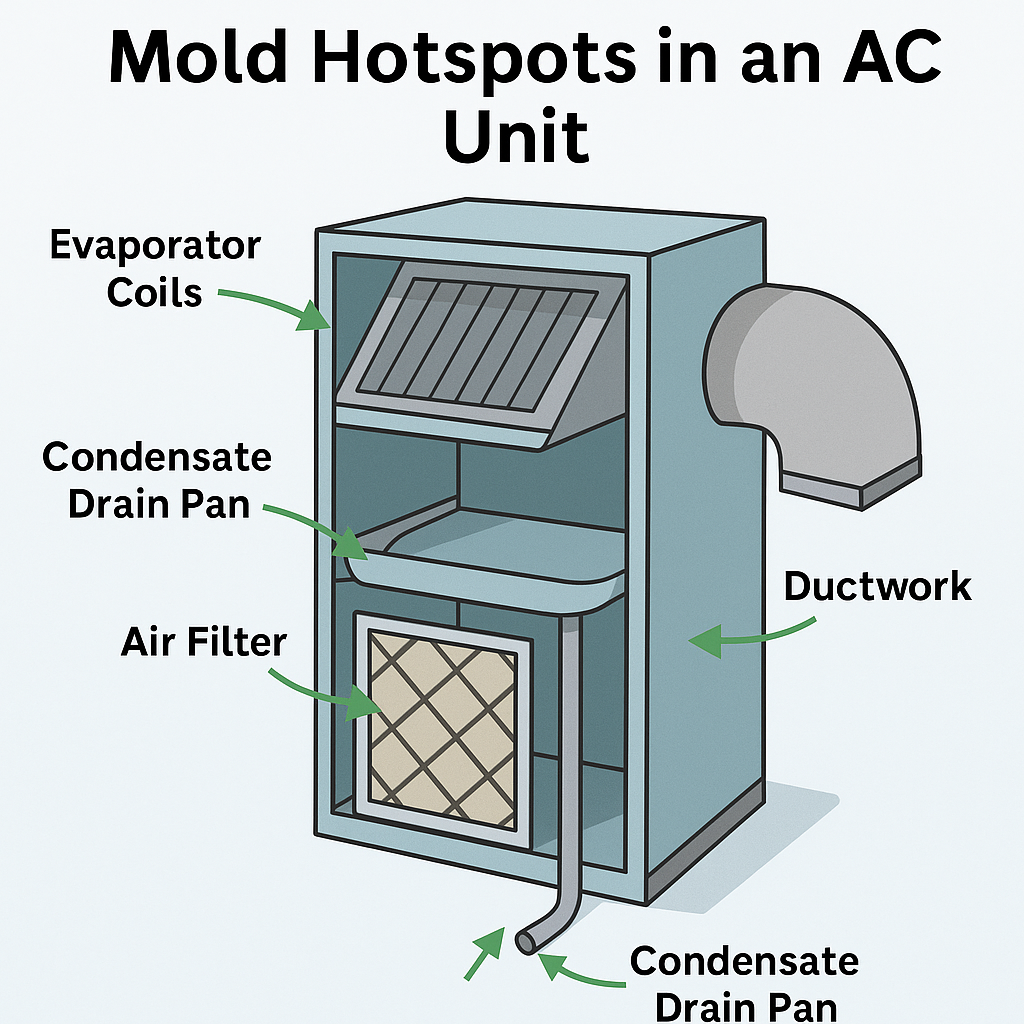
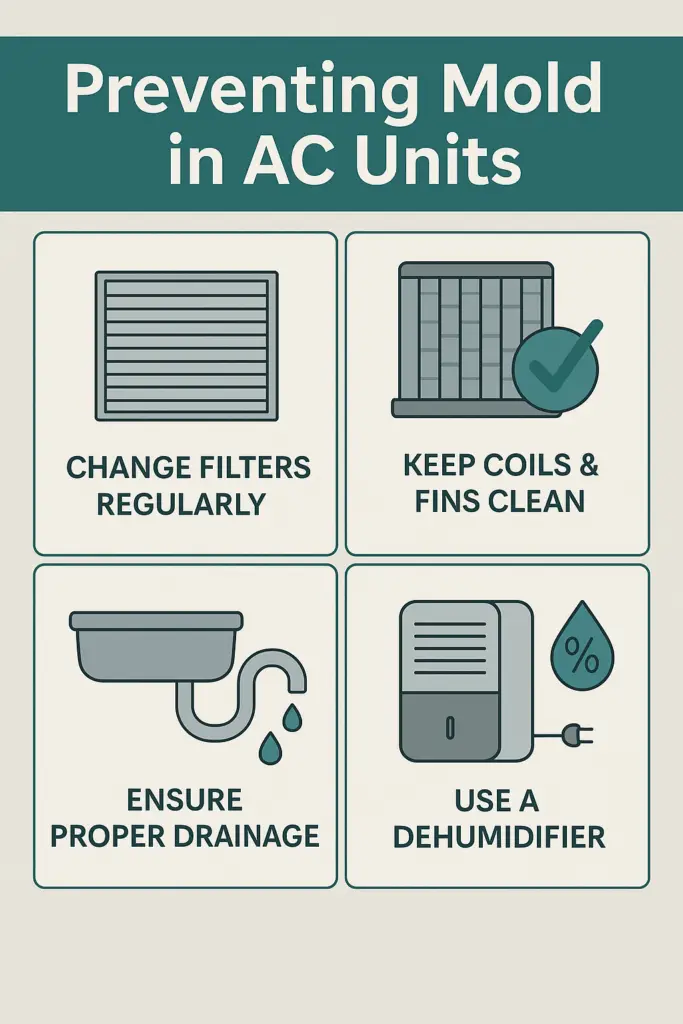
 Preventing Mold Growth in AC Units
 Removing Mold from AC Units
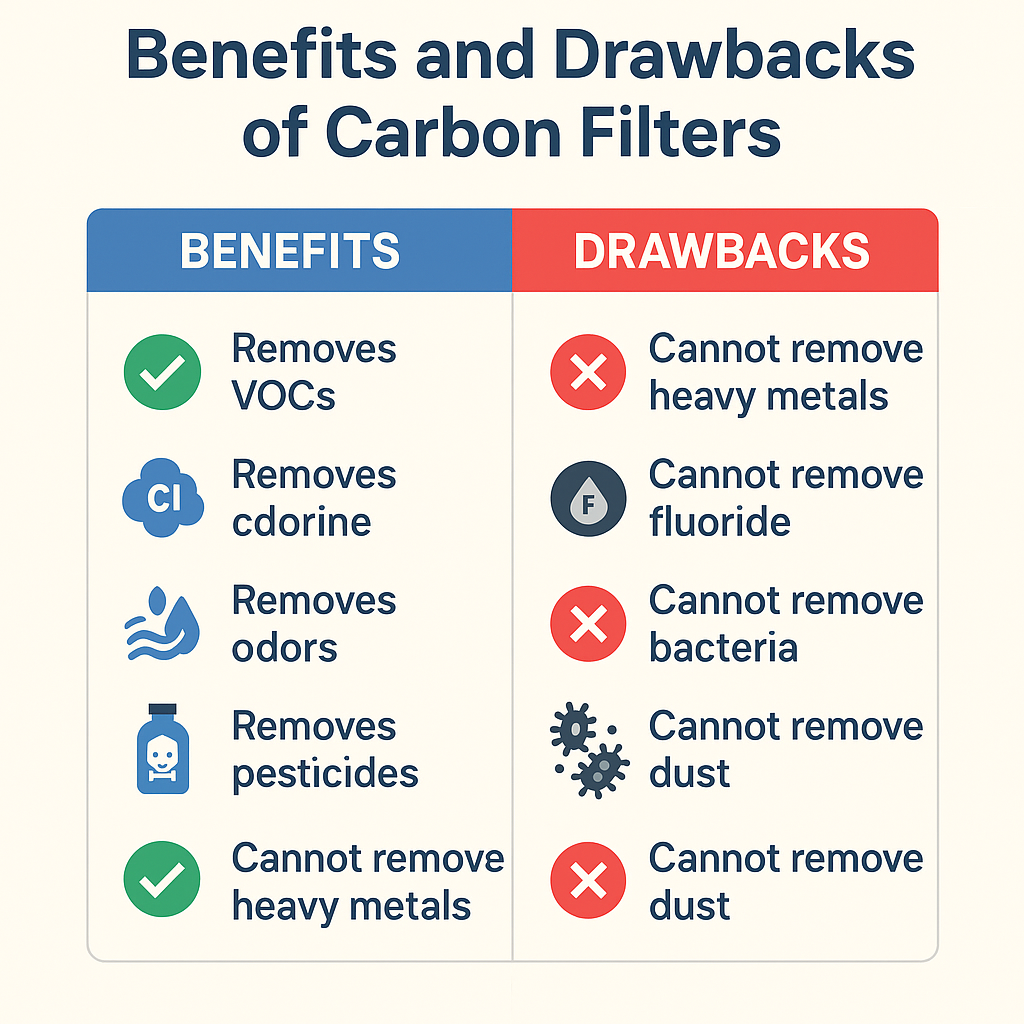
 Hidden Dangers of Carbon Filters
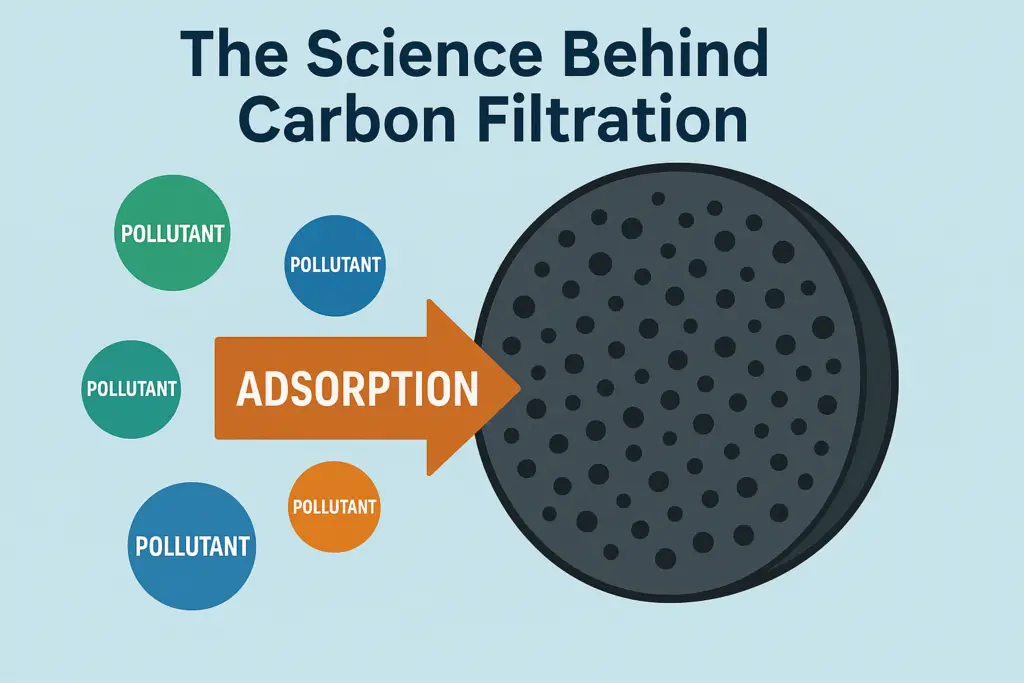

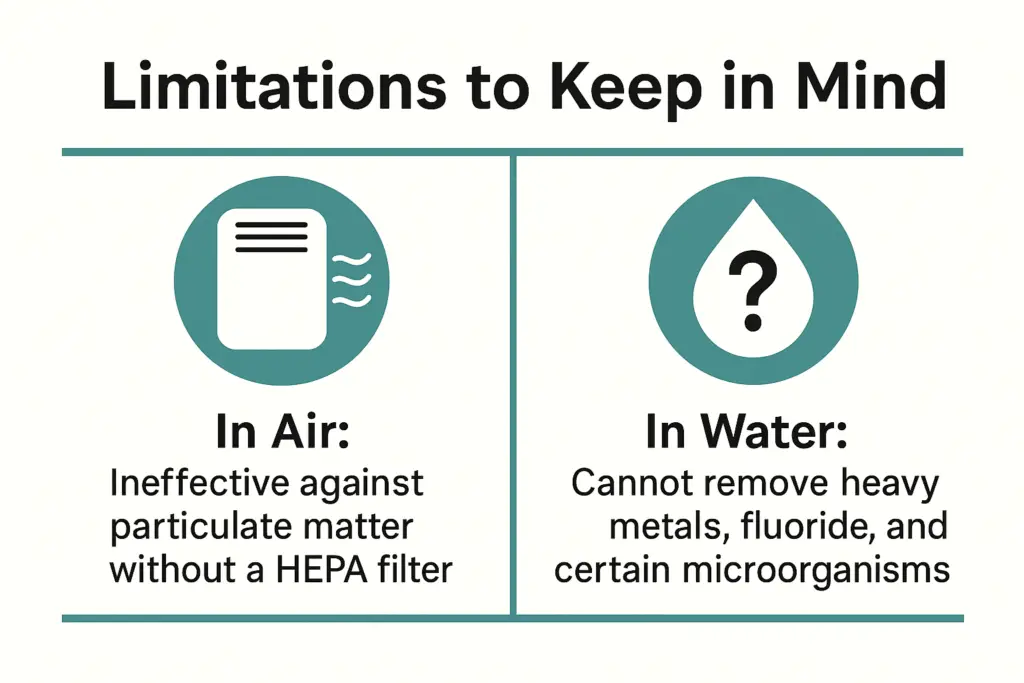 Health Implications of Air and Water Contaminants
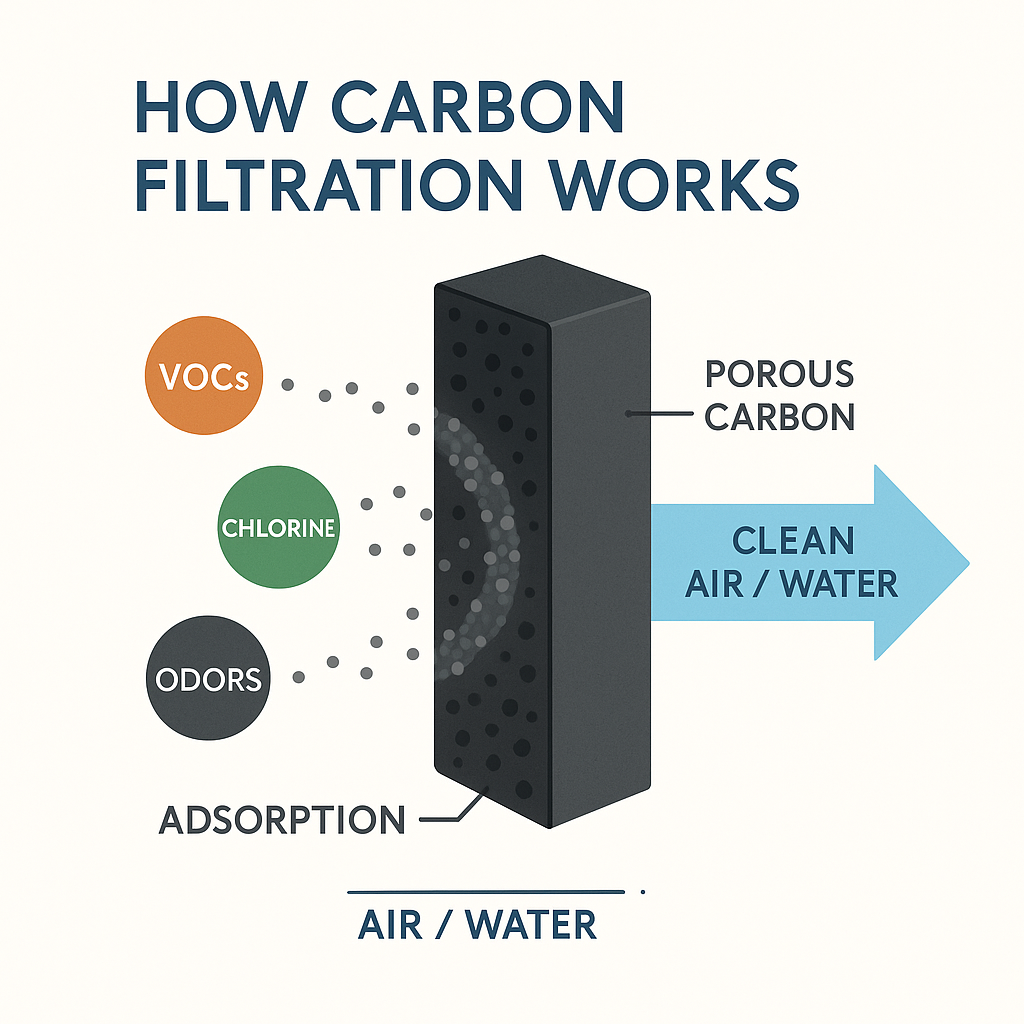
 While carbon filters are excellent for removing gases, odors, and


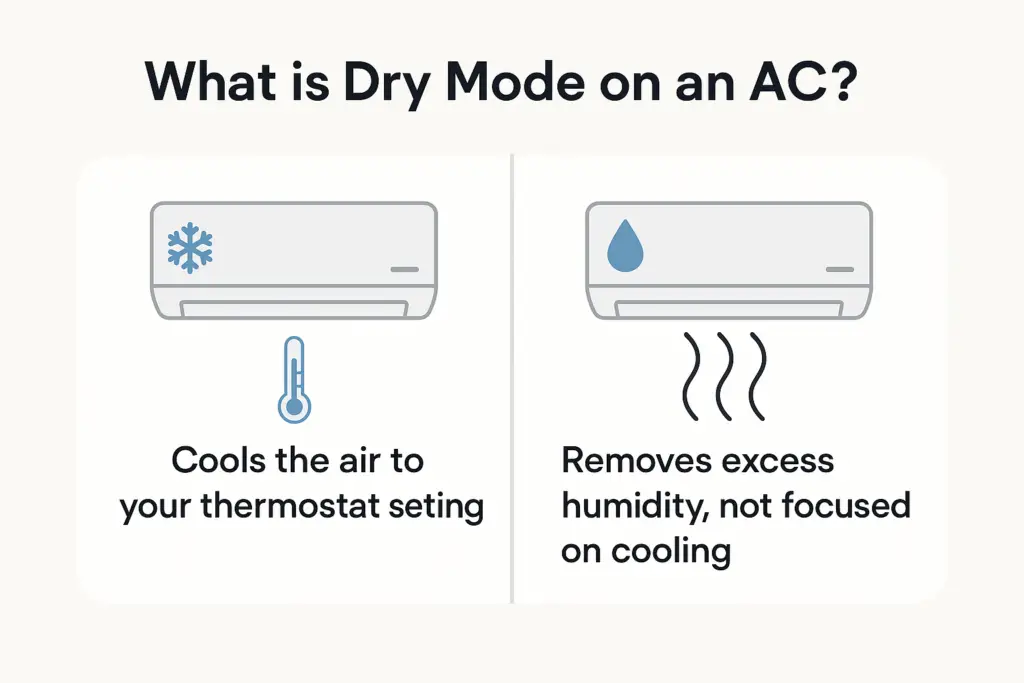
 Air conditioner dry mode vs. dehumidifier


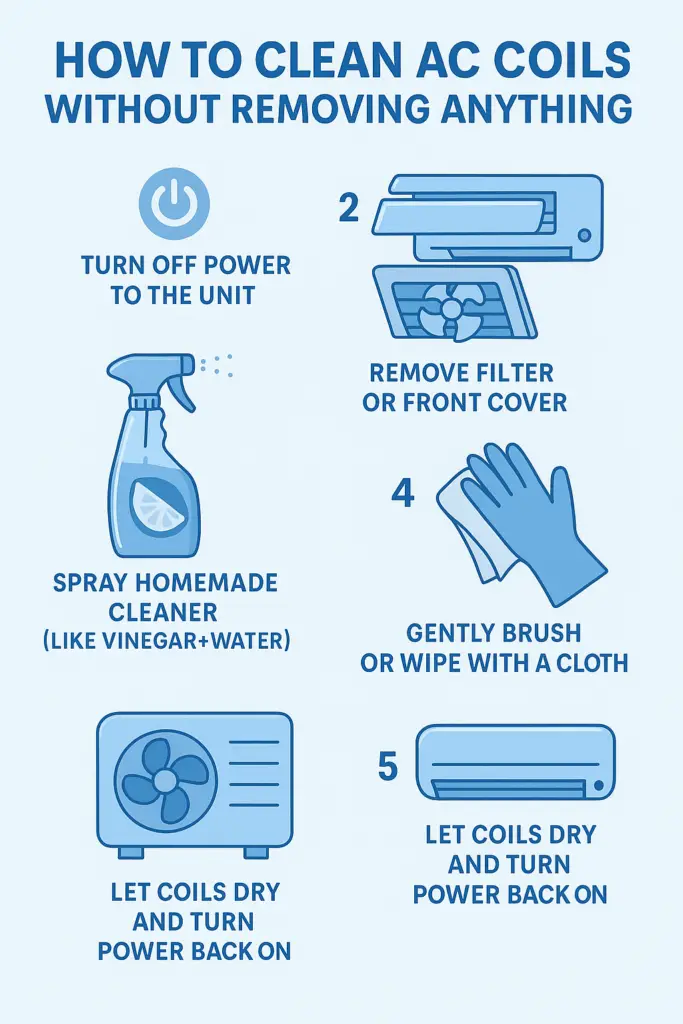 Why Clean Your AC Coils Without Disassembly?
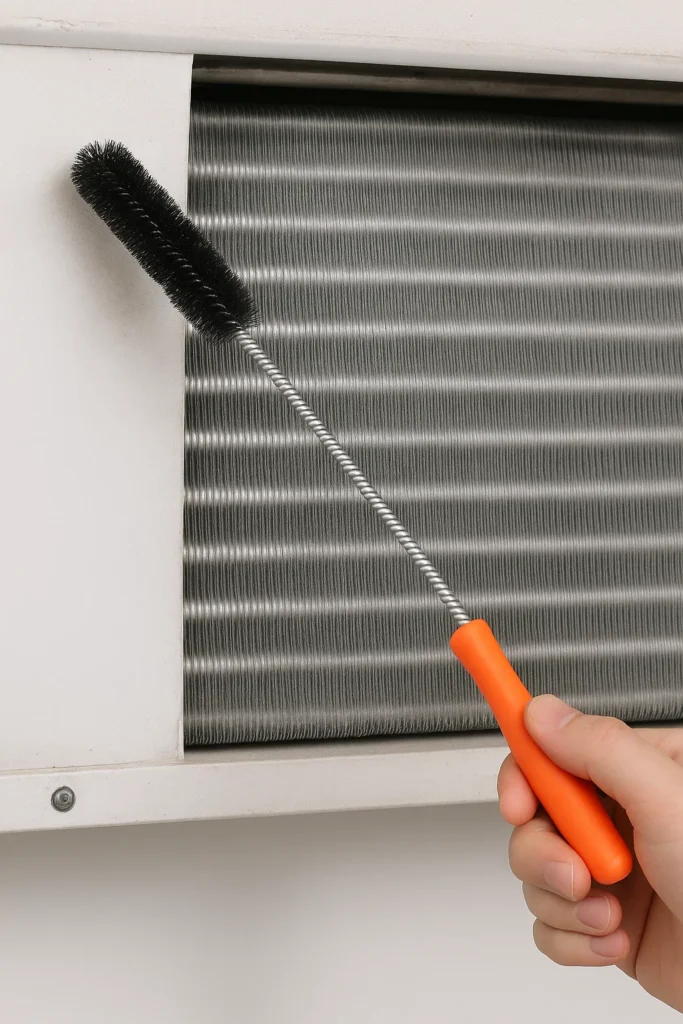 1. Flexible Coil Cleaning Brush
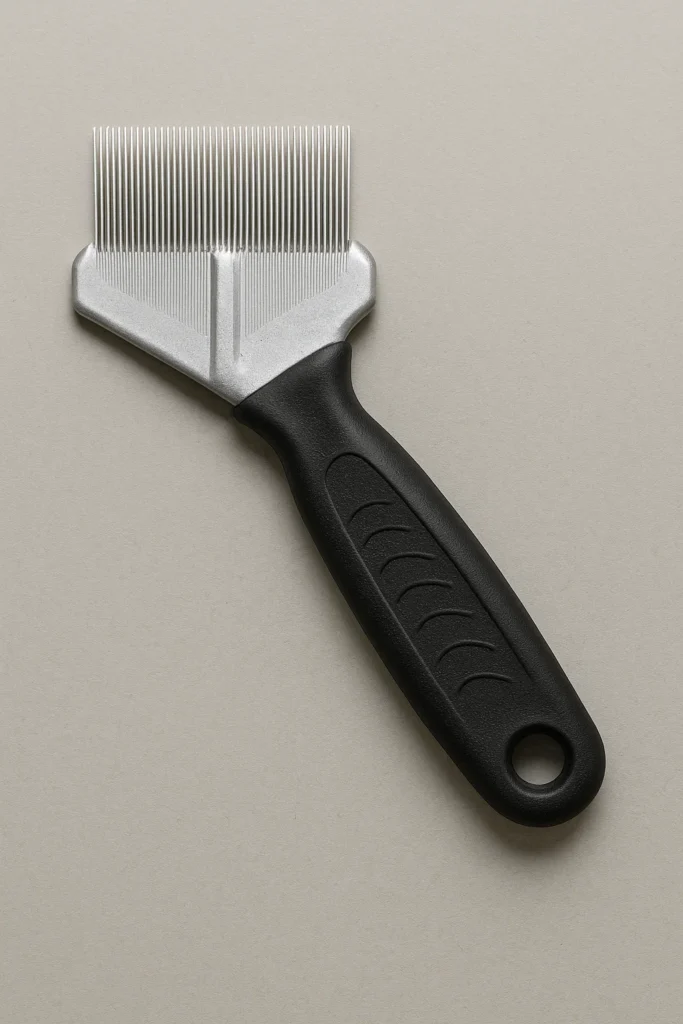 2. Fin Comb
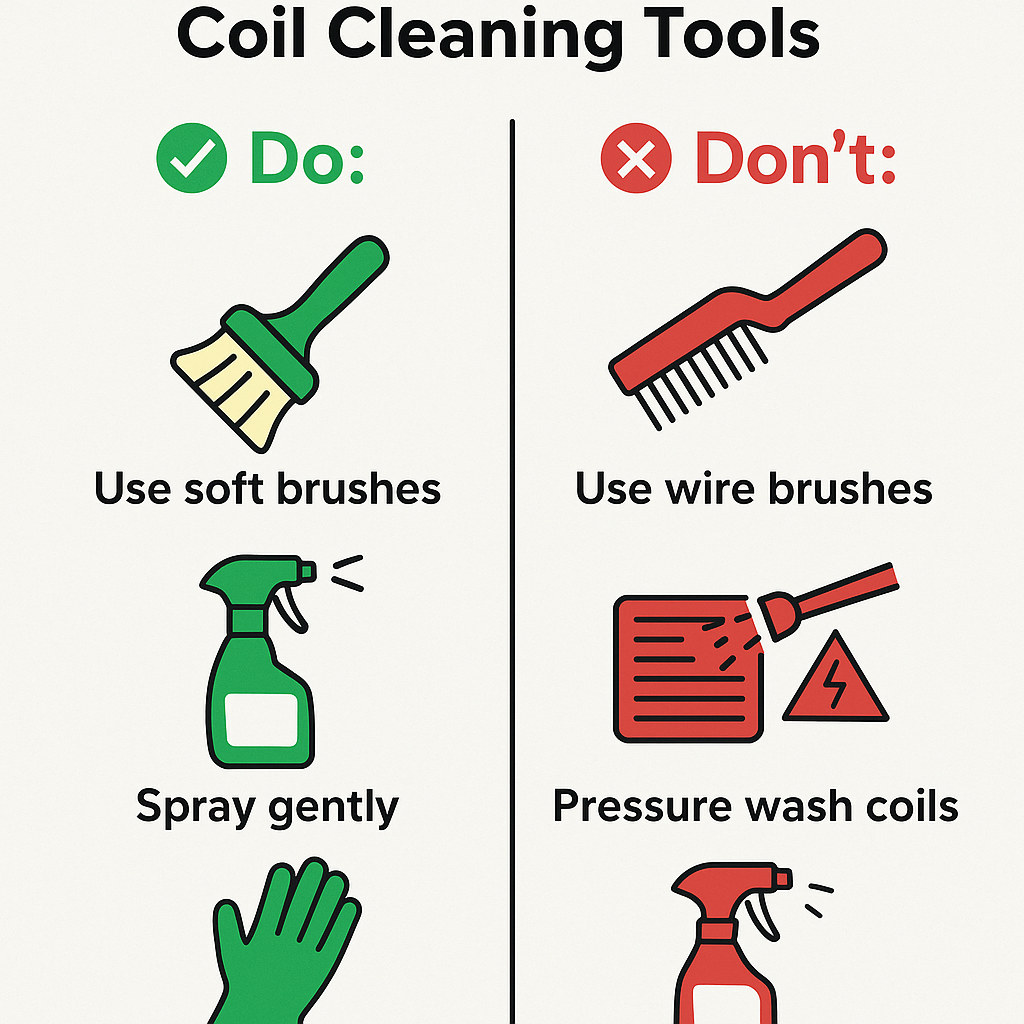 Choosing the Right Tools for Your Needs