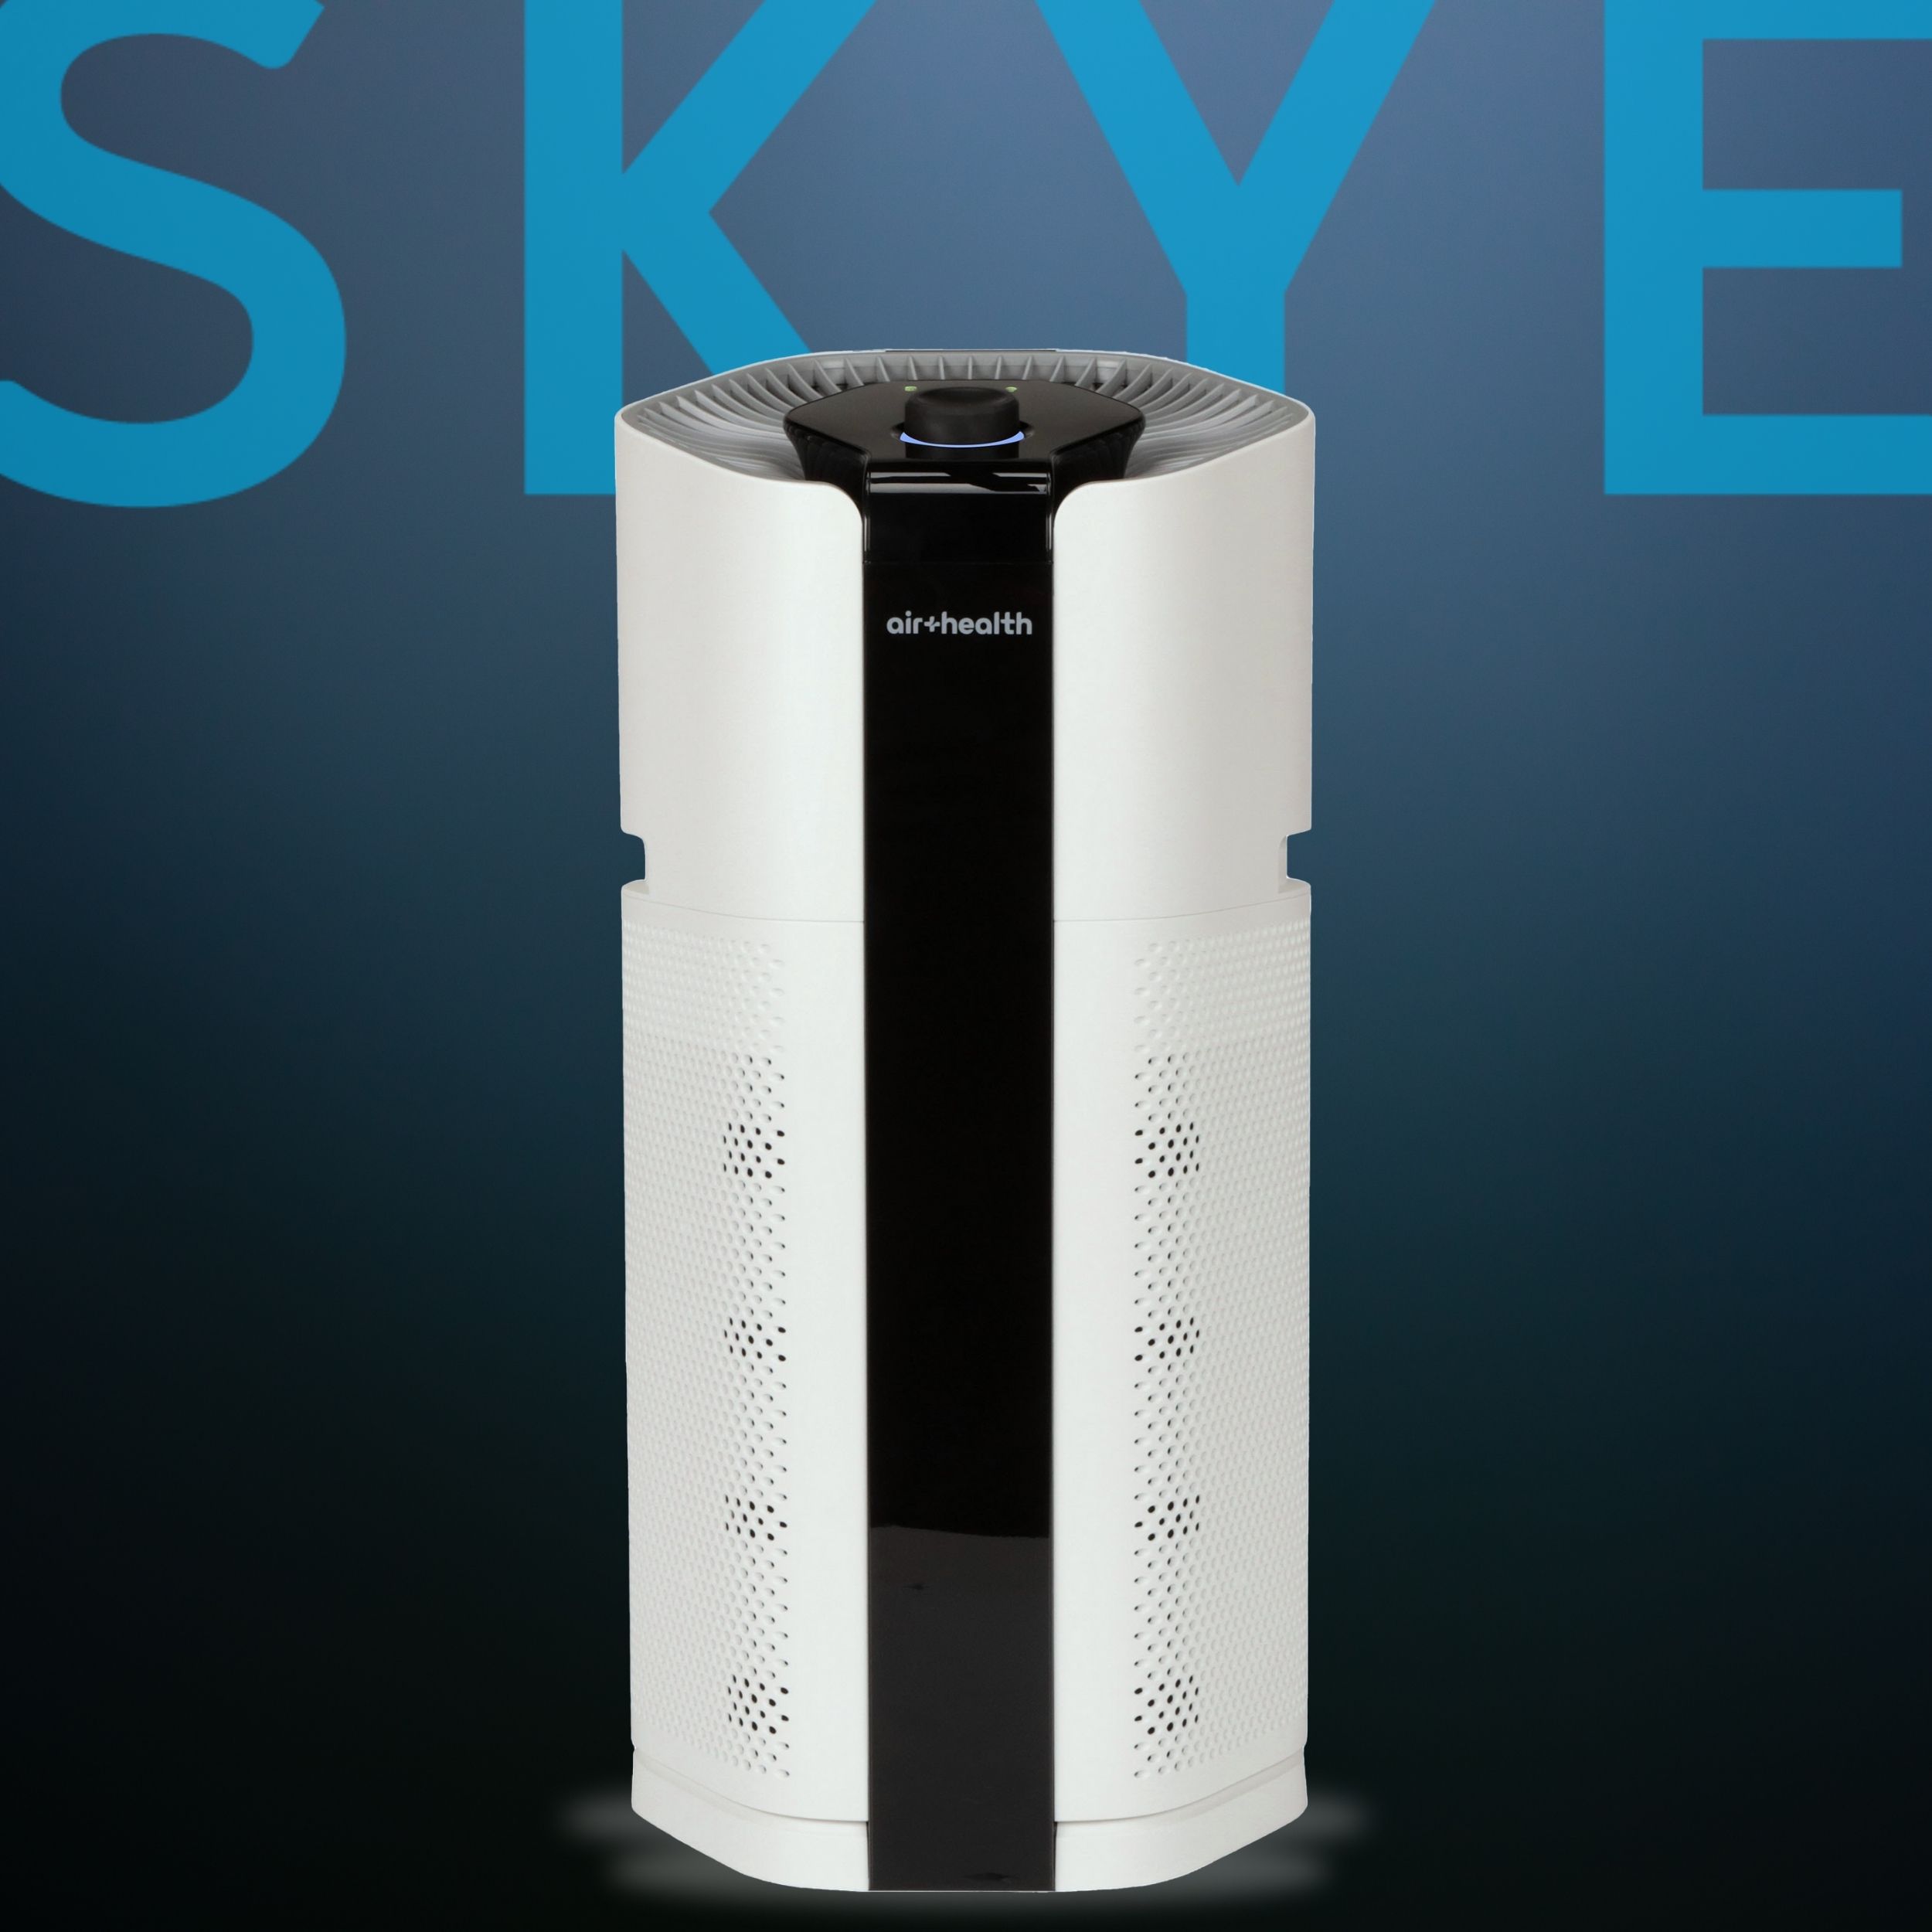
 A good air purifier in your house,
One that can actually get rid of airborne allergens, dander, and mites, or plain old run-of-the-mill pollen and spores, not to mention dust,
Is a good thing.
But selecting the right air purifier from the huge selection of air purifiers on the market can be tough.
Many people searching for an air purifier, are looking at air ionizers specifically because of the obvious benefit of price,
Since they do not require the usual HEPA replacement filters necessary to clean air.
But is an Air Ionizer all it’s cracked up to be?
What are some if the Pros and Cons of an Ionizer Air Purifier?

Ionizer Air Purifier – Pros Cons
Pros
-
-
- Cleans the Ambient Air
- Inexpensive to Run
- No Filters to Replace
- Can Provide a Feeling of Well-Being
-
Cons
-
-
- Only Temporarily Cleans the Ambient Air.
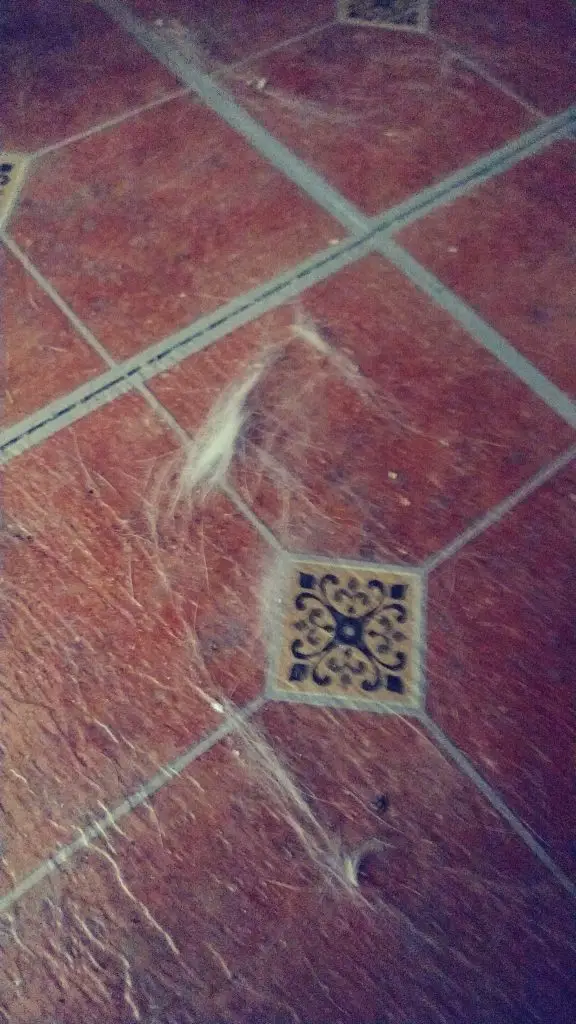
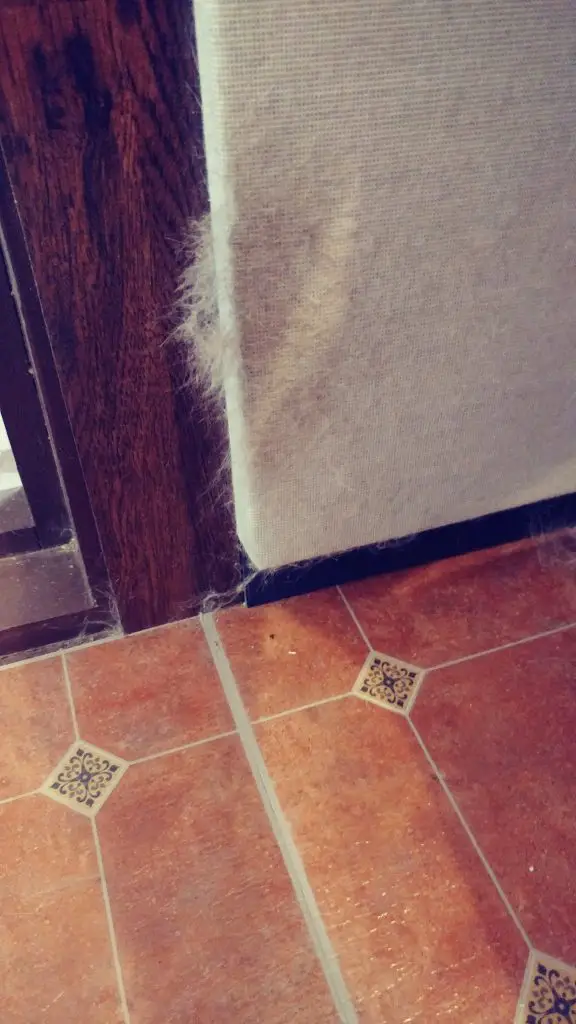
- Makes the Walls and the Surfaces Around the Air Ionizer Dusty.
- Ozone by-product.
-

What is the Difference between an Air Purifier and an Air
Ionizer?
1. Air purifier is a broad term that covers all types of air cleaning technologies including ionizing.
2. Air ionizer is a term that describes a air purifier that uses ionizing as its primary air cleaning technology.
3. Most air purifiers use HEPA filters to filter out indoor air pollution so the term air purifier is most of the time considered synonymous with HEPA filter.

Can Air Ionizers Actually Change Your Mood?
Yes. Believe it or not, Research indicates that in areas where there is an over abundance of negative ions, like the beach, people tend to feel more light-hearted and joyful.
Some studies show that negative ions have a positive result on human emotion.
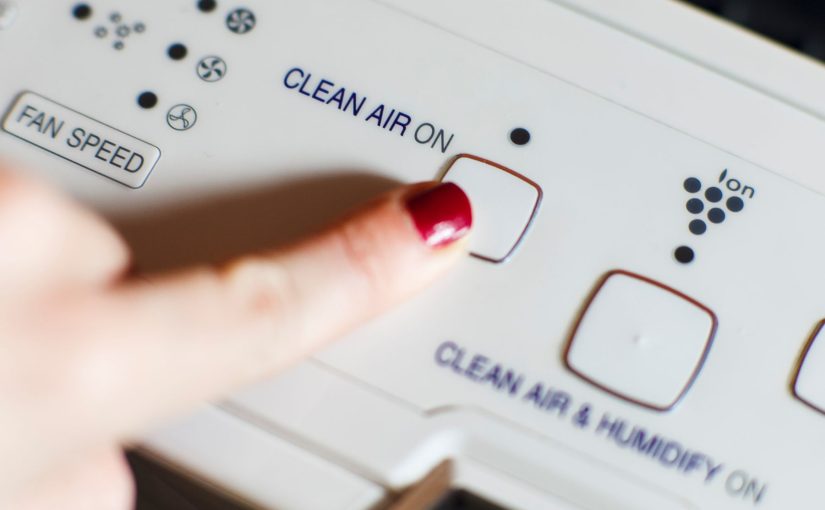
You may have never thought about it, but an ionizer may have a real effect on productivity in the workplace.
People tend to get a lot more done when they’re feeling positive about things.
Happier employees can affect the bottom line.
So instead of Hawaiian shirt day or casual Fridays , maybe installing air ionizers is just what the doctor ordered.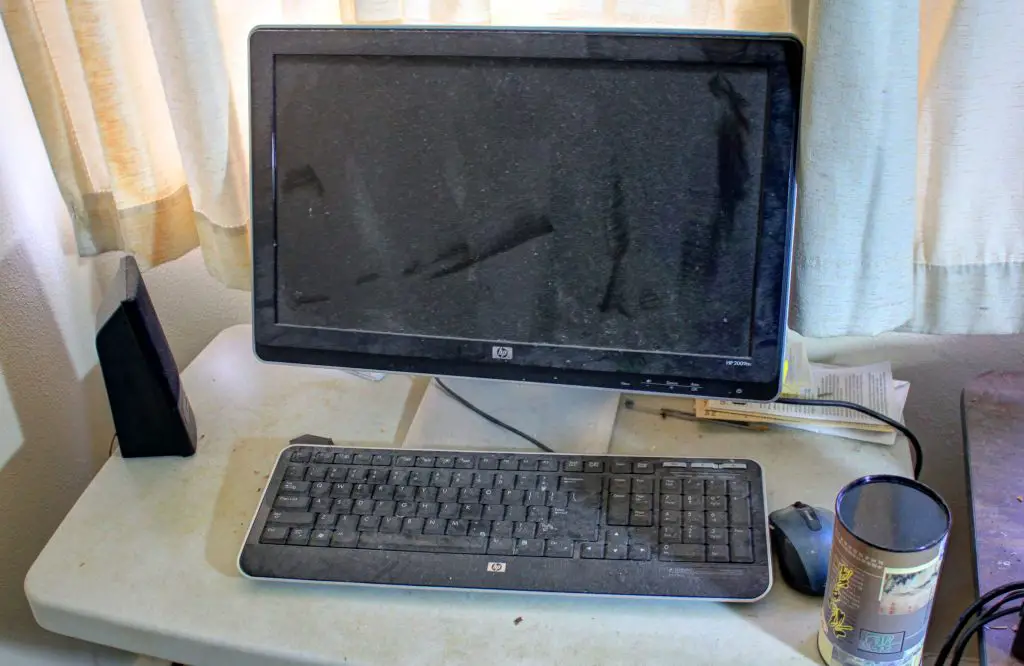
But apart from the theory of negative ion Bliss, are ionizers have their problems.
1.Because of the short life of ions, an air ionizer fan can only cover a small square footage at best.
2.Plus they are only a temporary solution and do nothing to completely kill airborne contaminants.
Ionizer purifiers or negative ion generators as there often called work by generating and emitting negative ions into the ambient air.
Because of polarity, the negative particle of the ion connects with the positive ions in the room.
(Positive ions are considered to be the contaminants that are polluting your air).
The newly-formed clusters of all ions become too heavy to float and fall to the surface.
One of the biggest problems is that walls tend to be the nearest surface.
What is black wall effect?
“black wall effect” is the phrase coined to describe the grey /black dusty film that negative ionizers leave on walls.
Another surface that tend to get extra dusty in the presence of ionizers are TV screens. Static electricity from the TV is a magnet for ionized dust.
The same can be said for the air cleaner itself. You’ll probably find the device extra dusty when you are using it.
Another problem with this technology is that is that any kind of movement, just walking for instance, will kick the pollution back into the air.
Also just think of what that can mean if you’re eating in the vicinity of the air ionizer.
Which leads back to the main issue.
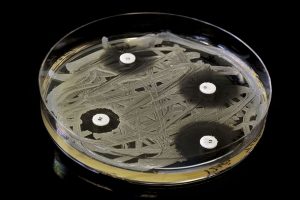
Negative Ionizers do absolutely nothing to kill or disinfect allergens.
Another downside is the way that the typical ionizer produces ions is through an electrical Spark.
A small amount of ozone is created with that spark.
Not a big deal until you get into the fact that it’s going to take mIllions and millions of ions to do the job.
Couple that with the fact that it will take multiple ionizers to actually clean a large space,
and since ozone can actually build up, it can start to be a problem.
So with all that in mind,
A negative air ionizer may not be the best air purifier and a temporary solution at best.
But before we throw the baby out with the bathwater,
It is fair to say that there are different types of Technology that utilize ions with good results and without the drawbacks.
1. Bipolar ionization
This technology is also called cold plasma it works by emitting both positive and negative ions into the air. Its also called Plasmawave.
Since negative ions have one too many electrons and positive ions have one too few, when they are introduced into the air they immediately attract to one another and in the process combine around the pollutants in the air.
This technology is used in HVAC systems with high success.
It is also used in combination with HEPA and carbon filters.
The ideal being, the clustered ions will be captured in the HEPA filter.
This technology also neutralizes air pollution which makes air pollutants like bacteria and viruses, even vocs like formaldehyde inactive.
2. PCO
PCO or photocatalytic oxidation is the process of combining ultraviolet light with a catalyst like titanium oxide.
This technology creates super ions and hydroxide ions. Which effectively disinfect the air much the way hydro peroxide disinfects a scrape or abrasion.
PCO is very effective at reducing germs and viruses. And is one of the best technologies for reducing airborne mold spores.
The biggest downside of PCO is the production of ozone.
The effectiveness of photocatalytic oxidation technology almost out weighs the problems with using ozone as an air purifier.
This technology works well as in in duct HVAC air purifier because ability to destruct mold.
Also because of the placement, the production of ozone does not pose a problem because it will dissipate long before it reaches the ambient air.
Why does an Ionizer Air Purifier Smell?
Ionizers create a low level of ozone.
Ozone has been marketed as a “fresh after a thunderstorm smell”
Is also described as being a antiseptic type smell.
The concern with ozone is that it will oxidize any pollution around it.
That’s including the pollution in your lungs and the lung tissue itself.
Even though a small ionizer may not produce enough ozone to be harmful, you cannot regulate how a person will use hey machine or where they will use it.
So the problem with ionizers becomes, even though a machine might manufacturer very little ozone for a given square space, that same machine could just as easily be used in a smaller square space, introducing much too much ozone into the area.
Summary
Like any appliance, negative ionizers have there good and bad, their pros and cons.
The pros of a ionizer air purifier include clean breathing air, less expense for replacement parts, and a general feeling of well-being.
The cons are they do nothing to neutralize germs, produce ozone as a by-product, and can leave your surfaces extra dusty.
My opinion is that a small ionizer on your desk is a great way to breathe cleaner air while you work but just remember to turn it off when you’re eating at your desk and remember to get the right one for your room size because bigger is not better in this situation.


 But it is understandable.