Ozone Generator Sizing Guide: Find the Right Size for Any Room or Problem
Trying to figure out how powerful of an ozone machine you need? Whether you’re clearing out cigarette smoke, cooking odors, or something much worse, the right ozone generator size makes all the difference. Too small, and you’ll be running it for hours without results. Too large, and you could end up with lingering ozone long after the job is done.
This guide walks you through the numbers, the expectations, and the safety tips — so you can choose the right size with confidence.
 ❓ How Strong of an Ozone Generator Do I Really Need?
 ❓ How Strong of an Ozone Generator Do I Really Need?
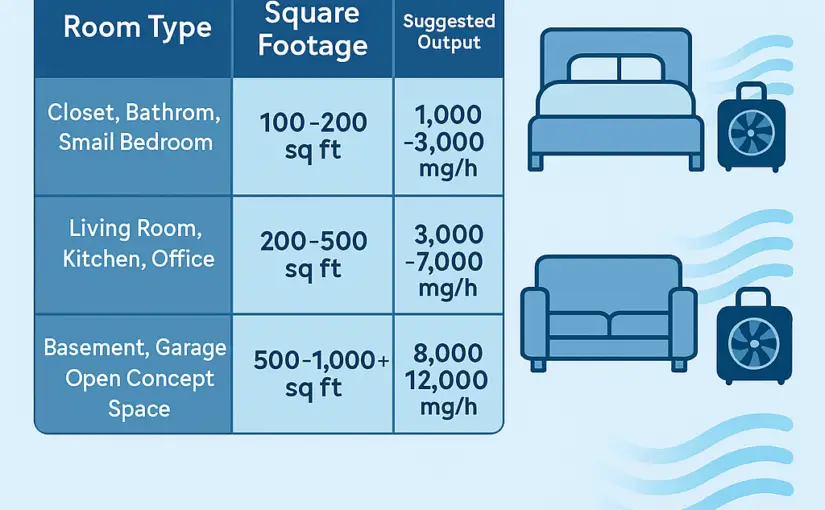
Answer: Match output to your room size: about 1,000 mg/h per 100–150 sq ft. For stubborn odors like smoke or skunk, scale up or plan on multiple treatments.
Room Size Chart (with Output Range)
| Room Type | Square Footage | Suggested Output |
|---|---|---|
| Closet, Bathroom, Small Bedroom | 100–200 sq ft | 1,000–3,000 mg/h |
| Living Room, Kitchen, Office | 200–500 sq ft | 3,000–7,000 mg/h |
| Basement, Garage, Open Concept Space | 500–1,000+ sq ft | 8,000–12,000+ mg/h |
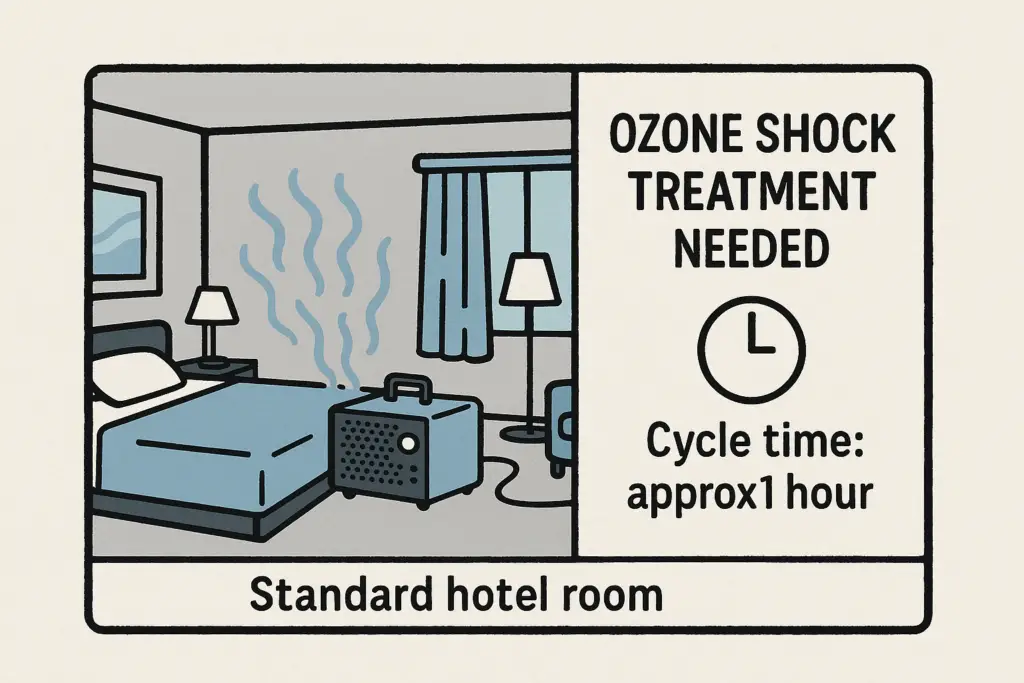
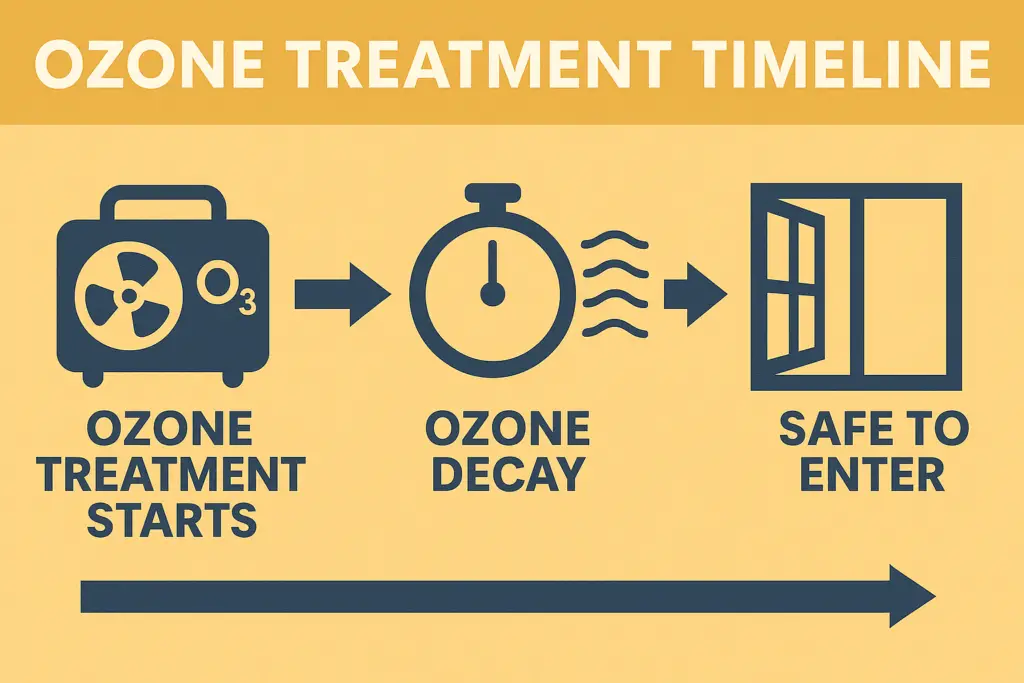
❓ Can I Use Too Much Ozone?
Answer: Yes — but the danger comes from reentering too soon. Larger generators release more ozone faster, but ozone naturally decays within 30–90 minutes. Always allow time and ventilate after treatment.
Rule of Thumb: Wait 1 hour for every hour of ozone treatment — or 2 hours if using a high-output machine.
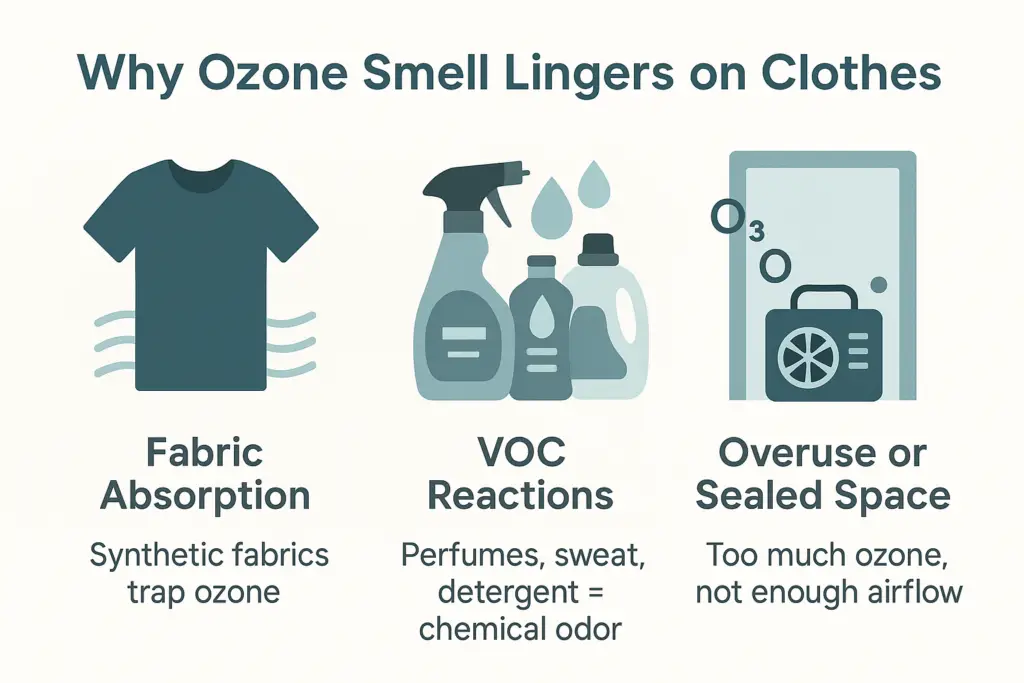
What Does Ozone Smell Like?

One of the first things people notice during or after a treatment is the distinct smell of ozone. It’s often described as sharp, clean, and slightly metallic — similar to chlorine, an electric spark, or the air after a lightning storm.
This smell is perfectly normal. It’s a sign that ozone was generated and is still active in the air. If you can still smell ozone, it’s not safe to reenter the room just yet. Let the space air out fully and wait until the scent fades to a barely noticeable level or disappears entirely.
Don’t worry if the smell lingers longer than expected. Factors like low ventilation, soft furnishings, or high output machines can extend the time it takes for ozone to fully break down. Just crack a window and use a fan to help speed it up.
❓ Can I Treat the Whole House at Once?
Answer: Technically yes, but it’s usually not the best approach. Treating one room at a time gives you better control and deeper results. If you do treat the whole house, keep interior doors open and use fans to help ozone circulate.
Ceiling Height Makes a Big Difference
Most ozone sizing guides only consider floor space — but ceiling height matters too. Why? Because ozone fills the entire volume of a room, not just the surface area. The more vertical space you have, the more ozone you’ll need to fill it effectively.
As a quick reference, multiply your room’s square footage by the ceiling height to get the total cubic feet. A 300 sq ft room with 8-foot ceilings = 2,400 cubic feet. But if that same room has 12-foot ceilings, you’re working with 3,600 cubic feet — 50% more airspace to treat.
Rule of thumb: If your ceilings are over 10 feet tall, increase your ozone output by 25–50%, or plan on longer treatment times. This ensures ozone can reach the upper corners of the room effectively.
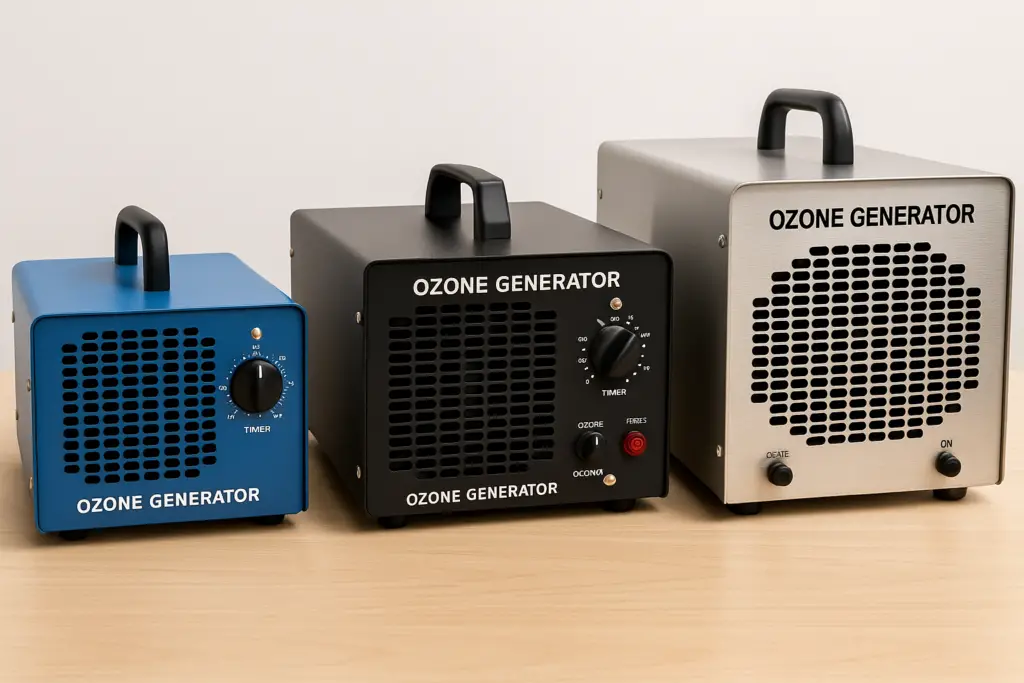
Small vs Medium vs Large Ozone Generators: What to Expect
 Small vs Medium vs Large Ozone Generators: What to Expect
Ozone machines are rated in milligrams per hour (mg/h). That number tells you how much ozone the machine puts out — but it doesn’t always tell you what results you’ll get. Here’s what you can expect from each size:
🔸 Small Units: 1,000–3,000 mg/h
- Best for: Closets, small bedrooms, cars, pantries
- Room size: Up to 200 sq ft
- Treatment time: 30–60 minutes
- What to expect: Light odors removed in one session; stronger odors may require 2–3 cycles
- Bonus: Great for small containers or odor-proof boxes (treat shoes, books, or clothes)
🔸 Medium Units: 3,000–7,000 mg/h
- Best for: Bedrooms, kitchens, offices, mild smoke damage
- Room size: 200–500 sq ft
- Treatment time: 1–2 hours
- What to expect: Handles most odors in one or two sessions; easy to carry and store
- Common use: Landlords, car detailers, Airbnb hosts
🔸 Large Units: 8,000–12,000+ mg/h
- Best for: Basements, open floorplans, large living rooms
- Room size: 500–1,000+ sq ft
- Treatment time: 2–4 hours (longer for severe odors)
- What to expect: Strong ozone smell afterward; may need extra ventilation time
- Caution: Overkill for small rooms — always follow wait-time safety instructions
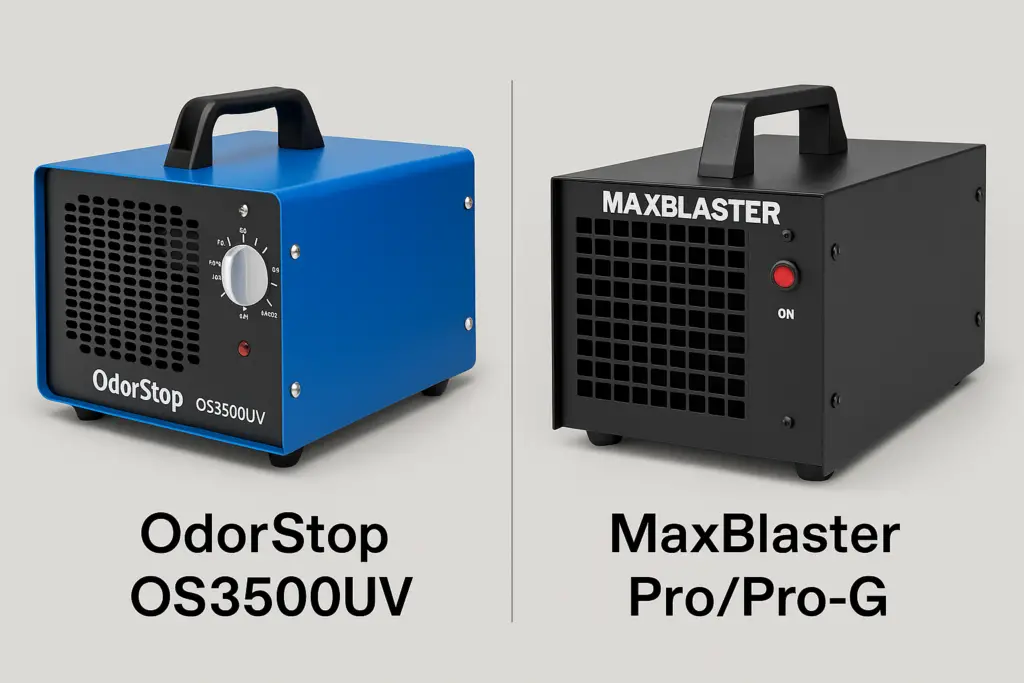
Portable vs. Professional Ozone Generators
Not all ozone machines are built the same. While most consumer-grade units are marketed by their output — like 5,000 or 10,000 mg/h — there are important differences between portable models and commercial-grade machines.
Portable units are typically lightweight, made with plastic or thin aluminum casings, and designed for short cycles in single rooms or cars. These are great for DIY odor removal projects at home.
Professional ozone generators tend to have metal housings, stronger internal fans, better heat sinks, and often include multi-stage timers, fan speed settings, and ozone plate controls. They’re built to withstand longer runtimes, and some are rated for treating very large spaces or entire buildings.
Also, be cautious with extremely cheap models — especially those sold by unfamiliar brands with questionable mg/h claims. Look for third-party reviews, real product specs, and a manufacturer that actually publishes safety documentation.
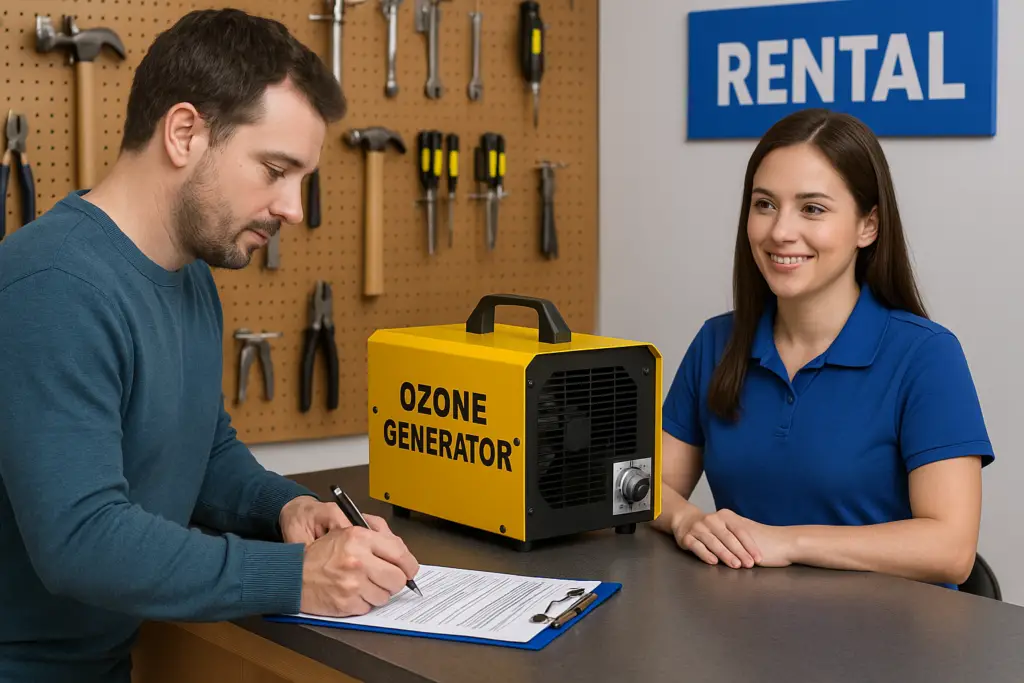
If you’re still unsure whether renting or purchasing is best for your situation, this guide explains when ozone machine rental is the right choice
❓ What Size Ozone Generator Should I Use for My Car?
Answer: A 3,000–5,000 mg/h unit is usually enough for cars, trucks, and RVs. Run it with windows up and a small fan inside to help circulate ozone through seats and vents. Most treatments take 30–60 minutes, but tough odors may require a second session.
Match the Ozone Size to the Problem You’re Solving
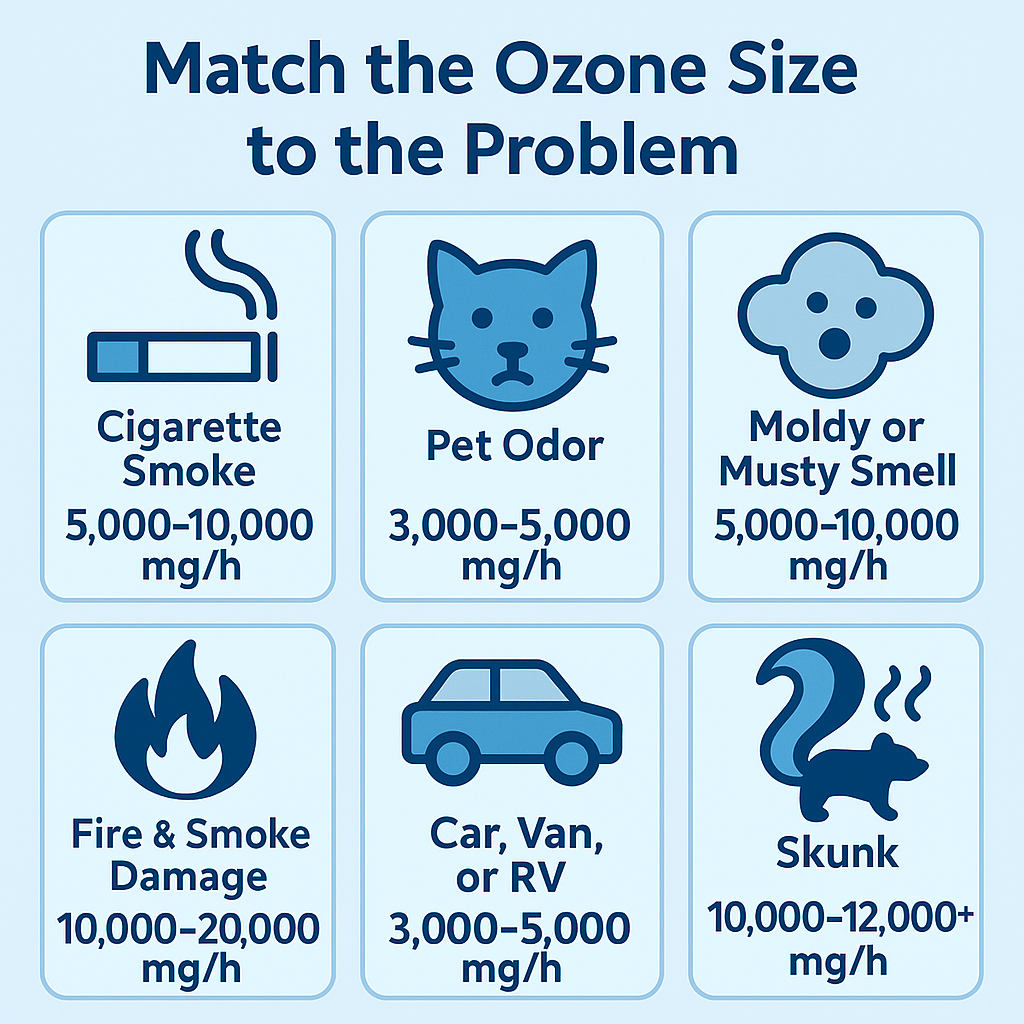
Room size is important — but so is the type of odor or contamination you’re dealing with. Here’s a quick guide:
🚬 Cigarette Smoke
- Best size: 5,000–10,000 mg/h
- Use notes: May need multiple treatments
🐾 Pet Odors
- Best size: 3,000–5,000 mg/h
- Use notes: Use in areas where pets sleep or mark
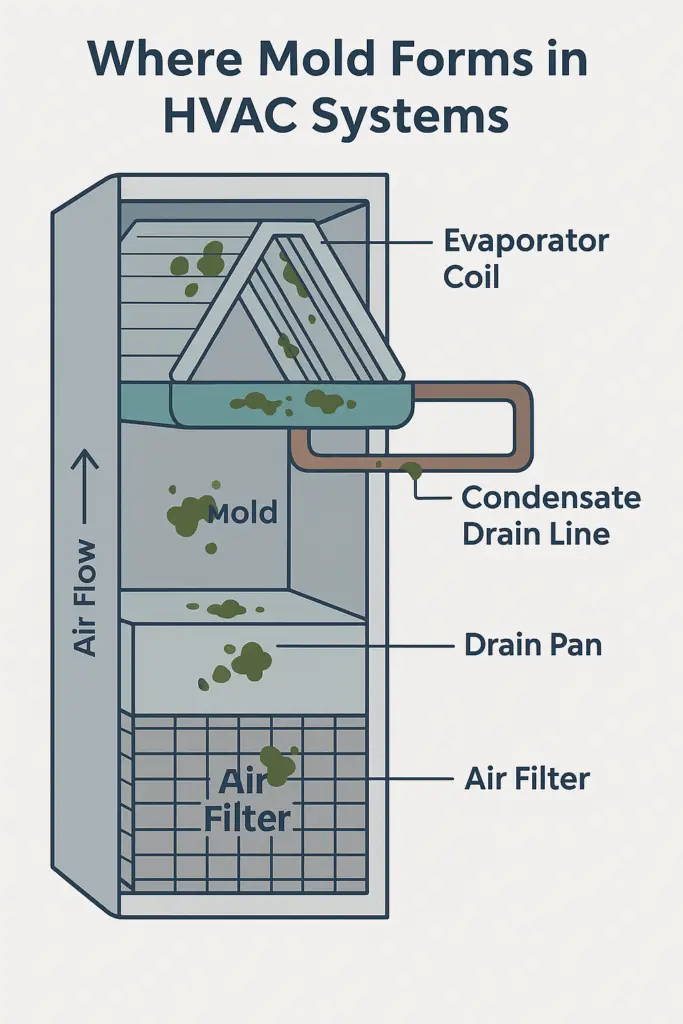
🦠 Moldy or Musty Smell
- Best size: 5,000–10,000 mg/h
- Use notes: For odor only — does not kill mold in walls or materials
🦨 Skunk Odor
- Best size: 10,000–12,000+ mg/h
- Use notes: May require multiple high-output treatments
🔥 Fire/Smoke Damage
- Best size: 10,000–20,000 mg/h
- Use notes: Use only for odor; not for cleanup or restoration
🚗 Cars, Vans, and RVs
- Best size: 3,000–5,000 mg/h
- Use notes: Short cycles with a fan inside help spread ozone
Ozone Works Best After You Clean the Source
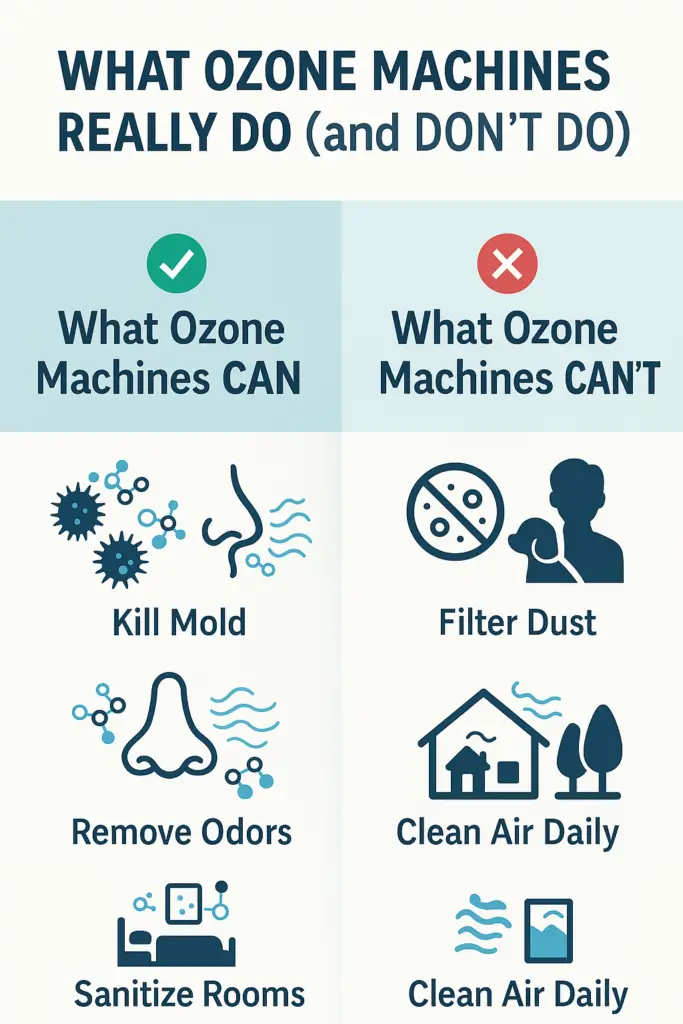
Ozone is excellent at removing odors — but it can’t replace cleaning. Think of it as the final step after you’ve removed the source of the smell.
If you’re treating smoke odor, for example, ozone can neutralize the lingering particles in the air and surface fabrics. But it won’t remove sticky tar or nicotine residue left on walls or inside furniture. The same goes for pet odors soaked into carpet pads or mold behind drywall — if the source remains, the smell may return.
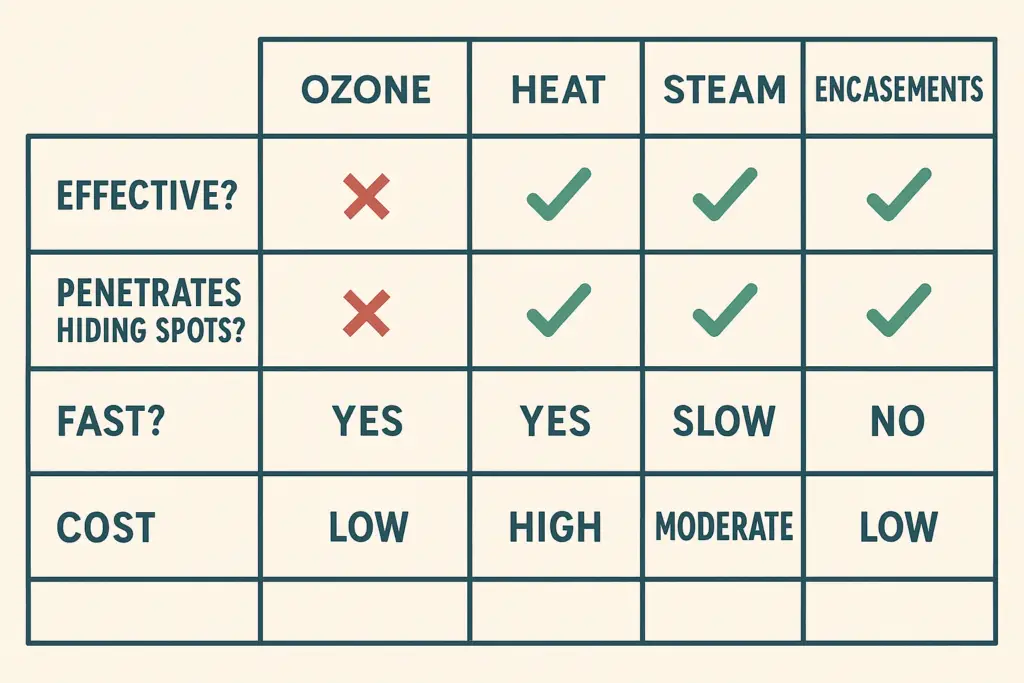
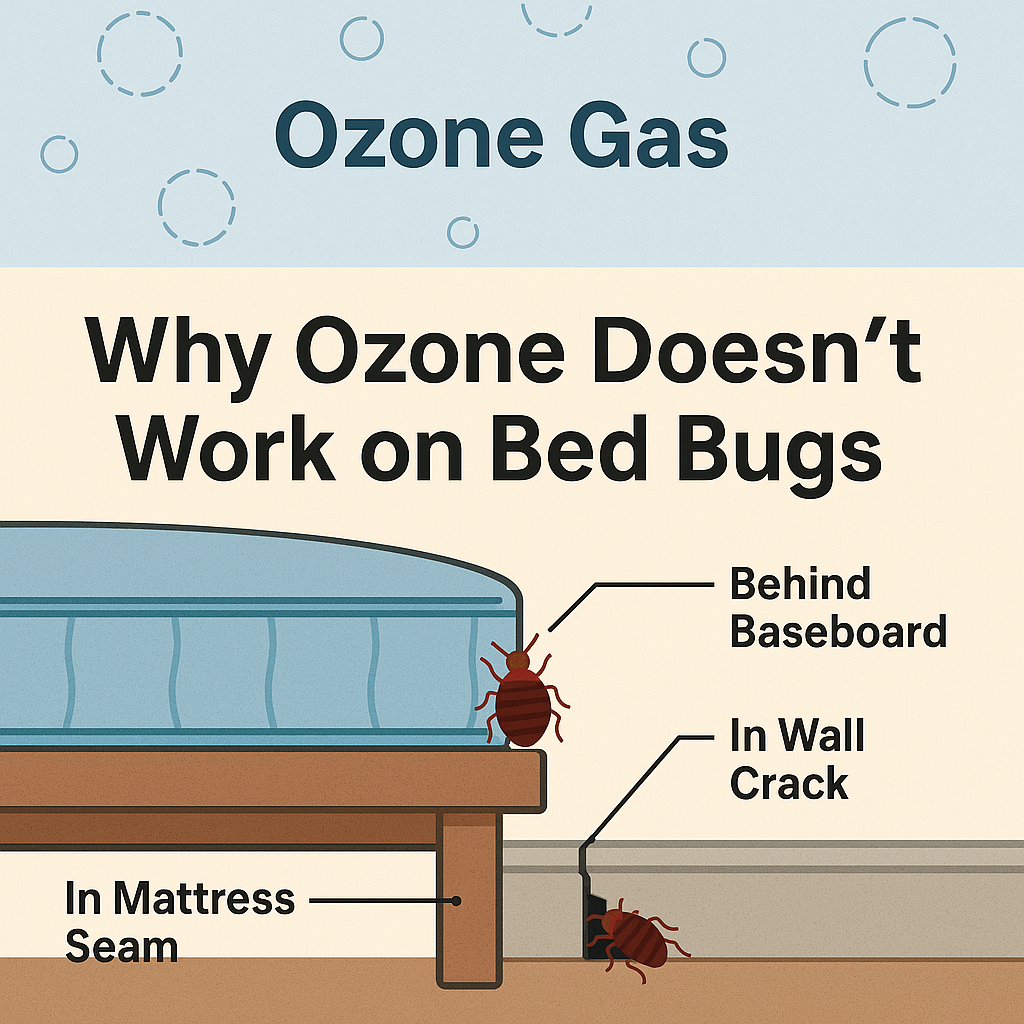
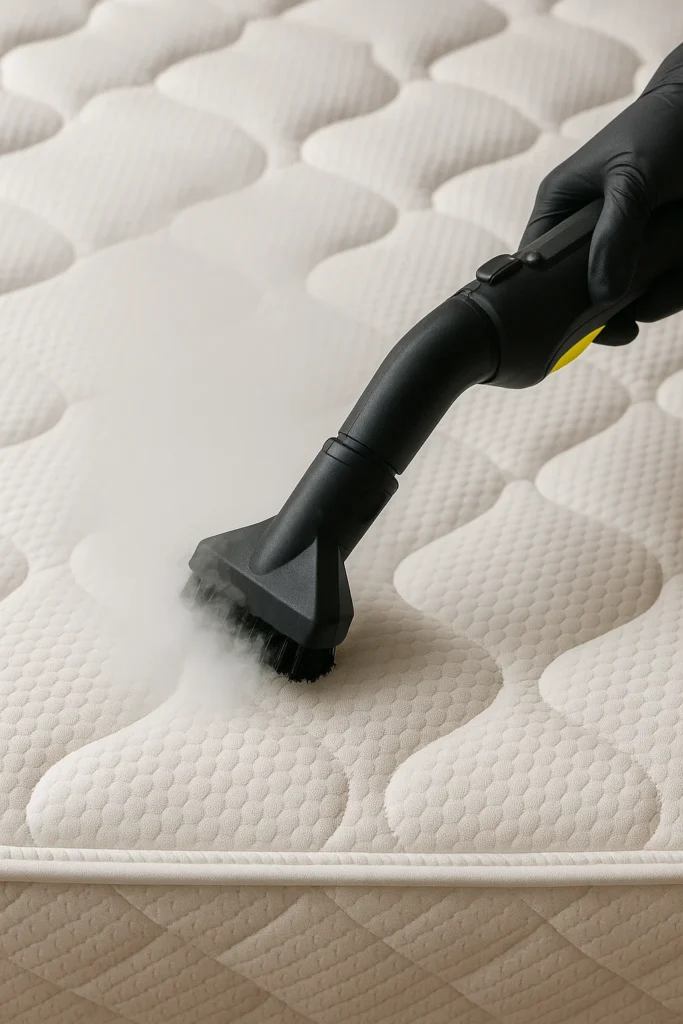
Remember, ozone’s size and power don’t make it a pest solution — even strong units can’t reach bed bugs. Here’s why.
Before using an ozone generator, always clean as much as you can first. Vacuum, wipe down surfaces, remove soft items if possible, and address any visible mold or soot. Ozone is most effective in a clean, dry, and sealed environment.
❓ Can I Run the Ozone Generator More Than Once?
Answer: Yes — and for stubborn odors, you’ll probably need to. It’s perfectly safe to run multiple ozone cycles as long as you allow time for the ozone to decay between treatments.
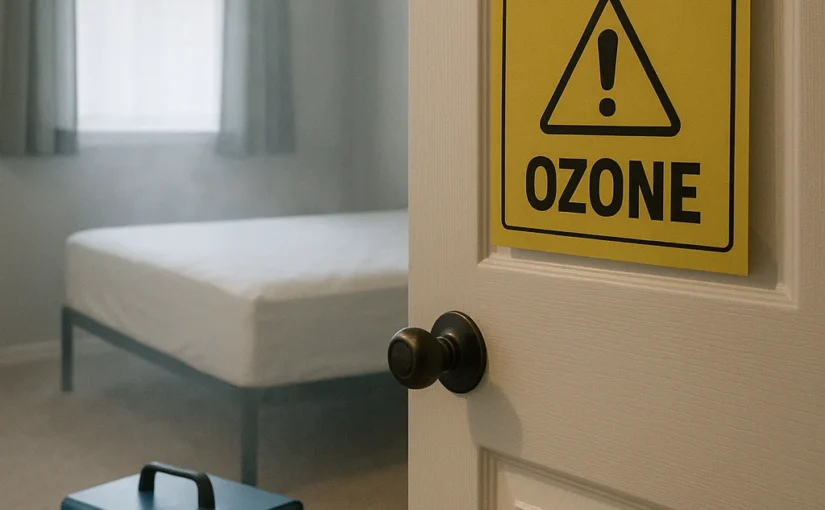
Ozone Safety: What You Need to Know Before You Plug It In
✅ Do:
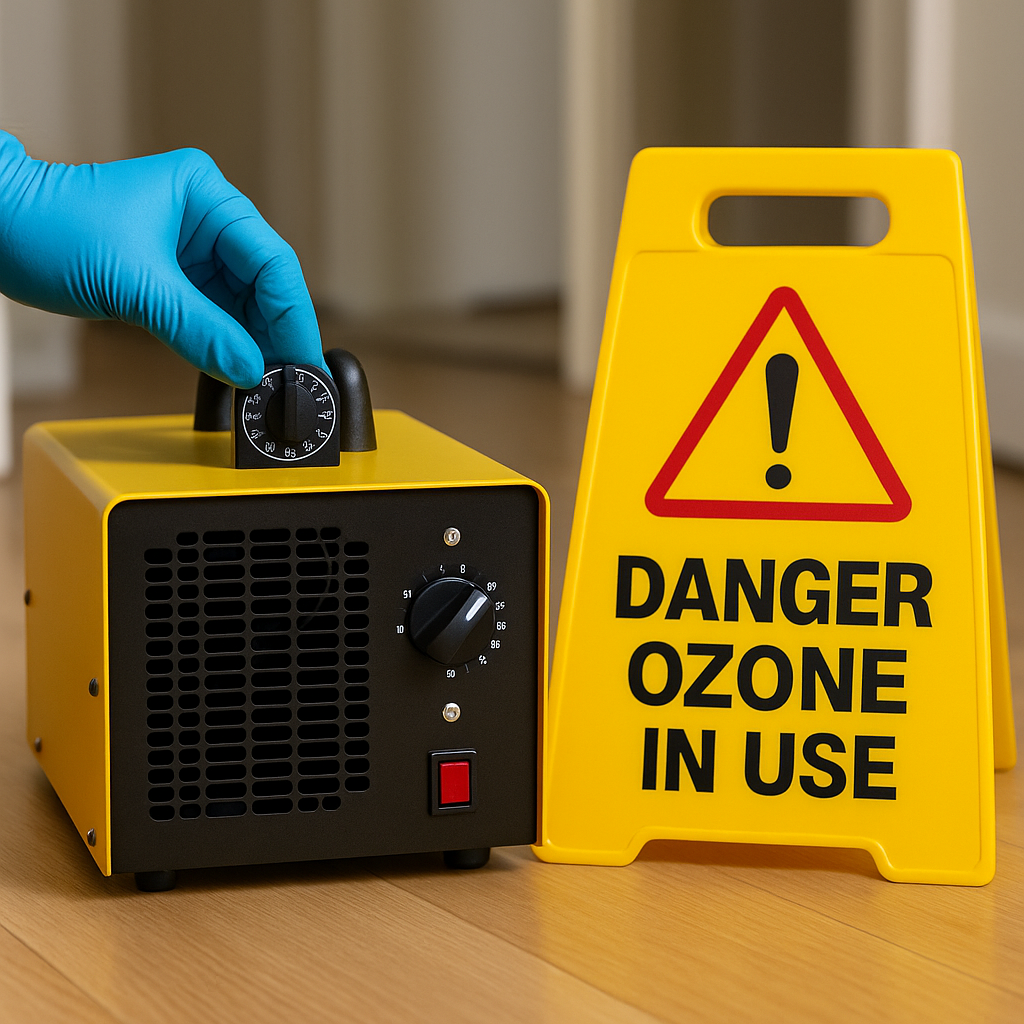
- Leave the room completely during treatment
- Post a warning sign on doors
- Wait 1–2 hours after cycle ends
- Use fans to help ventilation
- Start small — you can repeat if needed
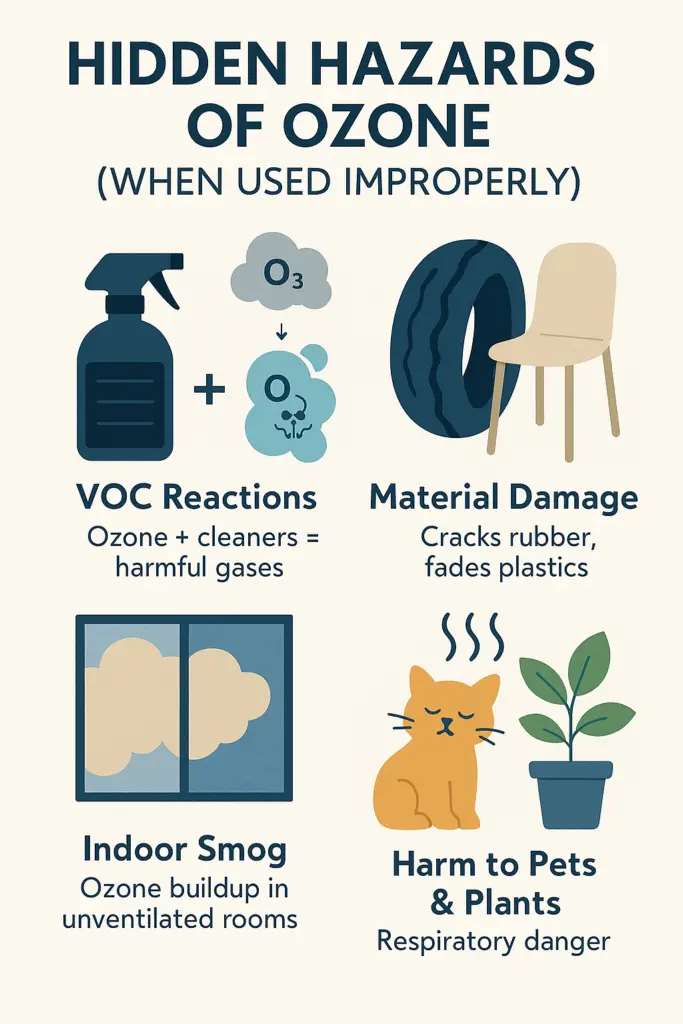
❌ Don’t:
- Use ozone around people, pets, or plants
- Use near fish tanks or sealed food
- Run it in a shared space without notifying others
- Assume “more ozone” means better results
- Rush reentry — always allow time to air out
Important: Ozone machines are not medical devices or professional restoration tools. Always use in unoccupied spaces and follow safety guidelines carefully.
📚 Want to Go Deeper?
- What Is an Ozone Machine? Benefits and Risks Explained
- Ozoning a House? Do’s and Don’ts You Should Know
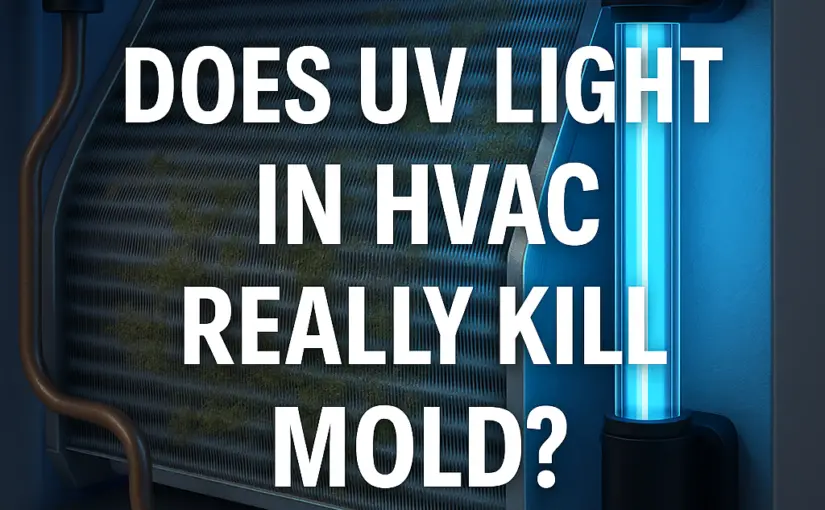
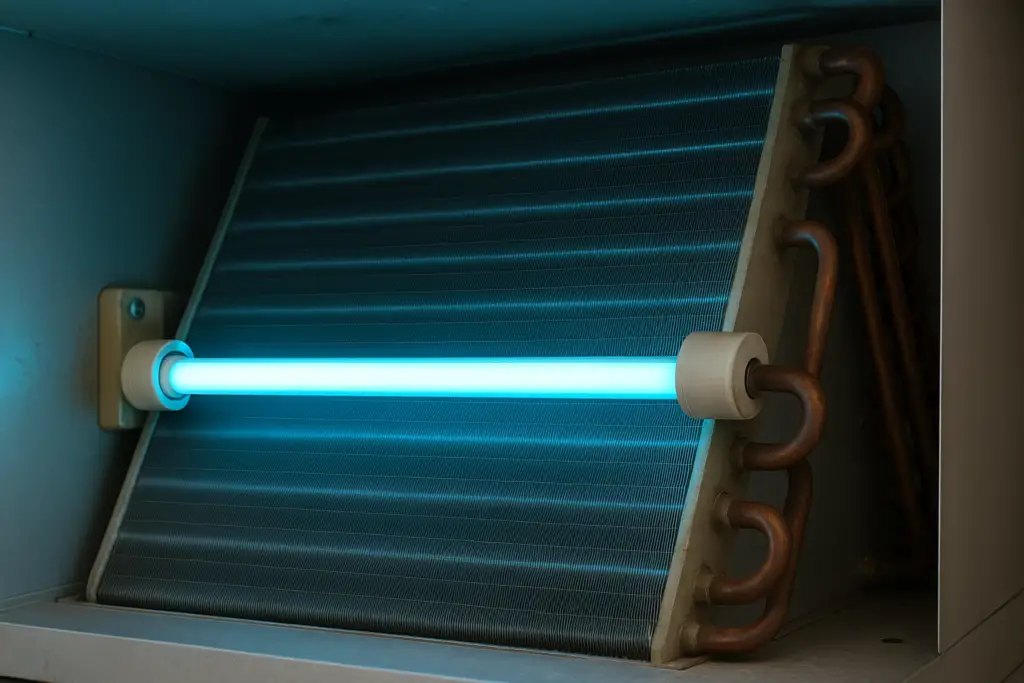
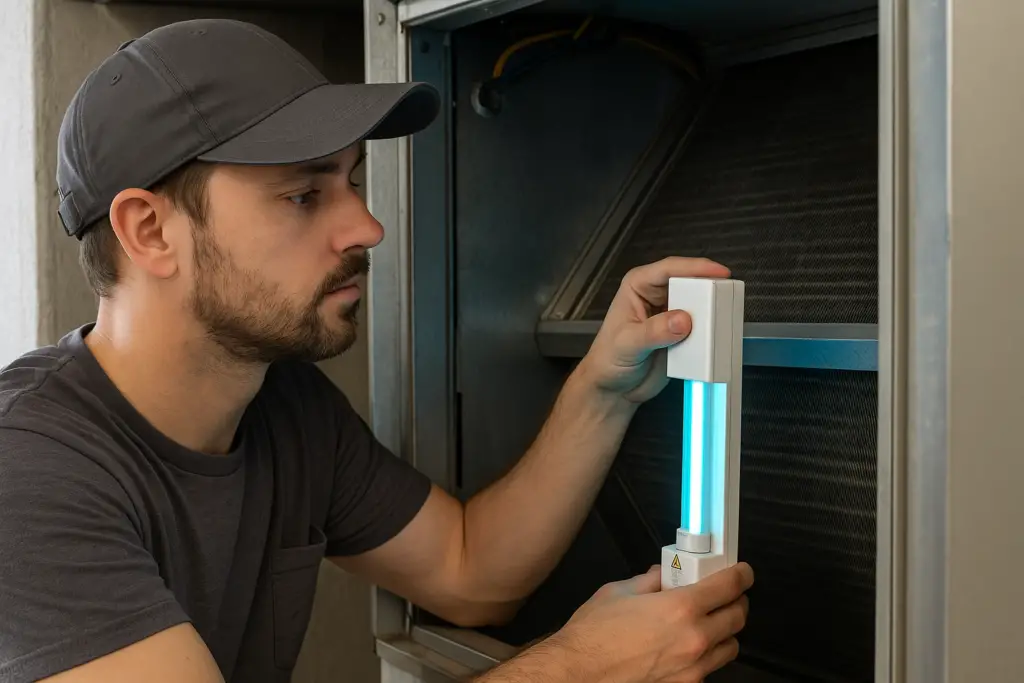
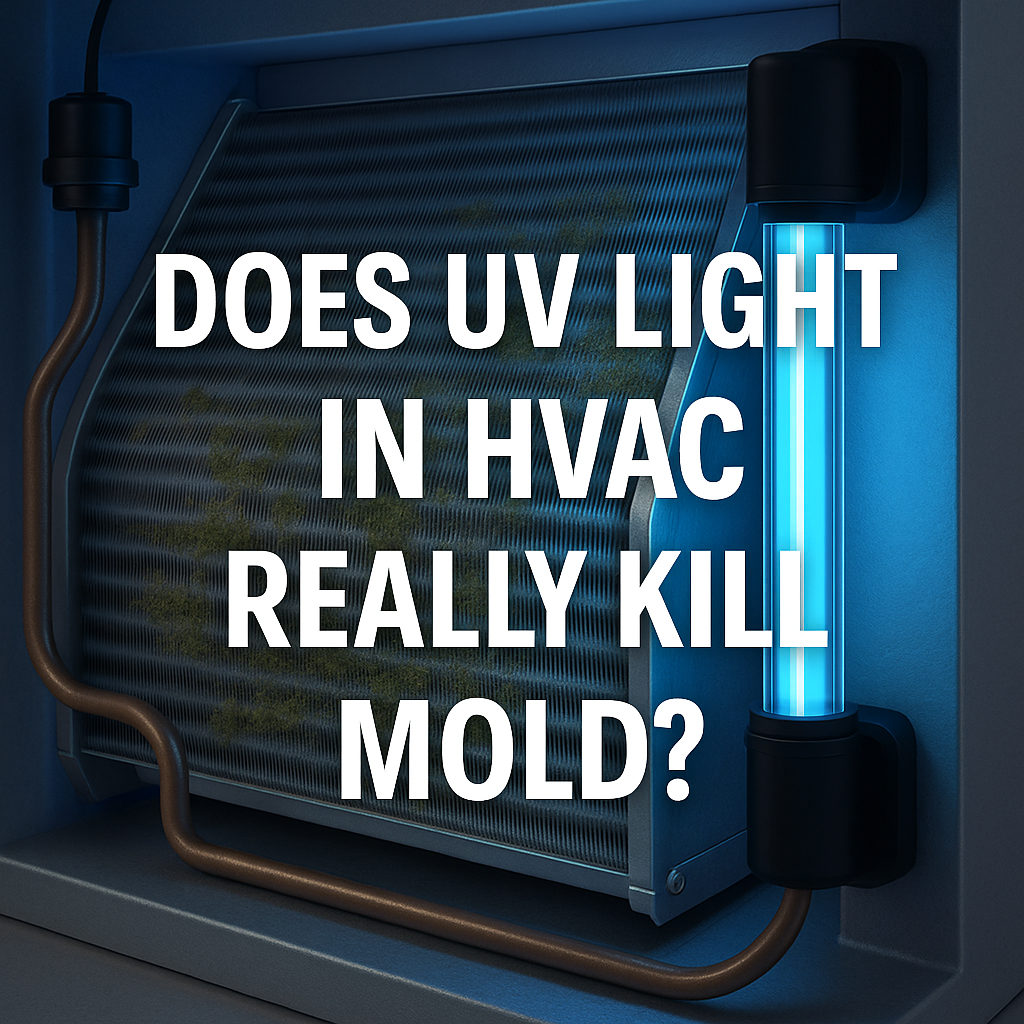
- UV Lights in HVAC: Pros and Cons
These guides cover ozone safety, deeper system strategies, and when to consider alternatives to ozone treatment.

 1. Is My HVAC System Compatible?
 3. Where Should the UV Light Be Installed?
 5. Is It Safe for My Home and Family?

 Conclusion: Let Your HVAC Do More Than Just Heat and Cool
 Why Your HVAC System May Need a UV Light
 Signs You Might Benefit from a UV Light in Your HVAC

 Final Thoughts: Should You Get a UV Light in Your HVAC System?


 Bed Bugs 101: Why They’re a Problem, Where They Hide, and Why Clothes Matter
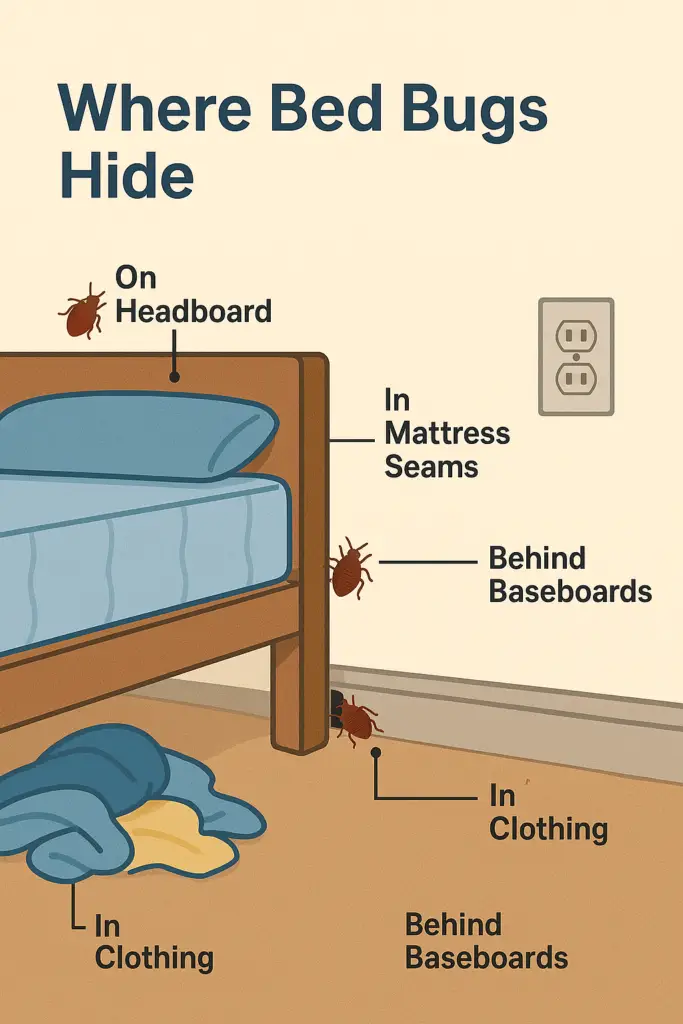 For a detailed, practical field guide, see
 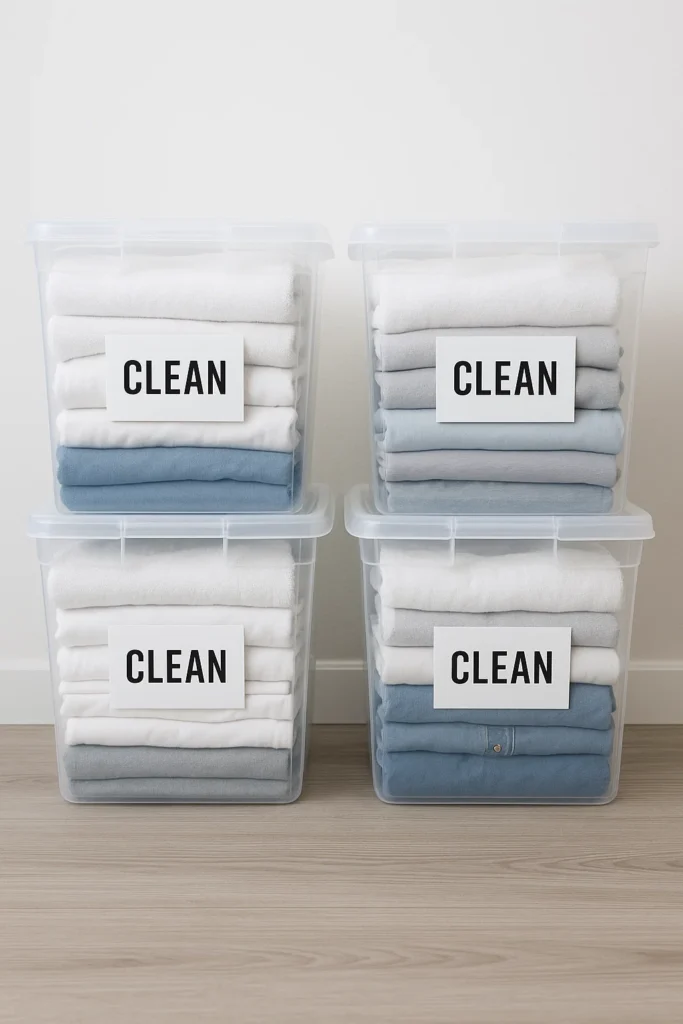 What Actually Works to Get Rid of Bed Bugs
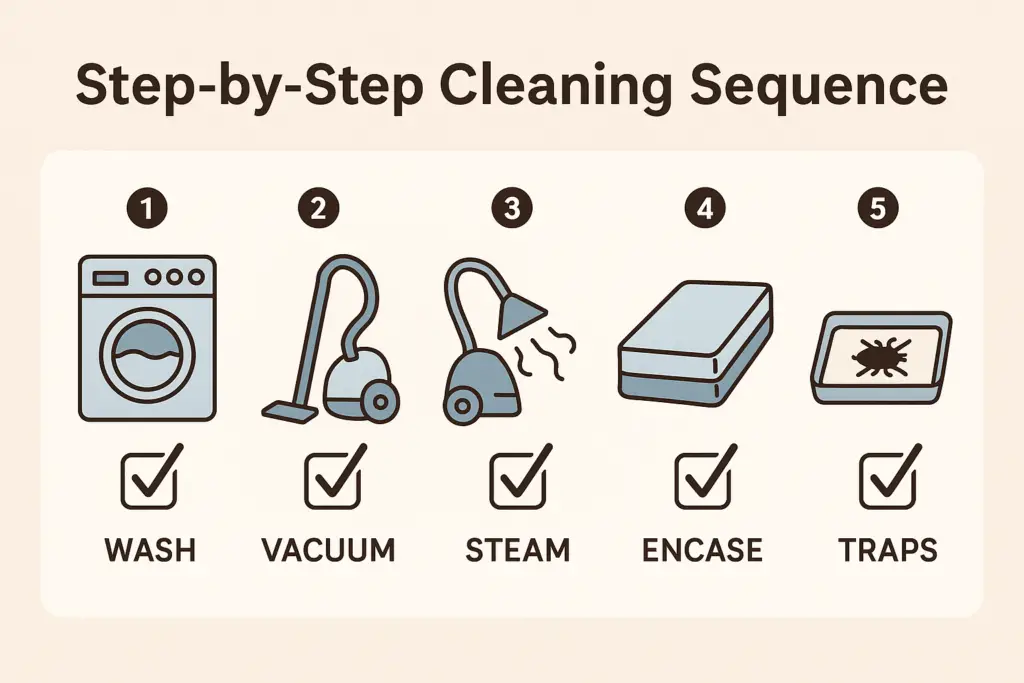 Step 1: Contain and Clean Everything
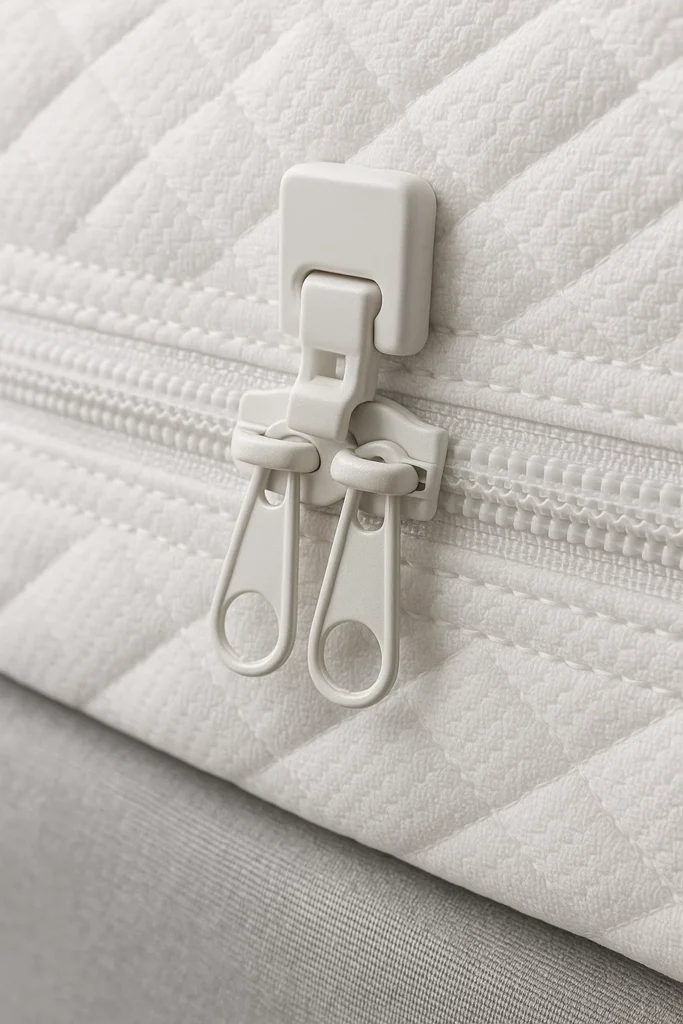
 Step 4: Use EPA-Approved Bed Bug Sprays
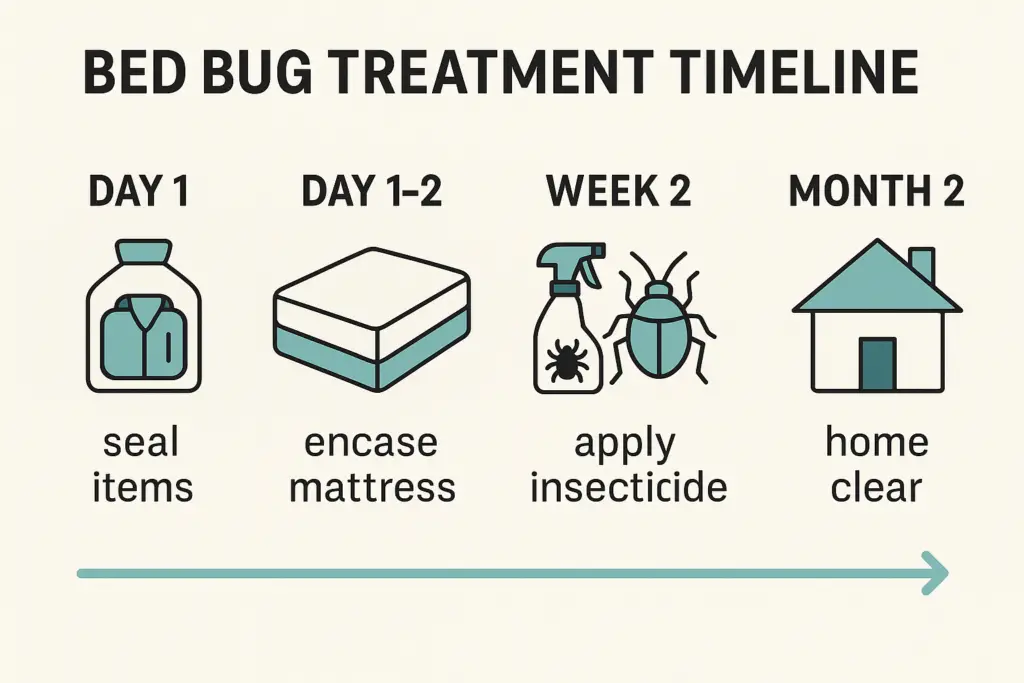 Here’s the real timeline most people experience: