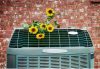
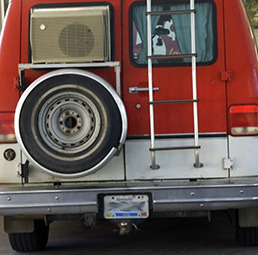
 There’s nothing like having an air conditioner during the hot summer months.
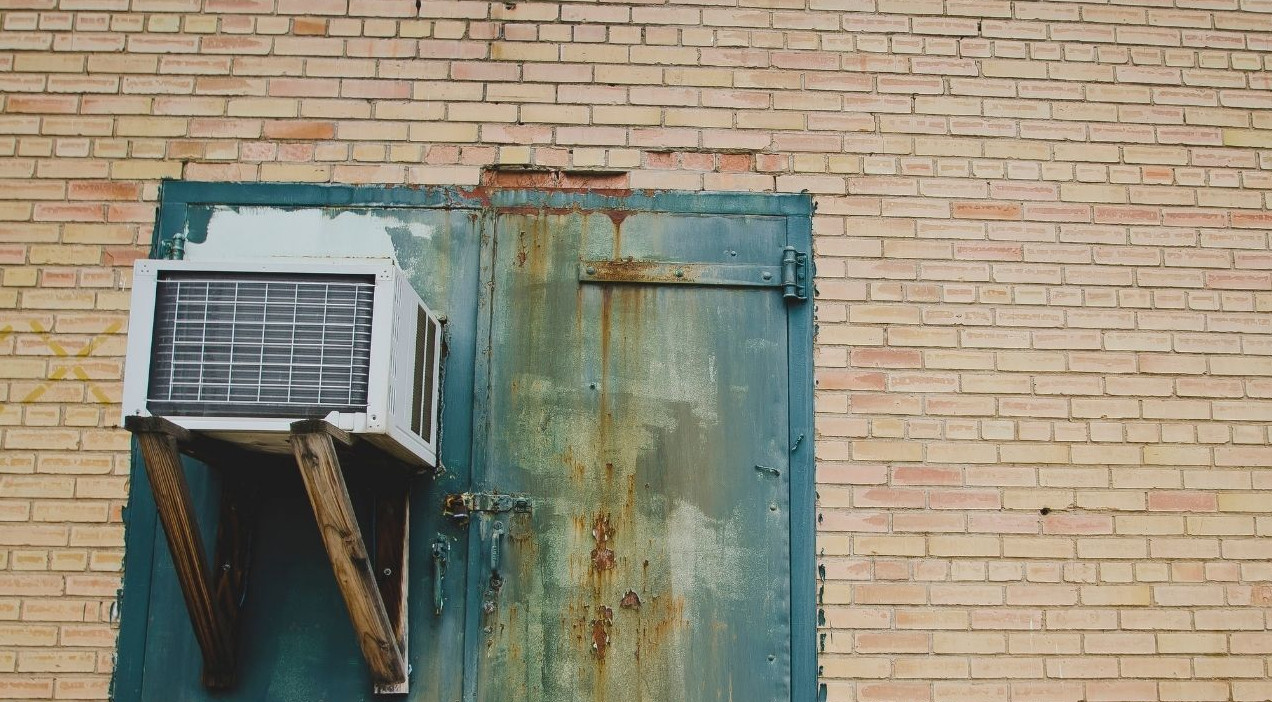
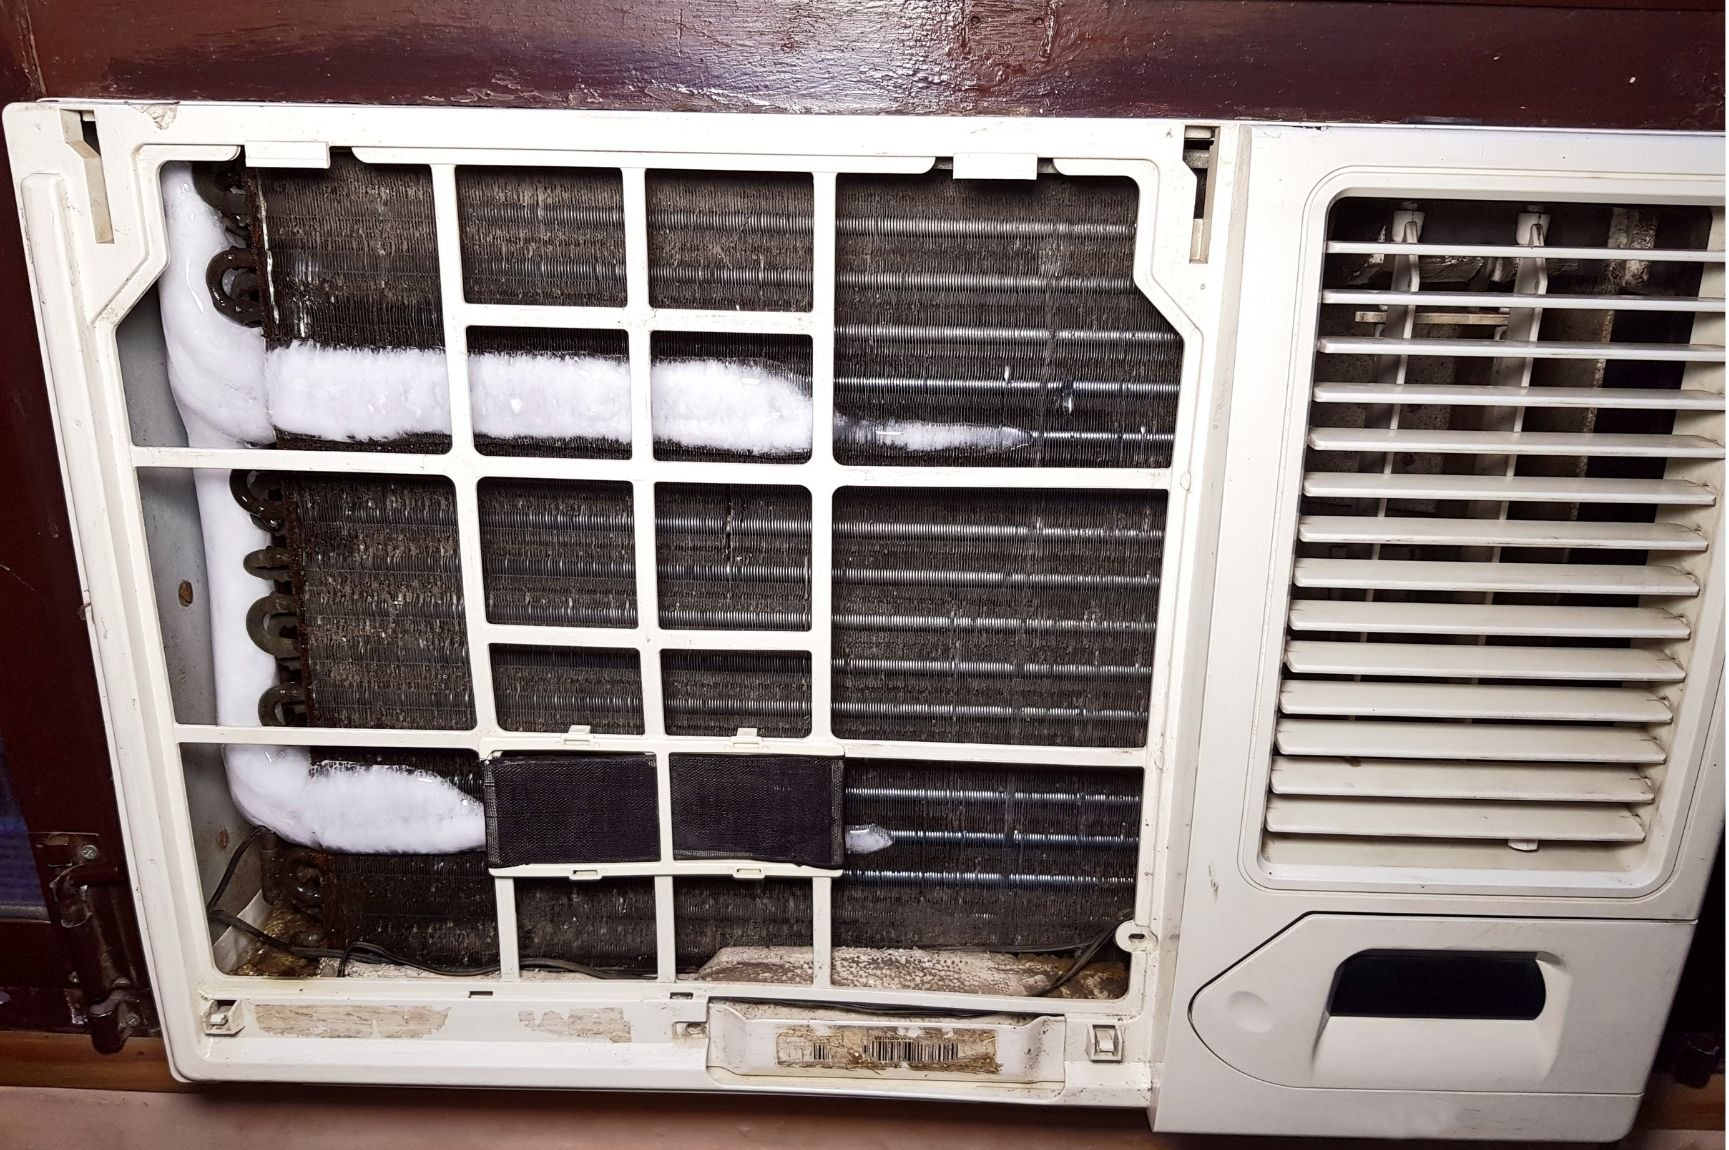
The problem is that they tend to get dirty and need regular maintenance.
Taking the time to spruce up your AC unit is going to help eliminate mold and mildew that builds up inside the unit and stops it working properly.
It’s worth opening up your unit once a year and cleaning it out once a year, even if it’s still running smooth.
The filter should be checked once a month and cleaned whenever it looks dirty as well.
Here are the 12 steps of cleaning a window air conditioning unit.
What you Need
- 2 soft cloths
- A hand-held spray bottle
- Fin comb
- Bucket
- Vacuum
- Rubber gloves
- Soft-bristle brush
- Goggles
- Coil cleaner – which can be found at any hardware store
The 12-Step Process
- Start out by disconnecting the AC unit from all power sources
You need to unplug every single power cord being fed into the unit. If the window unit is wired directly to the home then you want to either turn off the master circuit breaker or disconnect the unit from the fuses. The manufacturer’s instructions will tell you how to discharge the capacitor. This capacitor is a device that holds the extra charge needed to kick-start the motor in your AC. Removing it is an essential step in ensuring there is no charge left in the device before cleaning it.
- Clean off the outside cover of the unit. Wipe it down using a wet cloth. Get rid of all the grime and dust that you can to ensure that it doesn’t fall down into the unit when the cover is opened. That just creates more work for you later. It’ll be much harder to get off then too.
- Now you can take the front cover off. Some of them are designed to be removed easily using just your hands. For others, you might need to remove some plastic screws or hooks. Place down these screws or clamps in a safe place while working. That way you can avoid losing them. Be warned that some units will also have metal grills that need to be removed. Their edges can be sharp, so take care when removing them!

- You need to clean the reusable filter in your unit, assuming that it has one. Take the filter out of the AC unit and put it in a bucket filled halfway with warm and soapy water. If you don’t have one to hand then your sink or bathtub would do fine. Get rid of dirt and other buildup by swishing the filter around. If it’s really dirty then you might need to use a soft brush to clear it all off. Put the filter off to the side so that it can dry out before you put it back into the unit. Having a wet filter in the unit just attracts more mold and dirt, which is not what you want when you’re trying to keep it clean!
- Make sure that you change the disposable filter in your unit regularly. Once again, that is assuming that it has one. The US Department of Energy recommend changing filters once a month during the warm season.
- Vacuum out the inside of the unit. A vacuum extension can help you reach the bottom of the unit, as well as the sides of the unit, the back of the front cover, and – if you have one – the metal grill. A moist rag can help here if there’s too much dirt for a vacuum to handle by itself.
- Put the unit back together. Be sure to let the unit dry out completely before you put it back together. Plug the window unit back into the power source and switch it on. Clean off any debris that might blow up after it has been powered on again.
- Be sure to keep your unit stored in a cool, dry place when the time comes to put it away. Cover it up with a sheet of plastic and leave it in a dry place as this will prevent the spread of mildew and mold.
- If you want to take your cleaning to the next level, there are some extra steps you can take before putting the unit back together.
These are optional steps and should be performed delicately.
These steps are for cleaning the fan blades and coils, which are very delicate and are easy to bend and break by accident. The motor housing can also be very sensitive and should be avoided at all times when cleaning an AC unit.
- Now it’s time to clean coils in your AC. Make sure you use rubber gloves and protective goggle for this. Add the coil cleaning solution to the water bottle and spray the coils lightly. Take care to spray only the coils. Leave them for around 15 minutes before pouring some warm water onto the coils. Ensure that the coil cleaner has been completely removed from the coil. Be careful to avoid getting electrical parts near the coils wet. Consider putting a dry rag down on the electrical parts to prevent water damage.
- Clean the fan blades of the unit using a soft, clean cloth to remove dirt from the fan blades. Be sure to wipe gently so as to avoid bending and damaging the blades. AC units can be pretty loud as they are, and bent blades only makes them louder!
- Finally, you can use the fin comb to repair dents in the fins of the coils. Now you can put the AC unit back together and go back to enjoying cool air whenever you need it.

 And a number of the plants, including the ones I mentioned above happened to be some of the best oxygen producing plants that exist.
 But even with that information, knowing when to use a humidifier is still guesswork unless you have a way of measuring the humidity.


 For instance, an ionizer that is rated for a hundred square feet would create much too much ozone in an area that is only 25 square feet.
 4. Humidifier